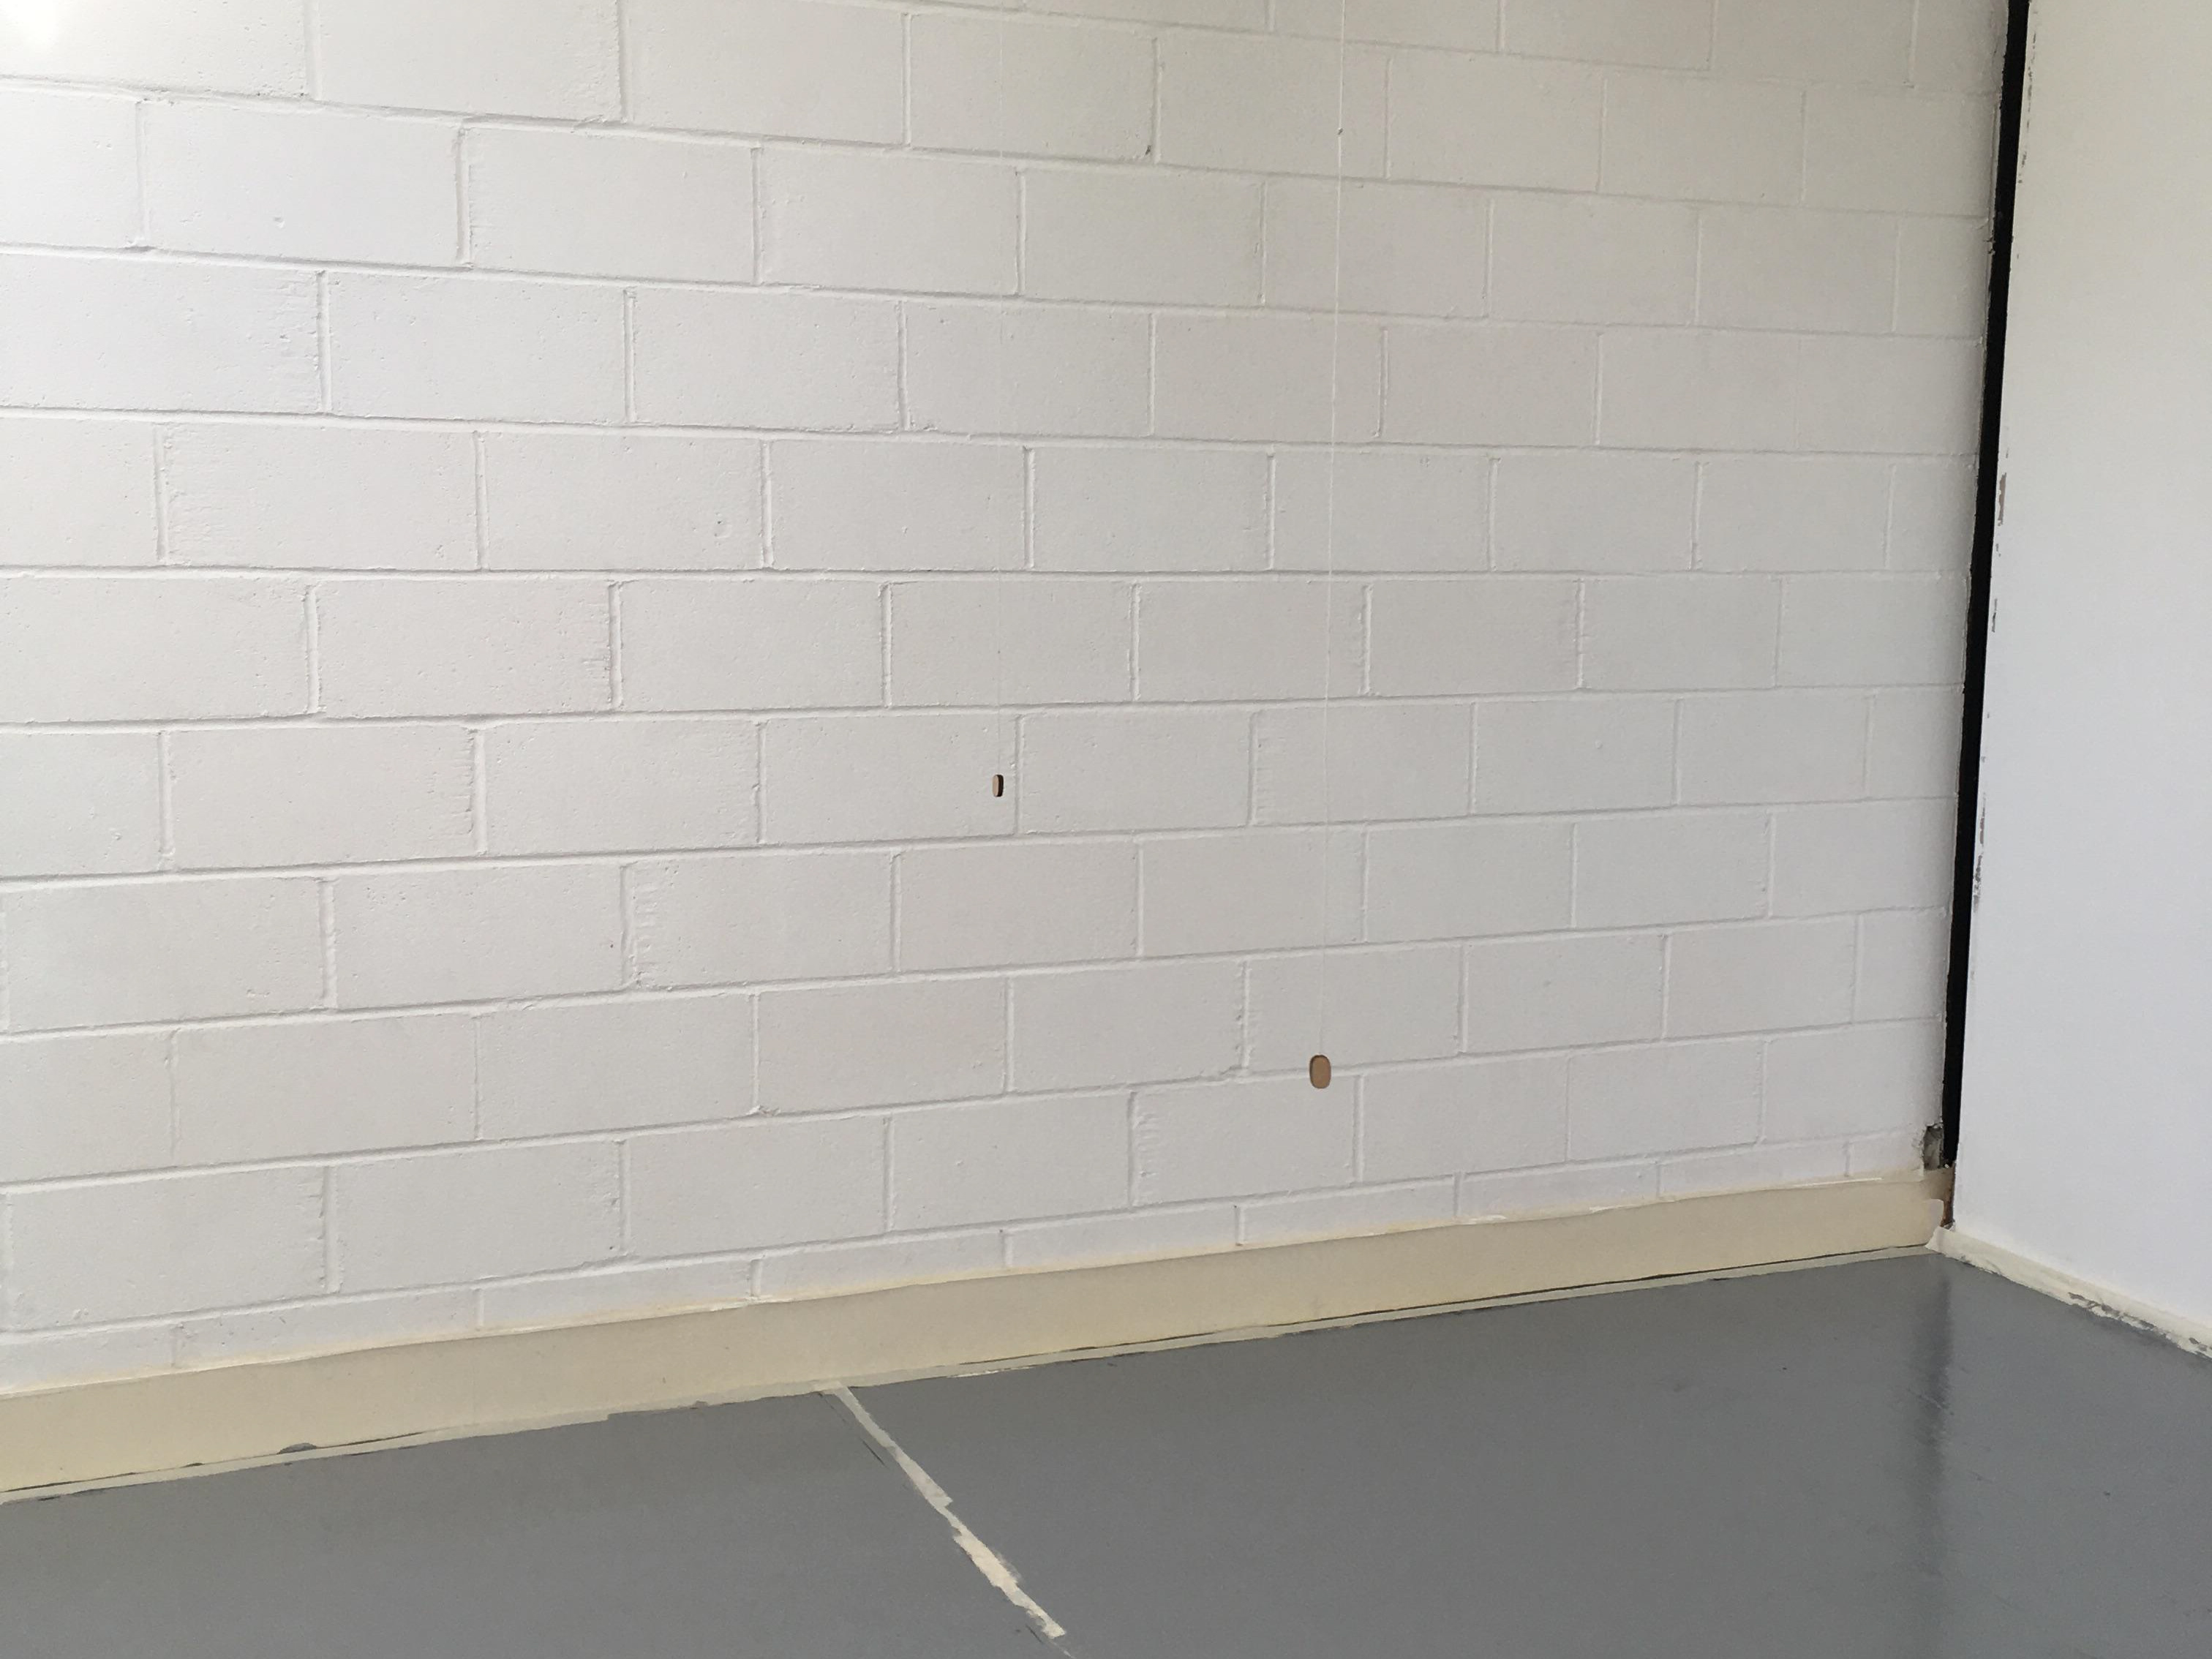
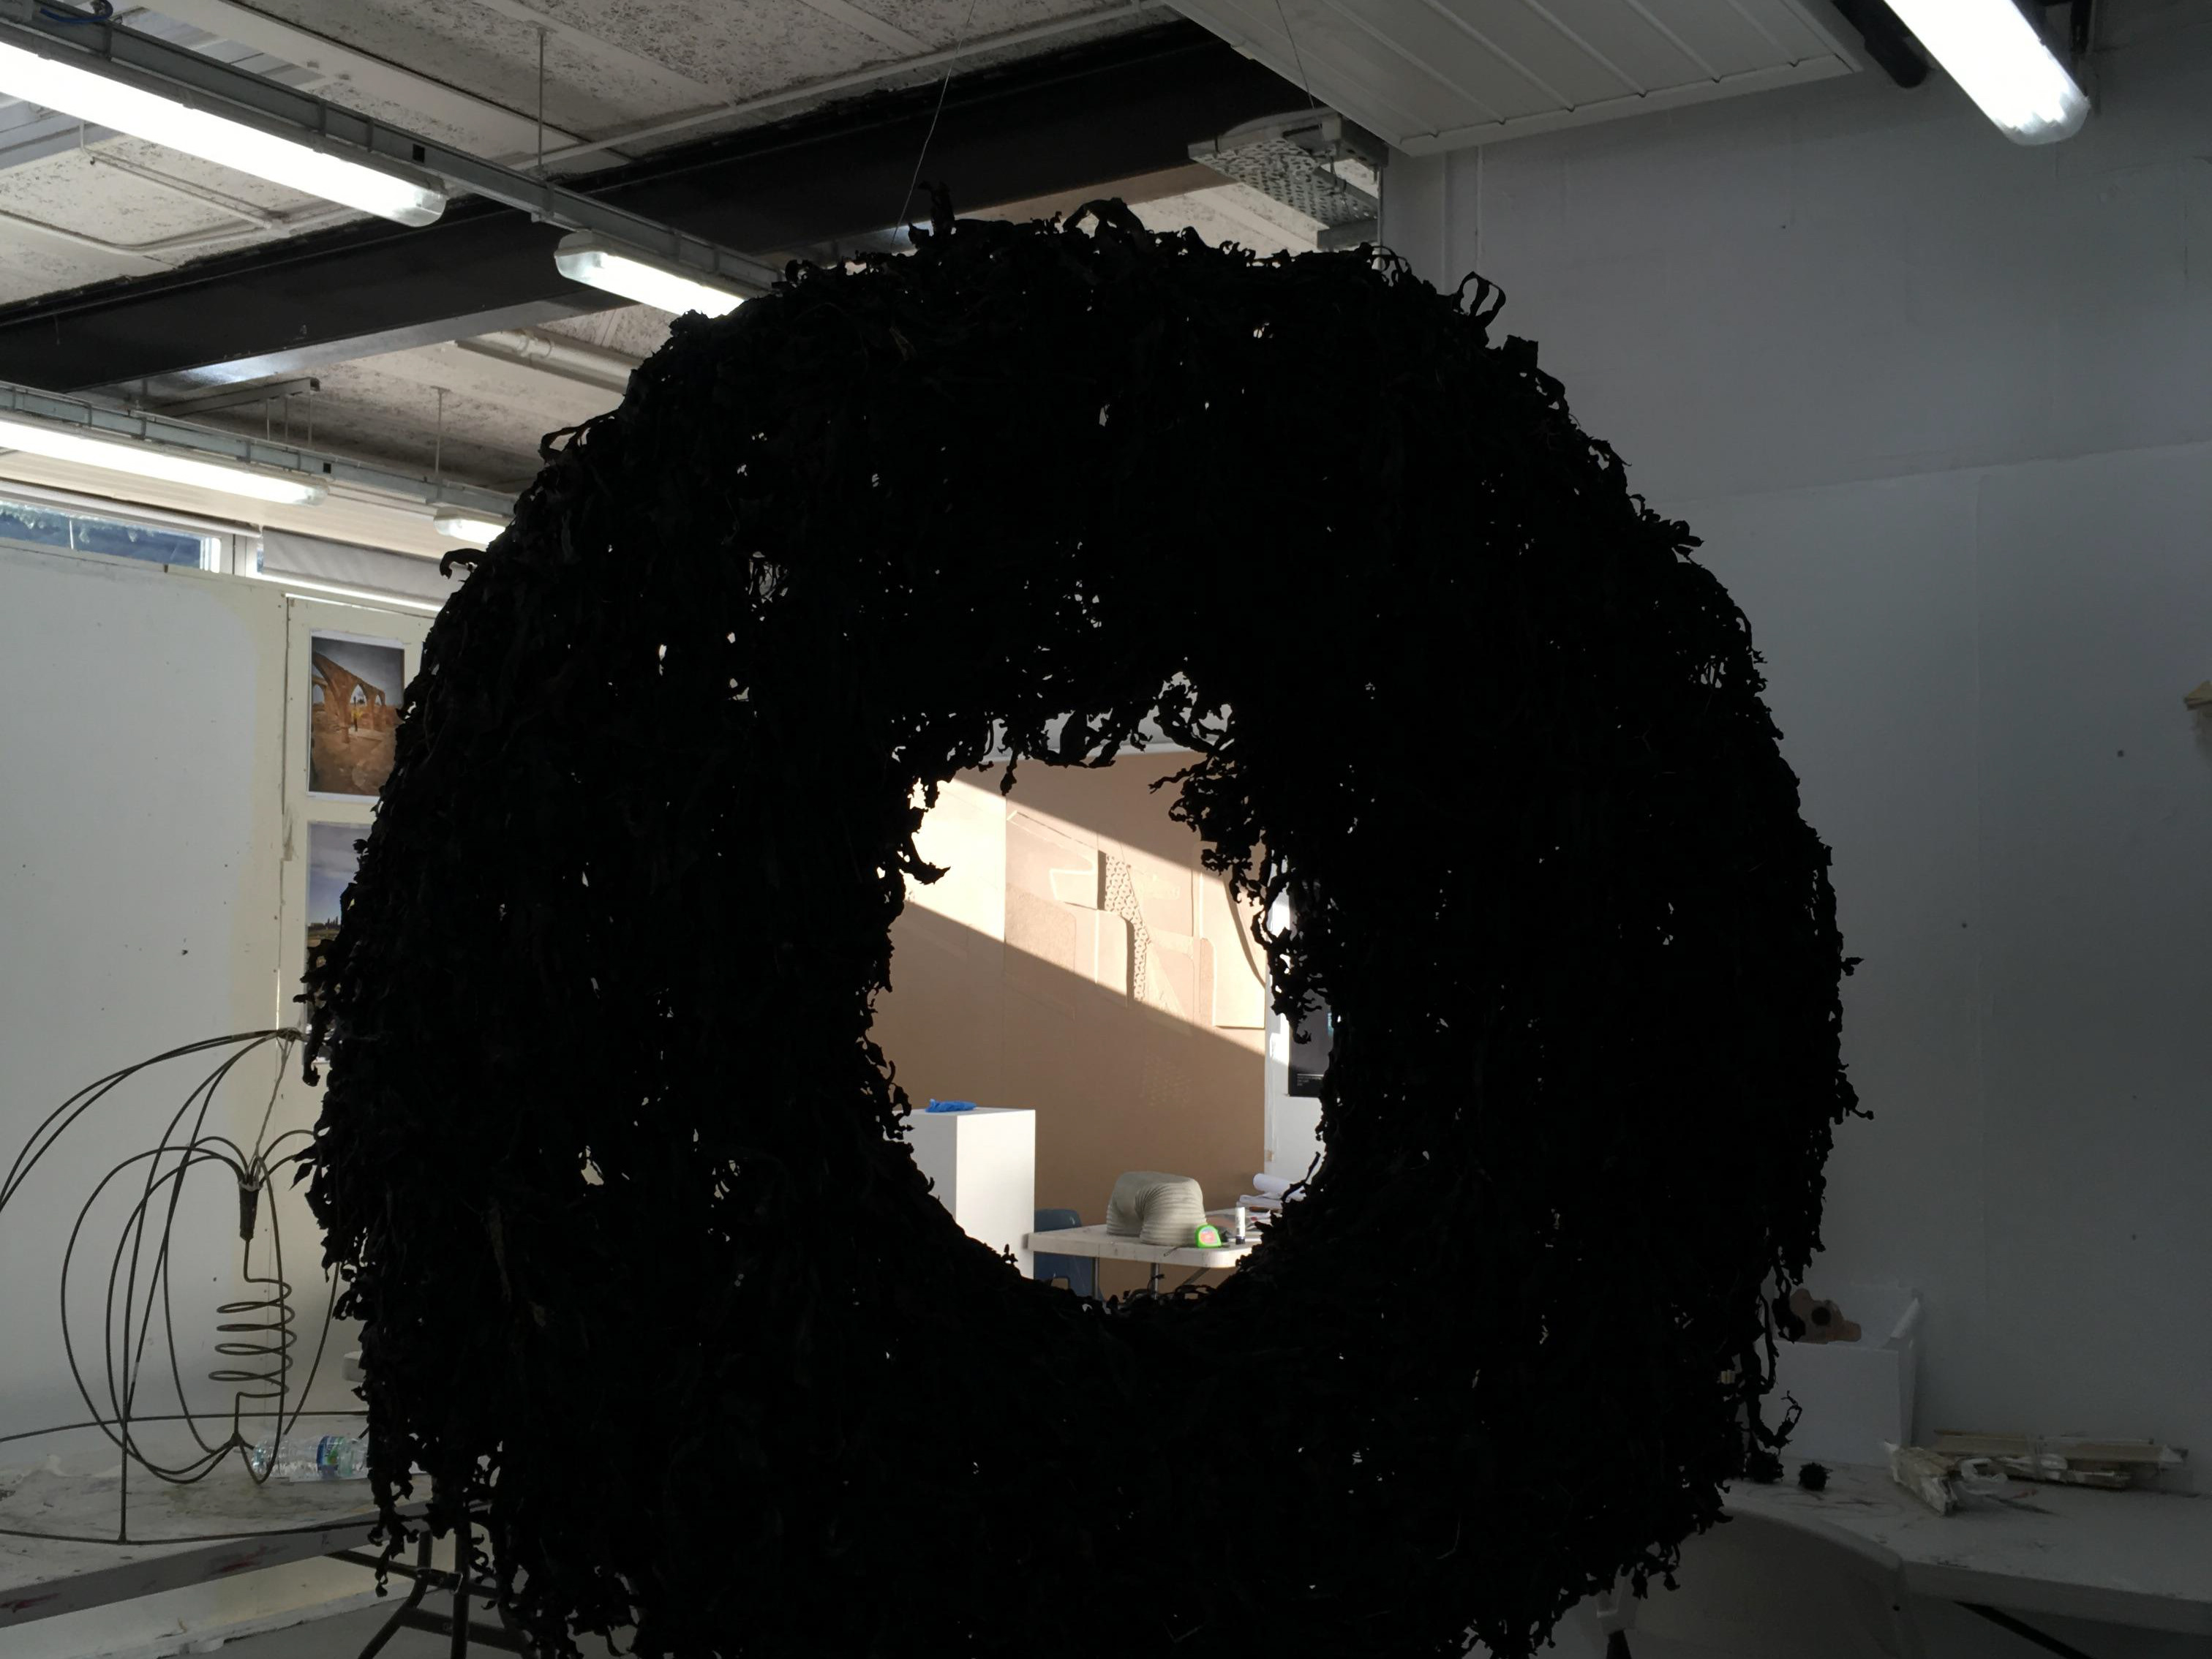
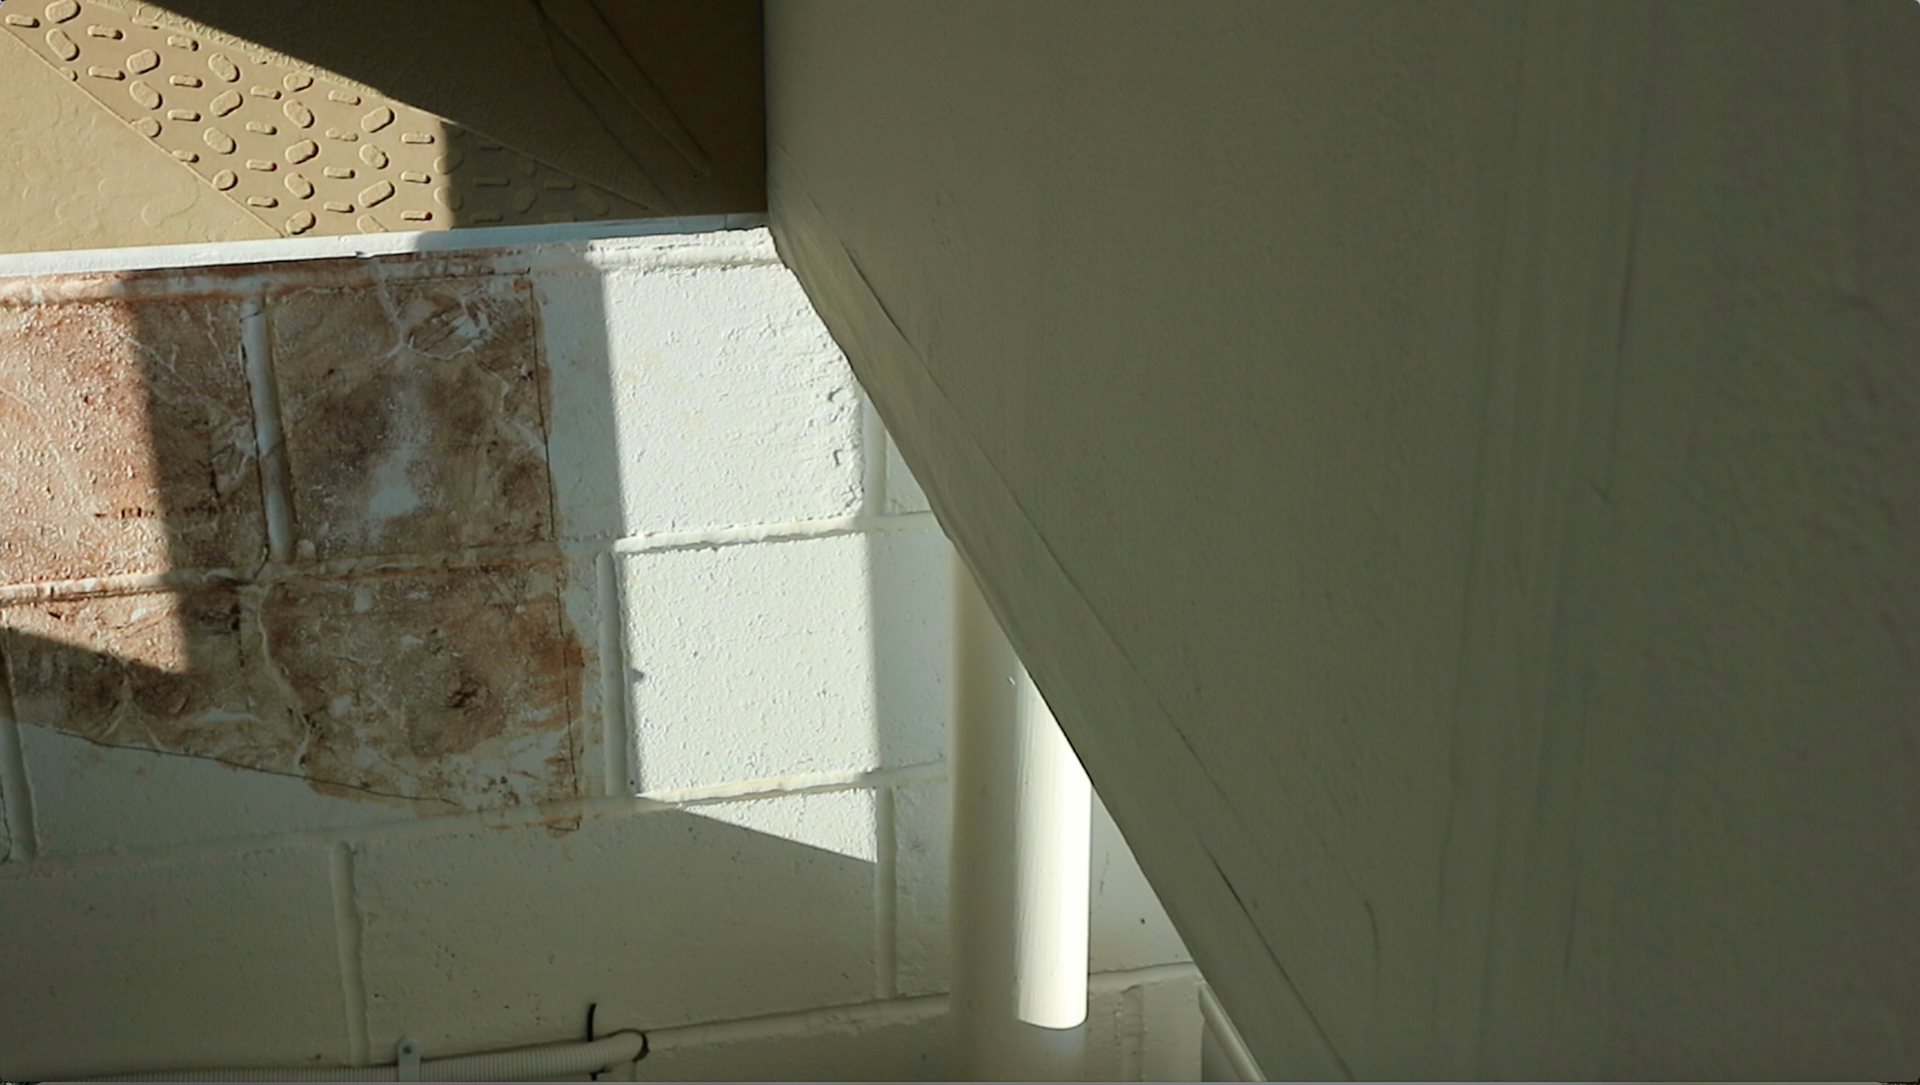
Knowing the walls in the blue studio space were coming down, I started to realise how i like the mirror effect of how the wall opposite picks up the light too. This got me thinking about creating a suspended wall.

From this I knew i was taking down my MDF wall as I wanted to play with its use for embossing and printing.
This led me onto the idea of creating a suspended wall with the embossing of my MDF wall. As it will be mirrored when embossed - this means it will fit into the light shard.
Thinking about embossing - maximum plate size is 2x3 foot.
After looking at paper with Peter Goddard, going for somerset paper - got either imperial or double imperial. The imperial is a little smaller than 2x3 foot.
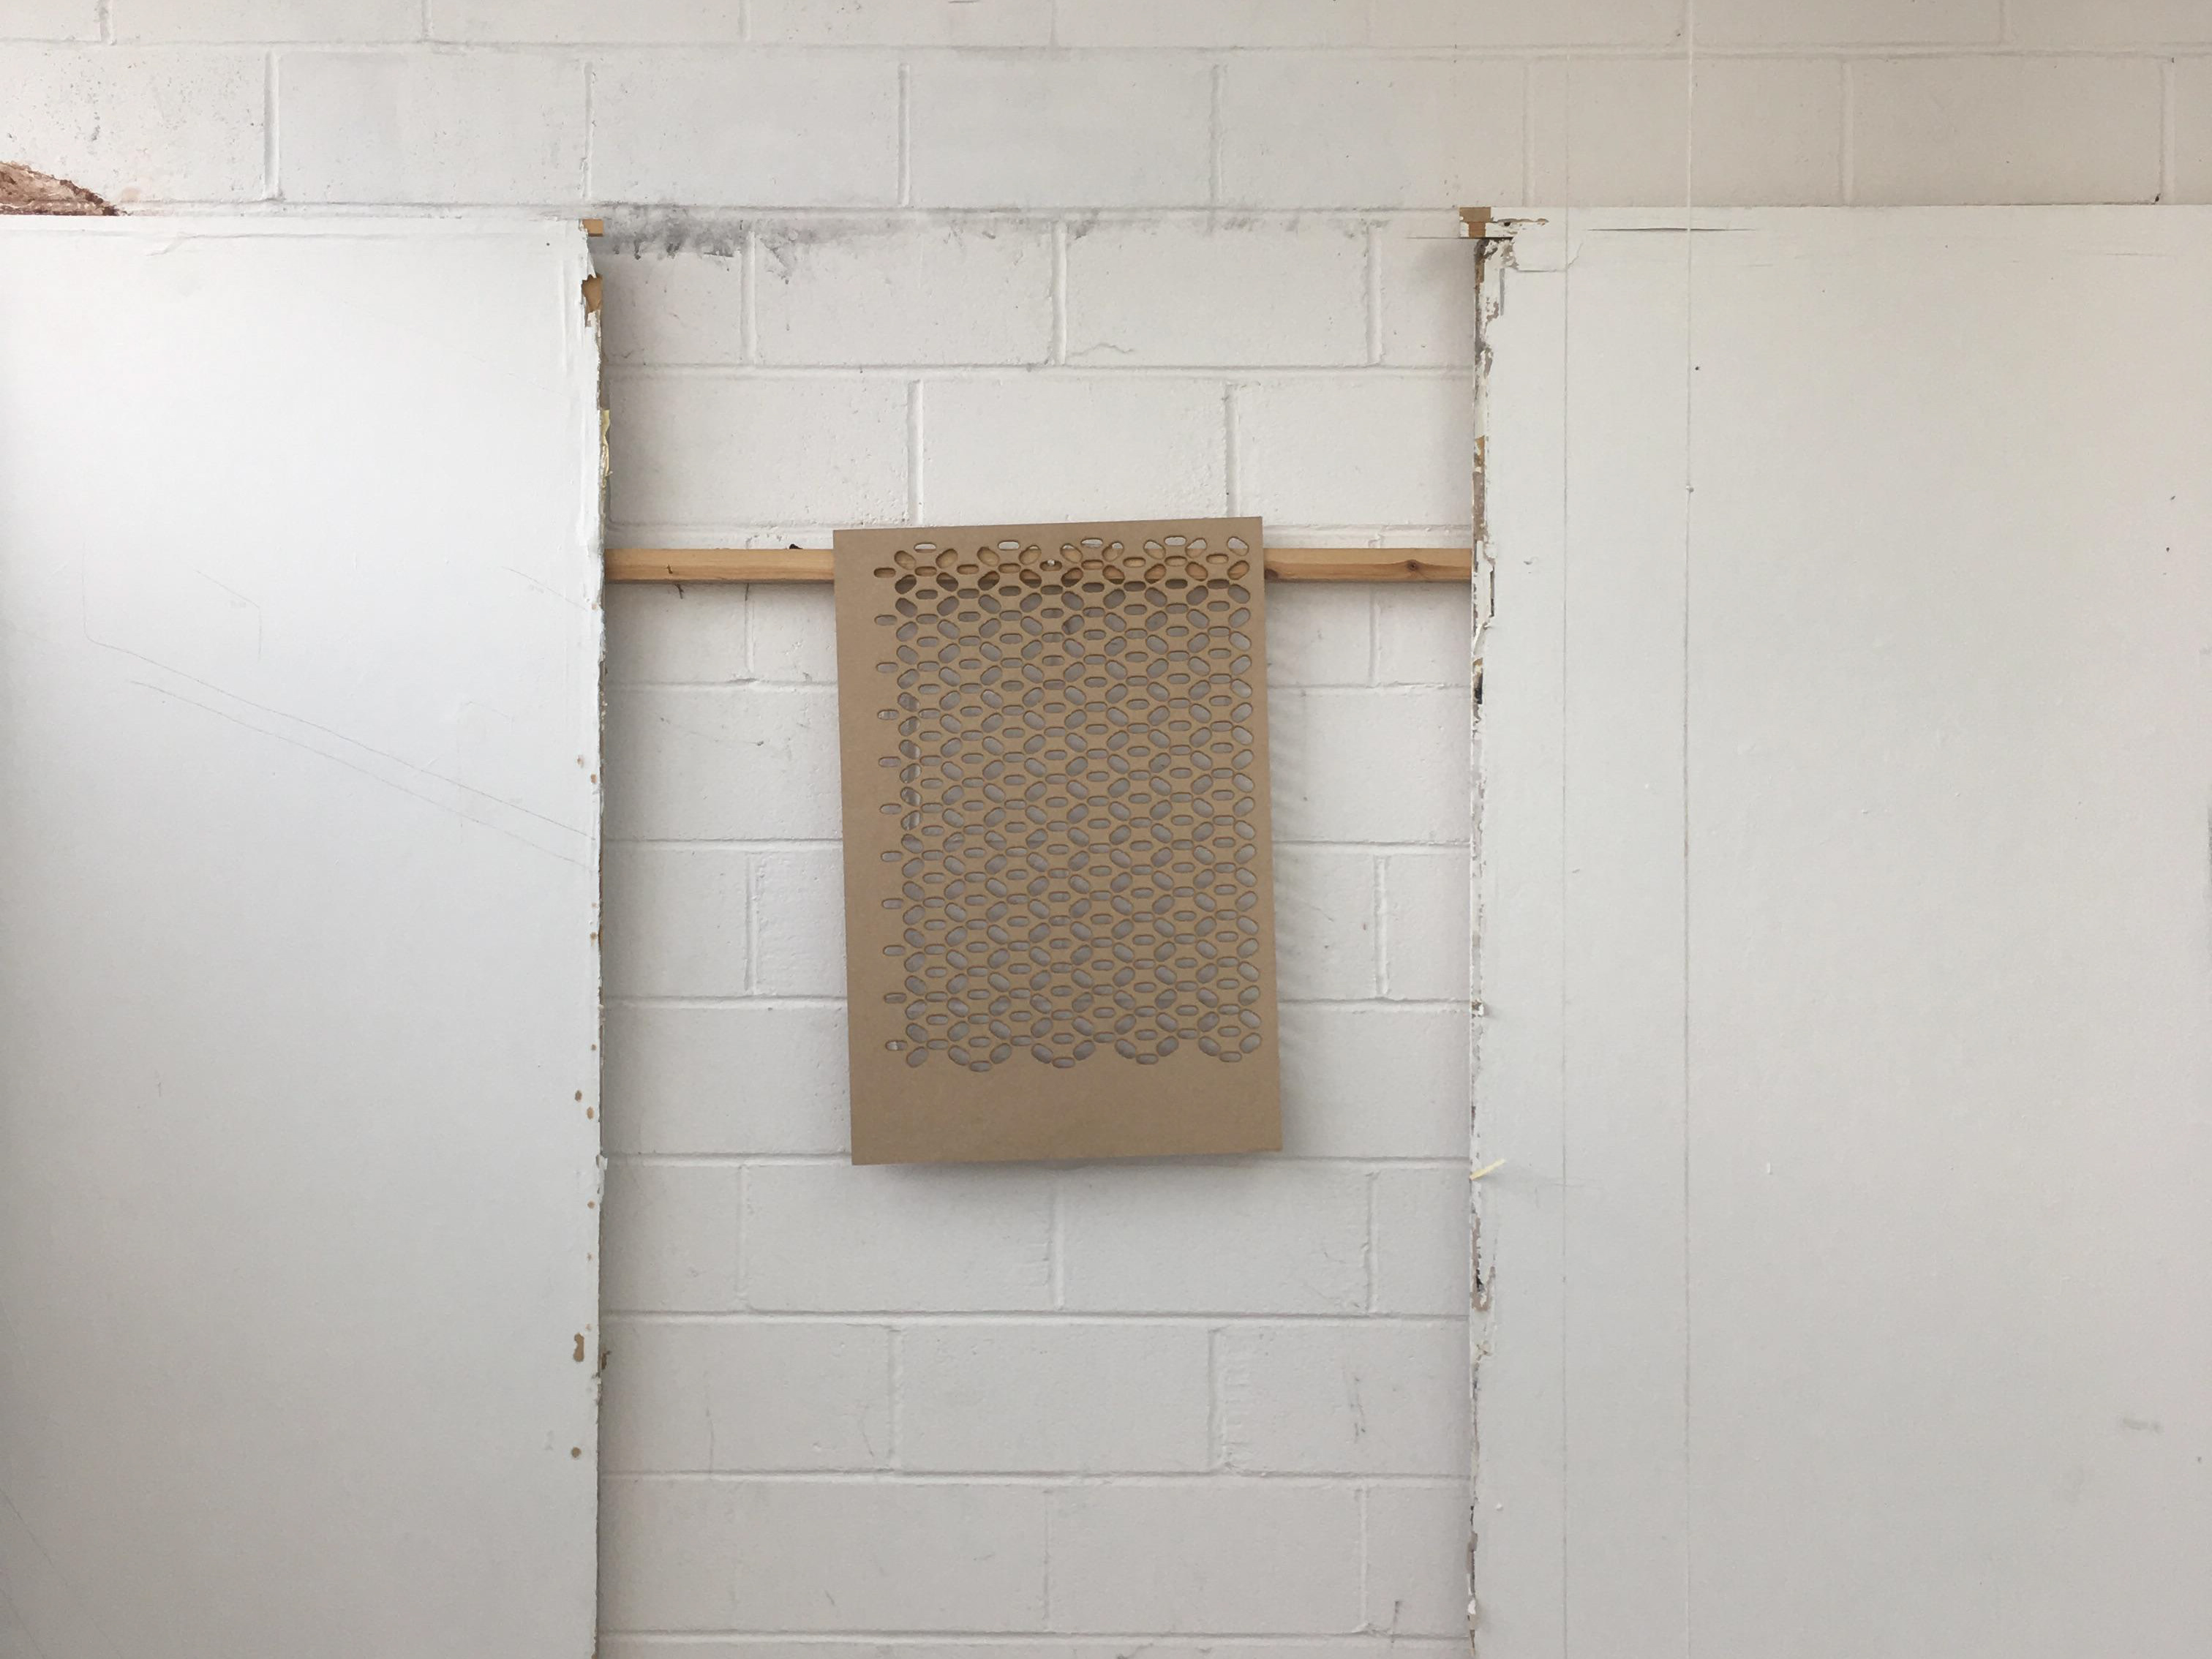
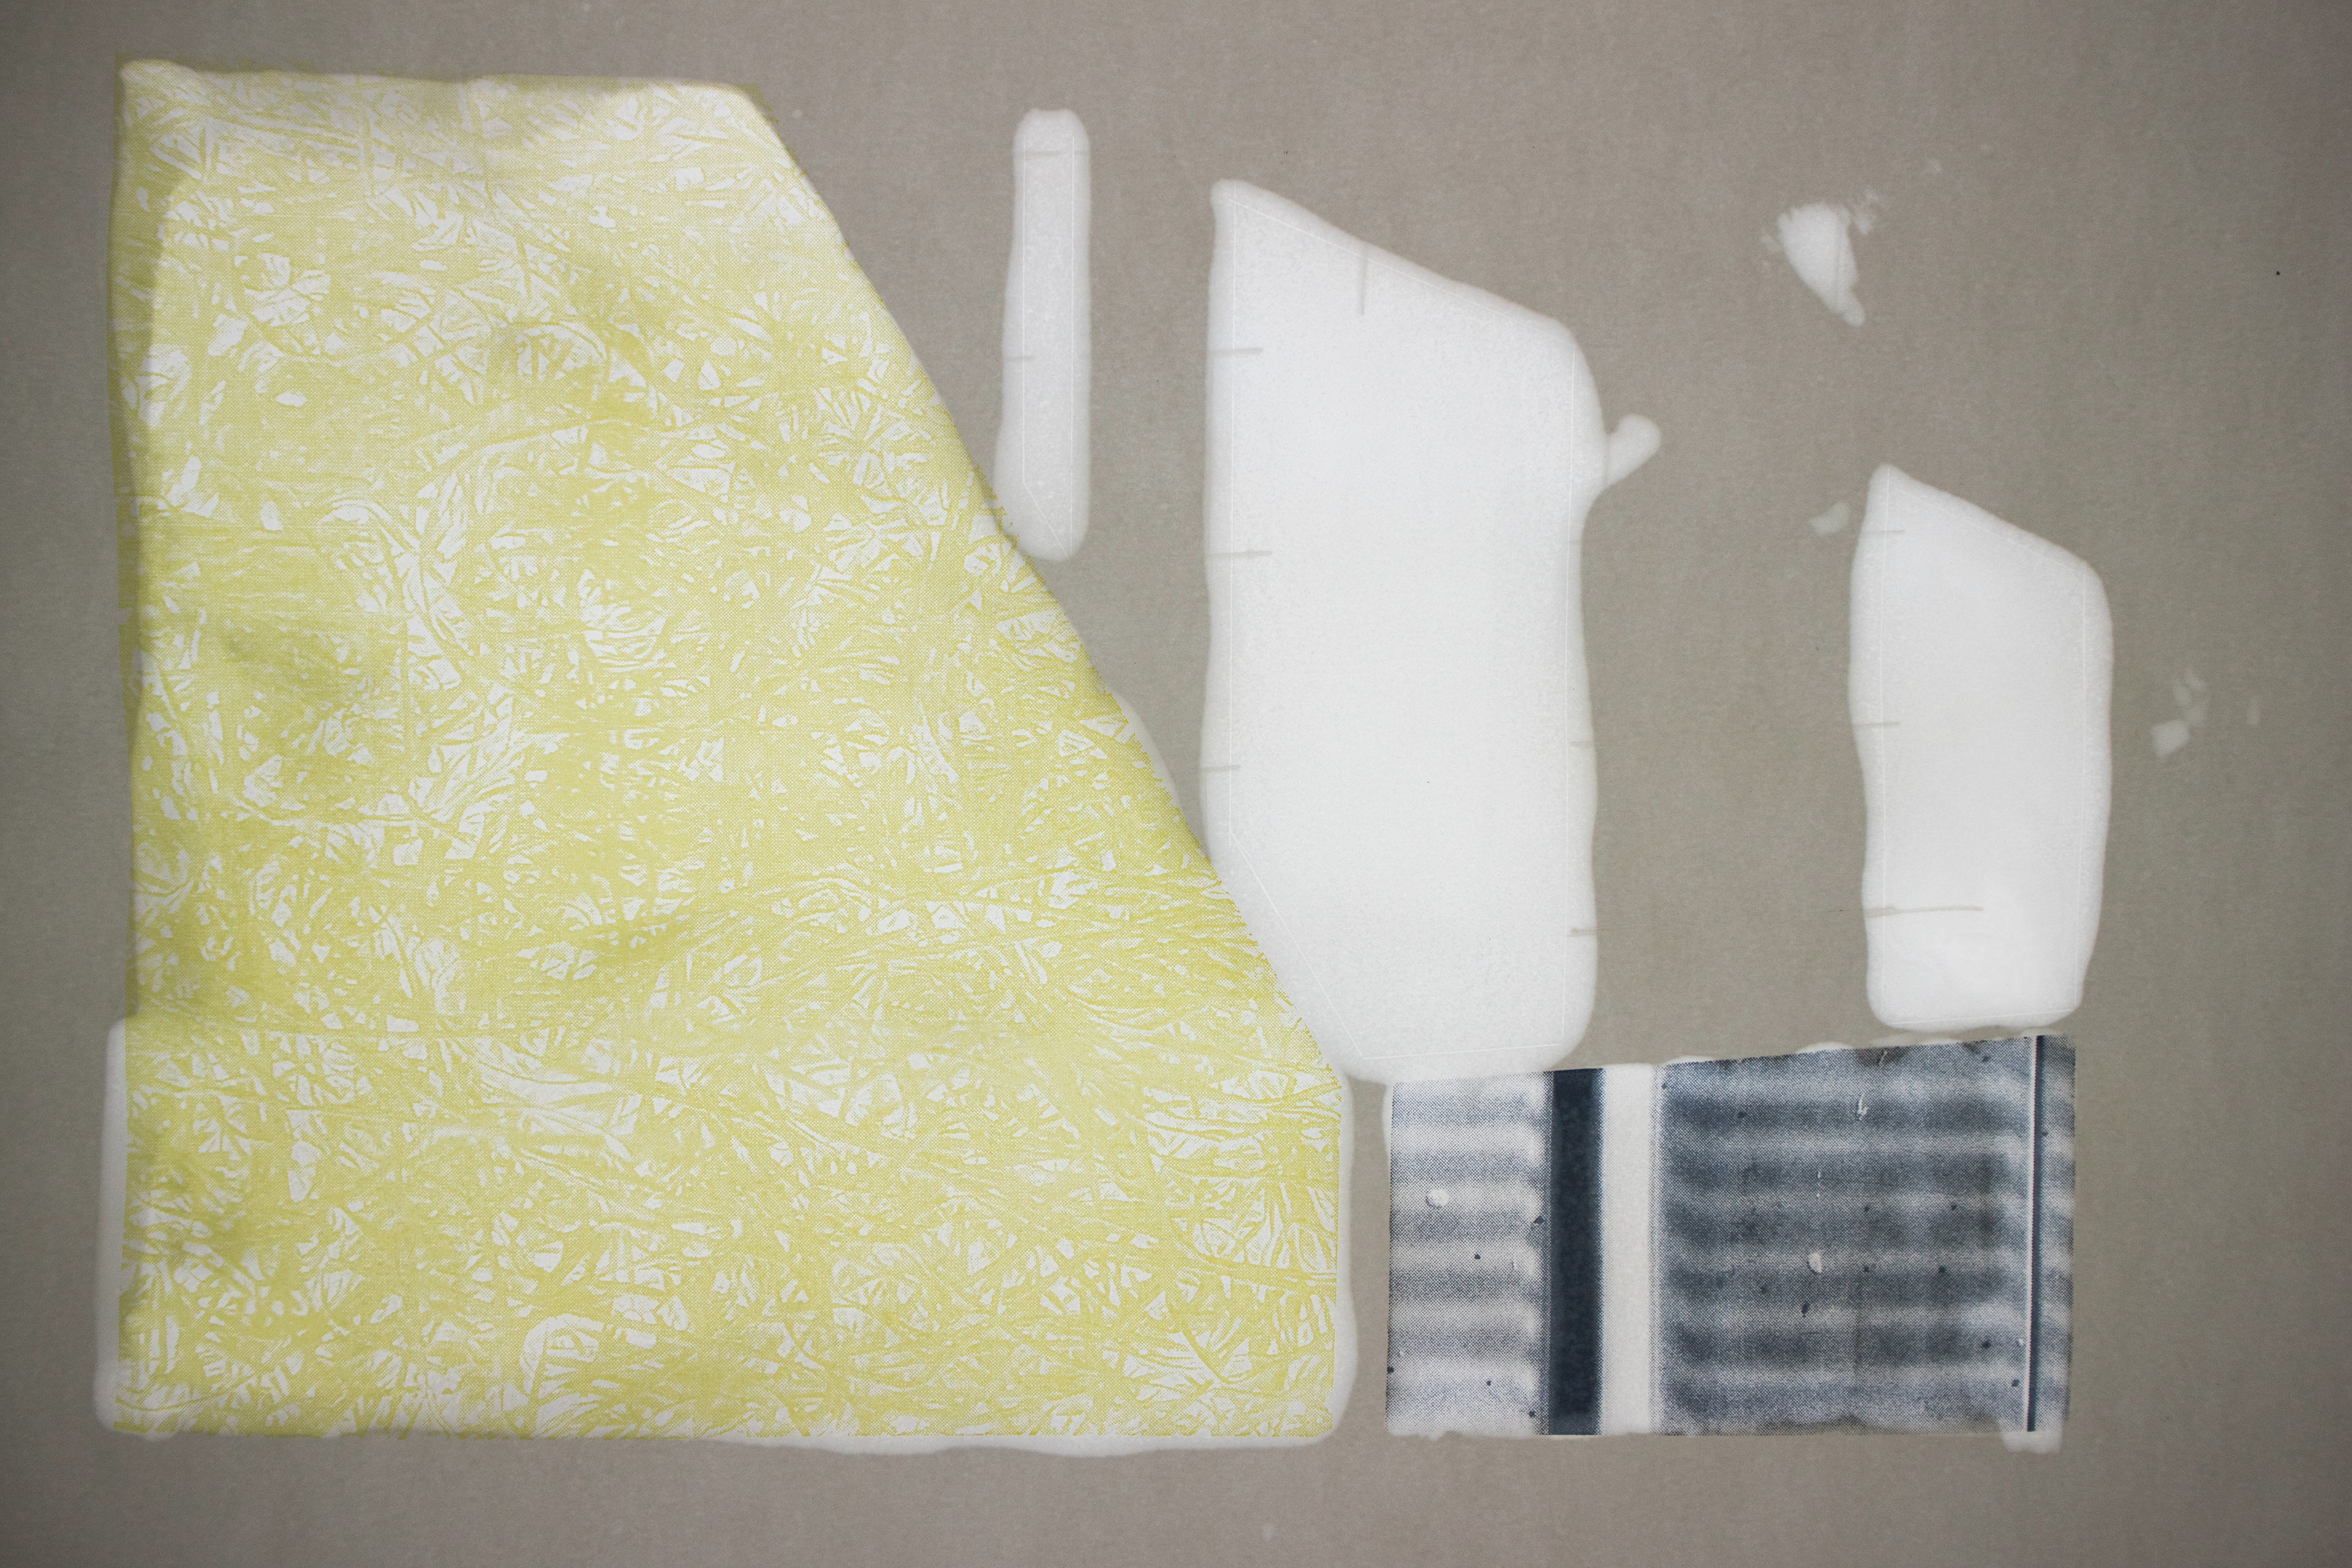
I played with different ways of chopping up the MDF - wanting negative gaps- not a solid paper wall

Placing my MDF wall infant of the existing wall which will be taken down.


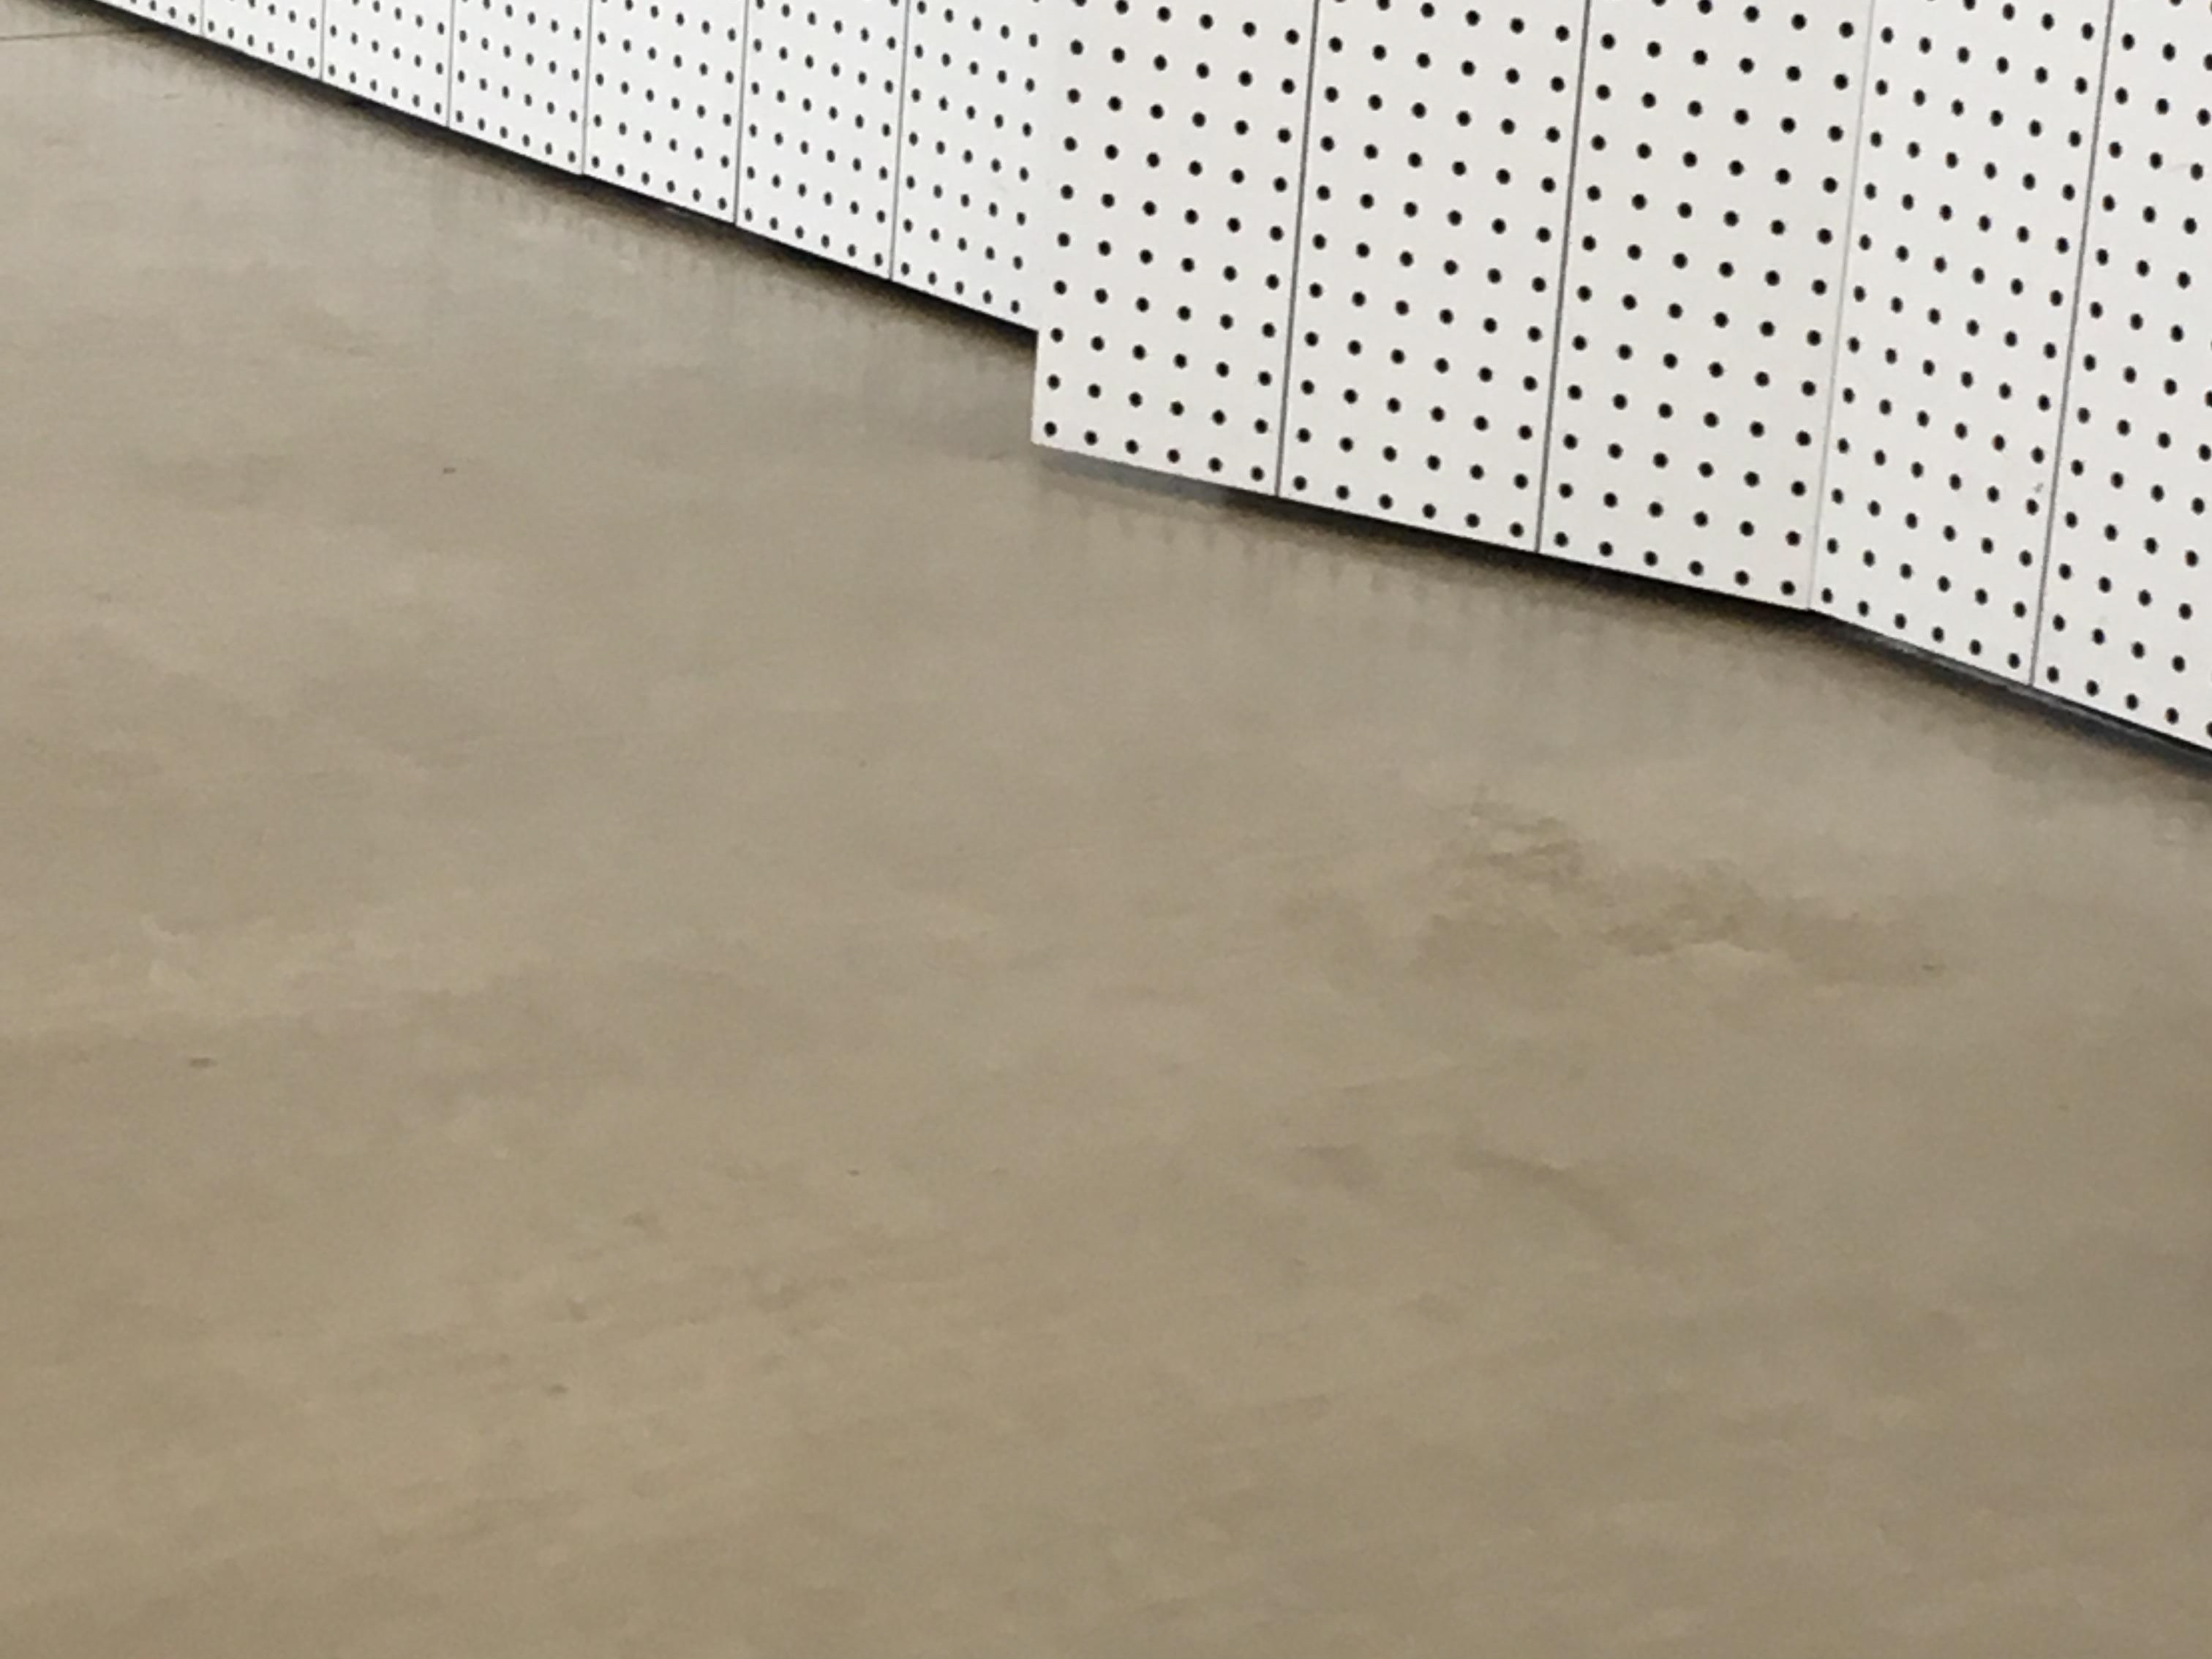
Then responding to the brick pattern - I chopped up my MDF board into Imperial sized bricks.

Thinking about the depth of embossing, realising that 3mm ontop of the etched surface gave 4-5mm depth - to far for the paper to stretch. I had to thin down the layers on my MDF board.


I don't want my wall to be solid- translucent.
I spoke to Ian Bottle about my idea and he said about wax paper.
I went and saw Martin in paint workshop and he showed me what could be achieved with wax or oil. The wax gave more of an luminous quality, and the oil gave a yellow tinge- I do like this colour - featured in my work.


colour - gives the paper a slight yellow/greyish tone- working well with my colour pallet.

I wax a whole piece of paper to text it out with embossing. I also tried with PVA on muslin and gesso on canvas.
I enjoyed the quality of the marbling from the wax on the paper. It intrigues the viewer- guessing what the material is - want to touch it.
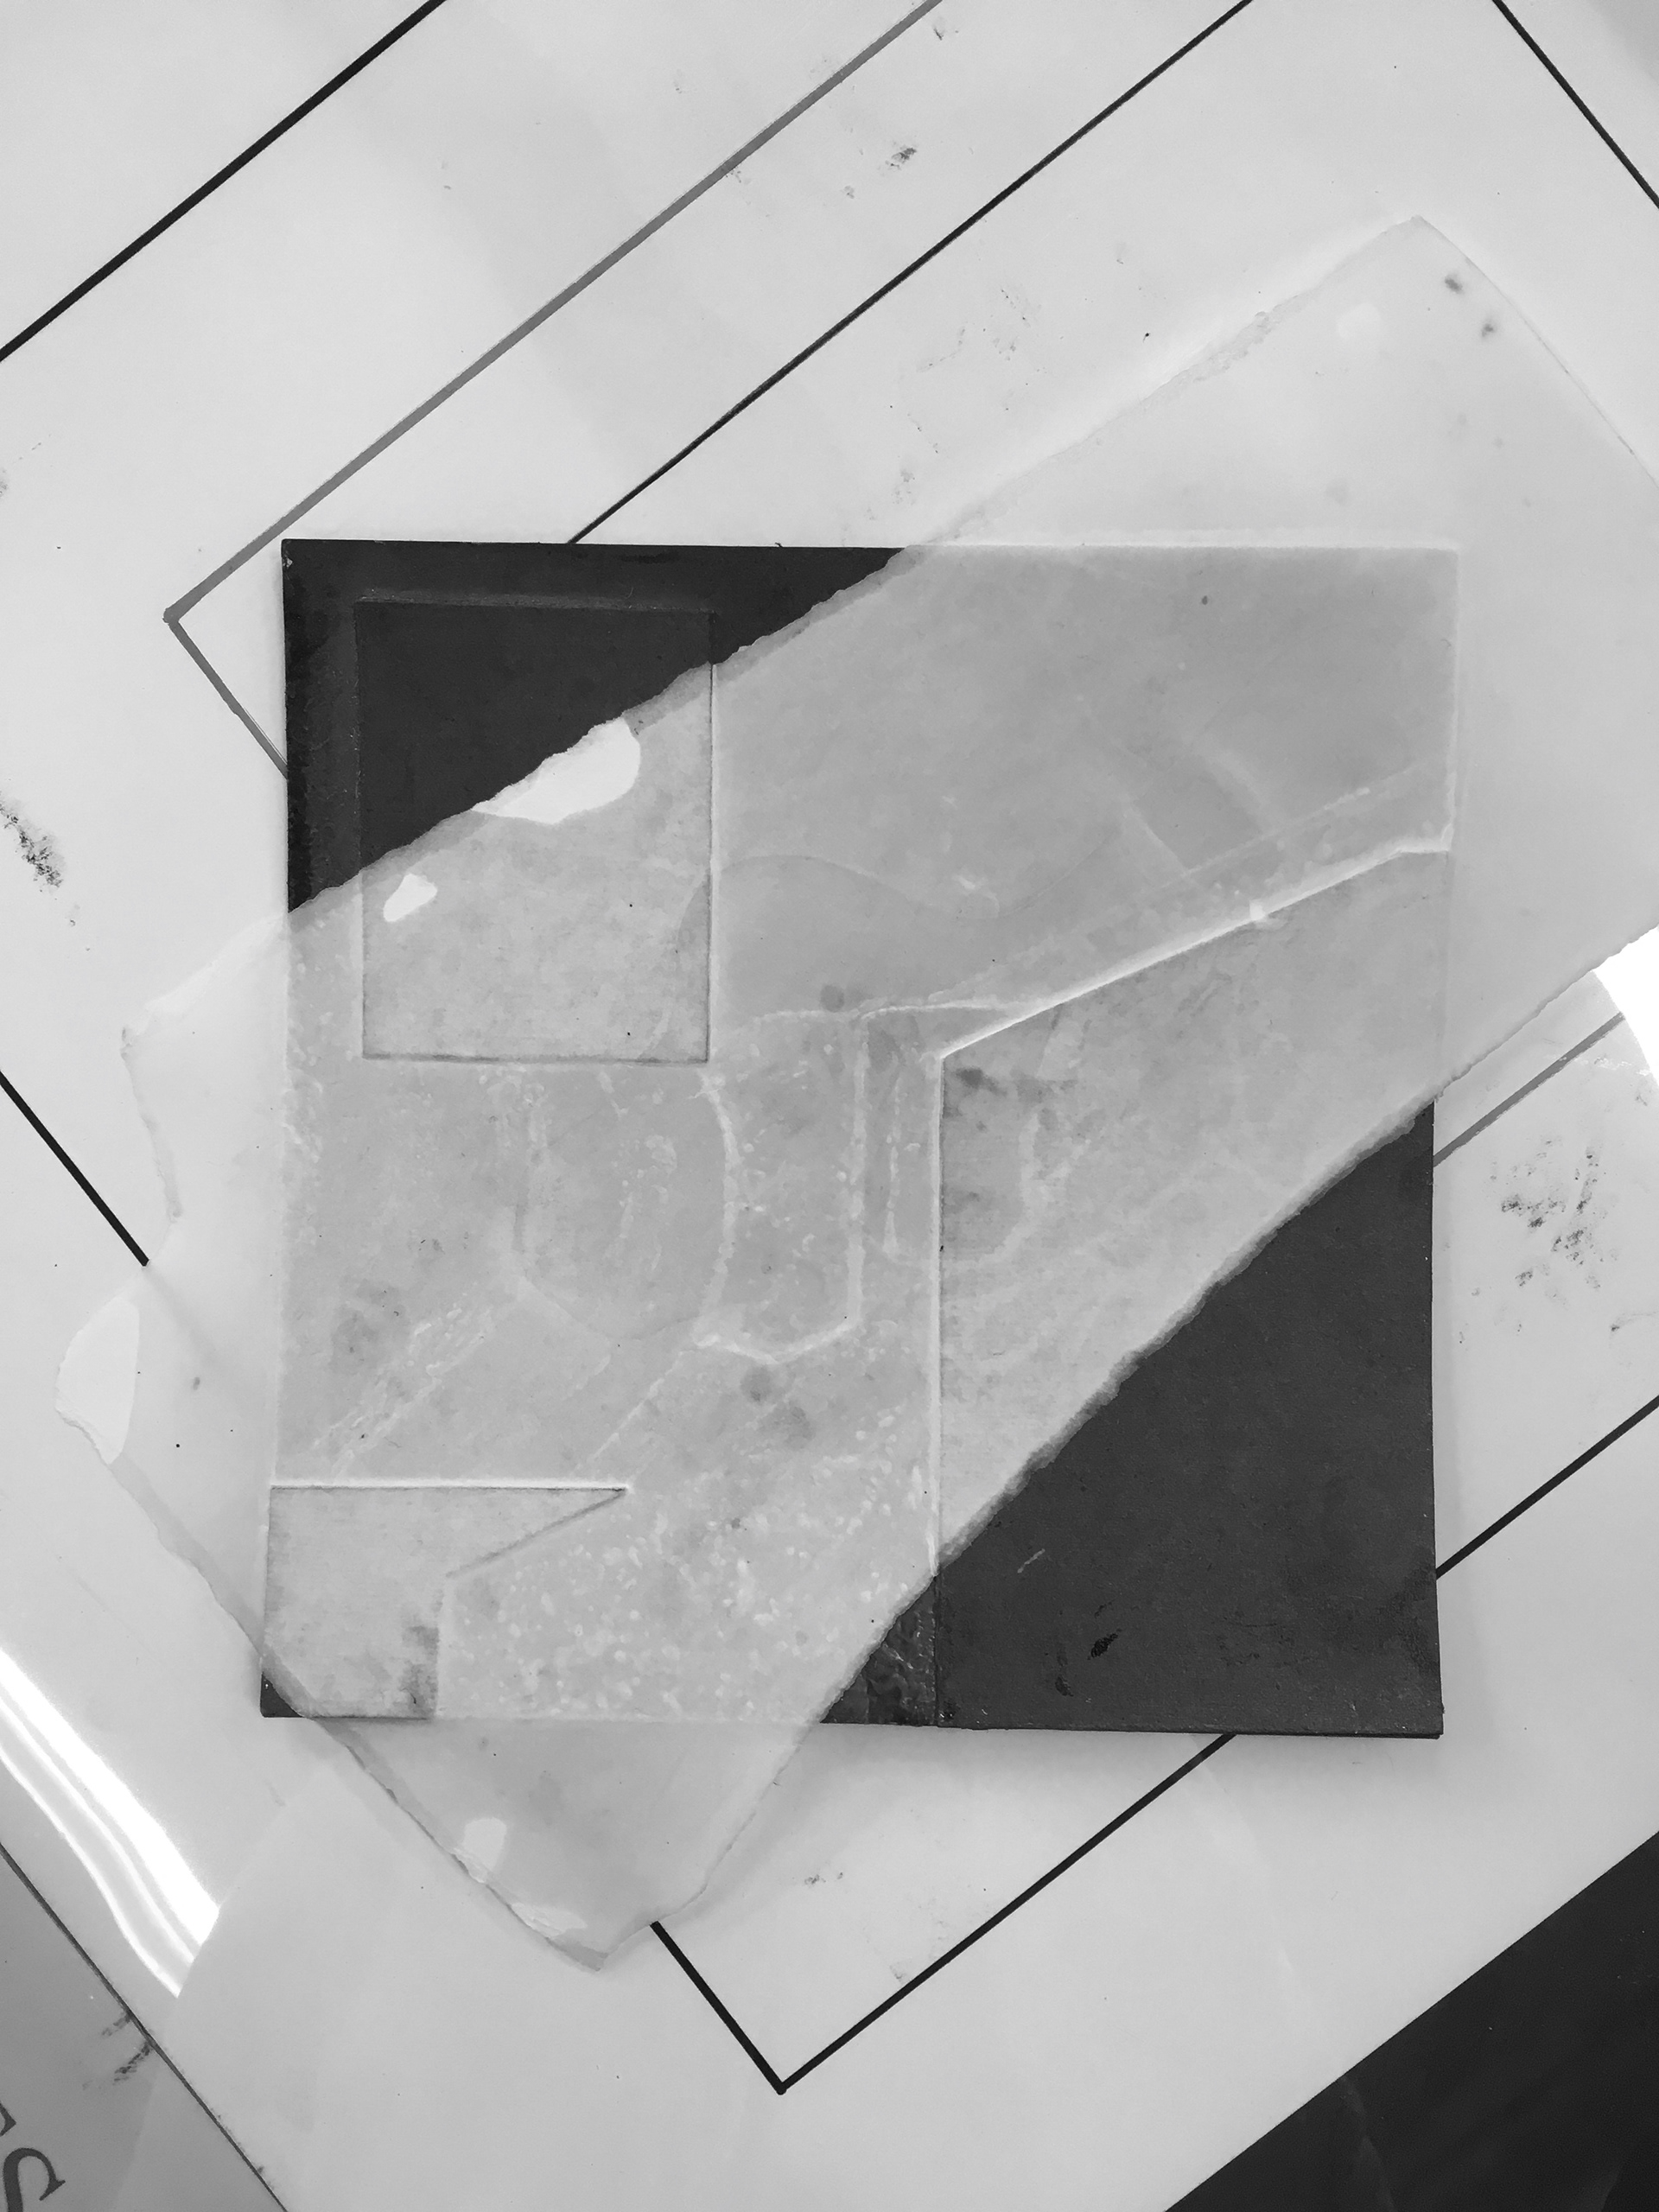


I tested out marbling the wax onto the paper, see how it works with the embossing.
I feel it looks to chaotic, to hard to understand whats going on.
ITs subtle when sunlight not behind it, but when the sun shines through it, it really highlights the marbling.
The marbling looks good on its own.


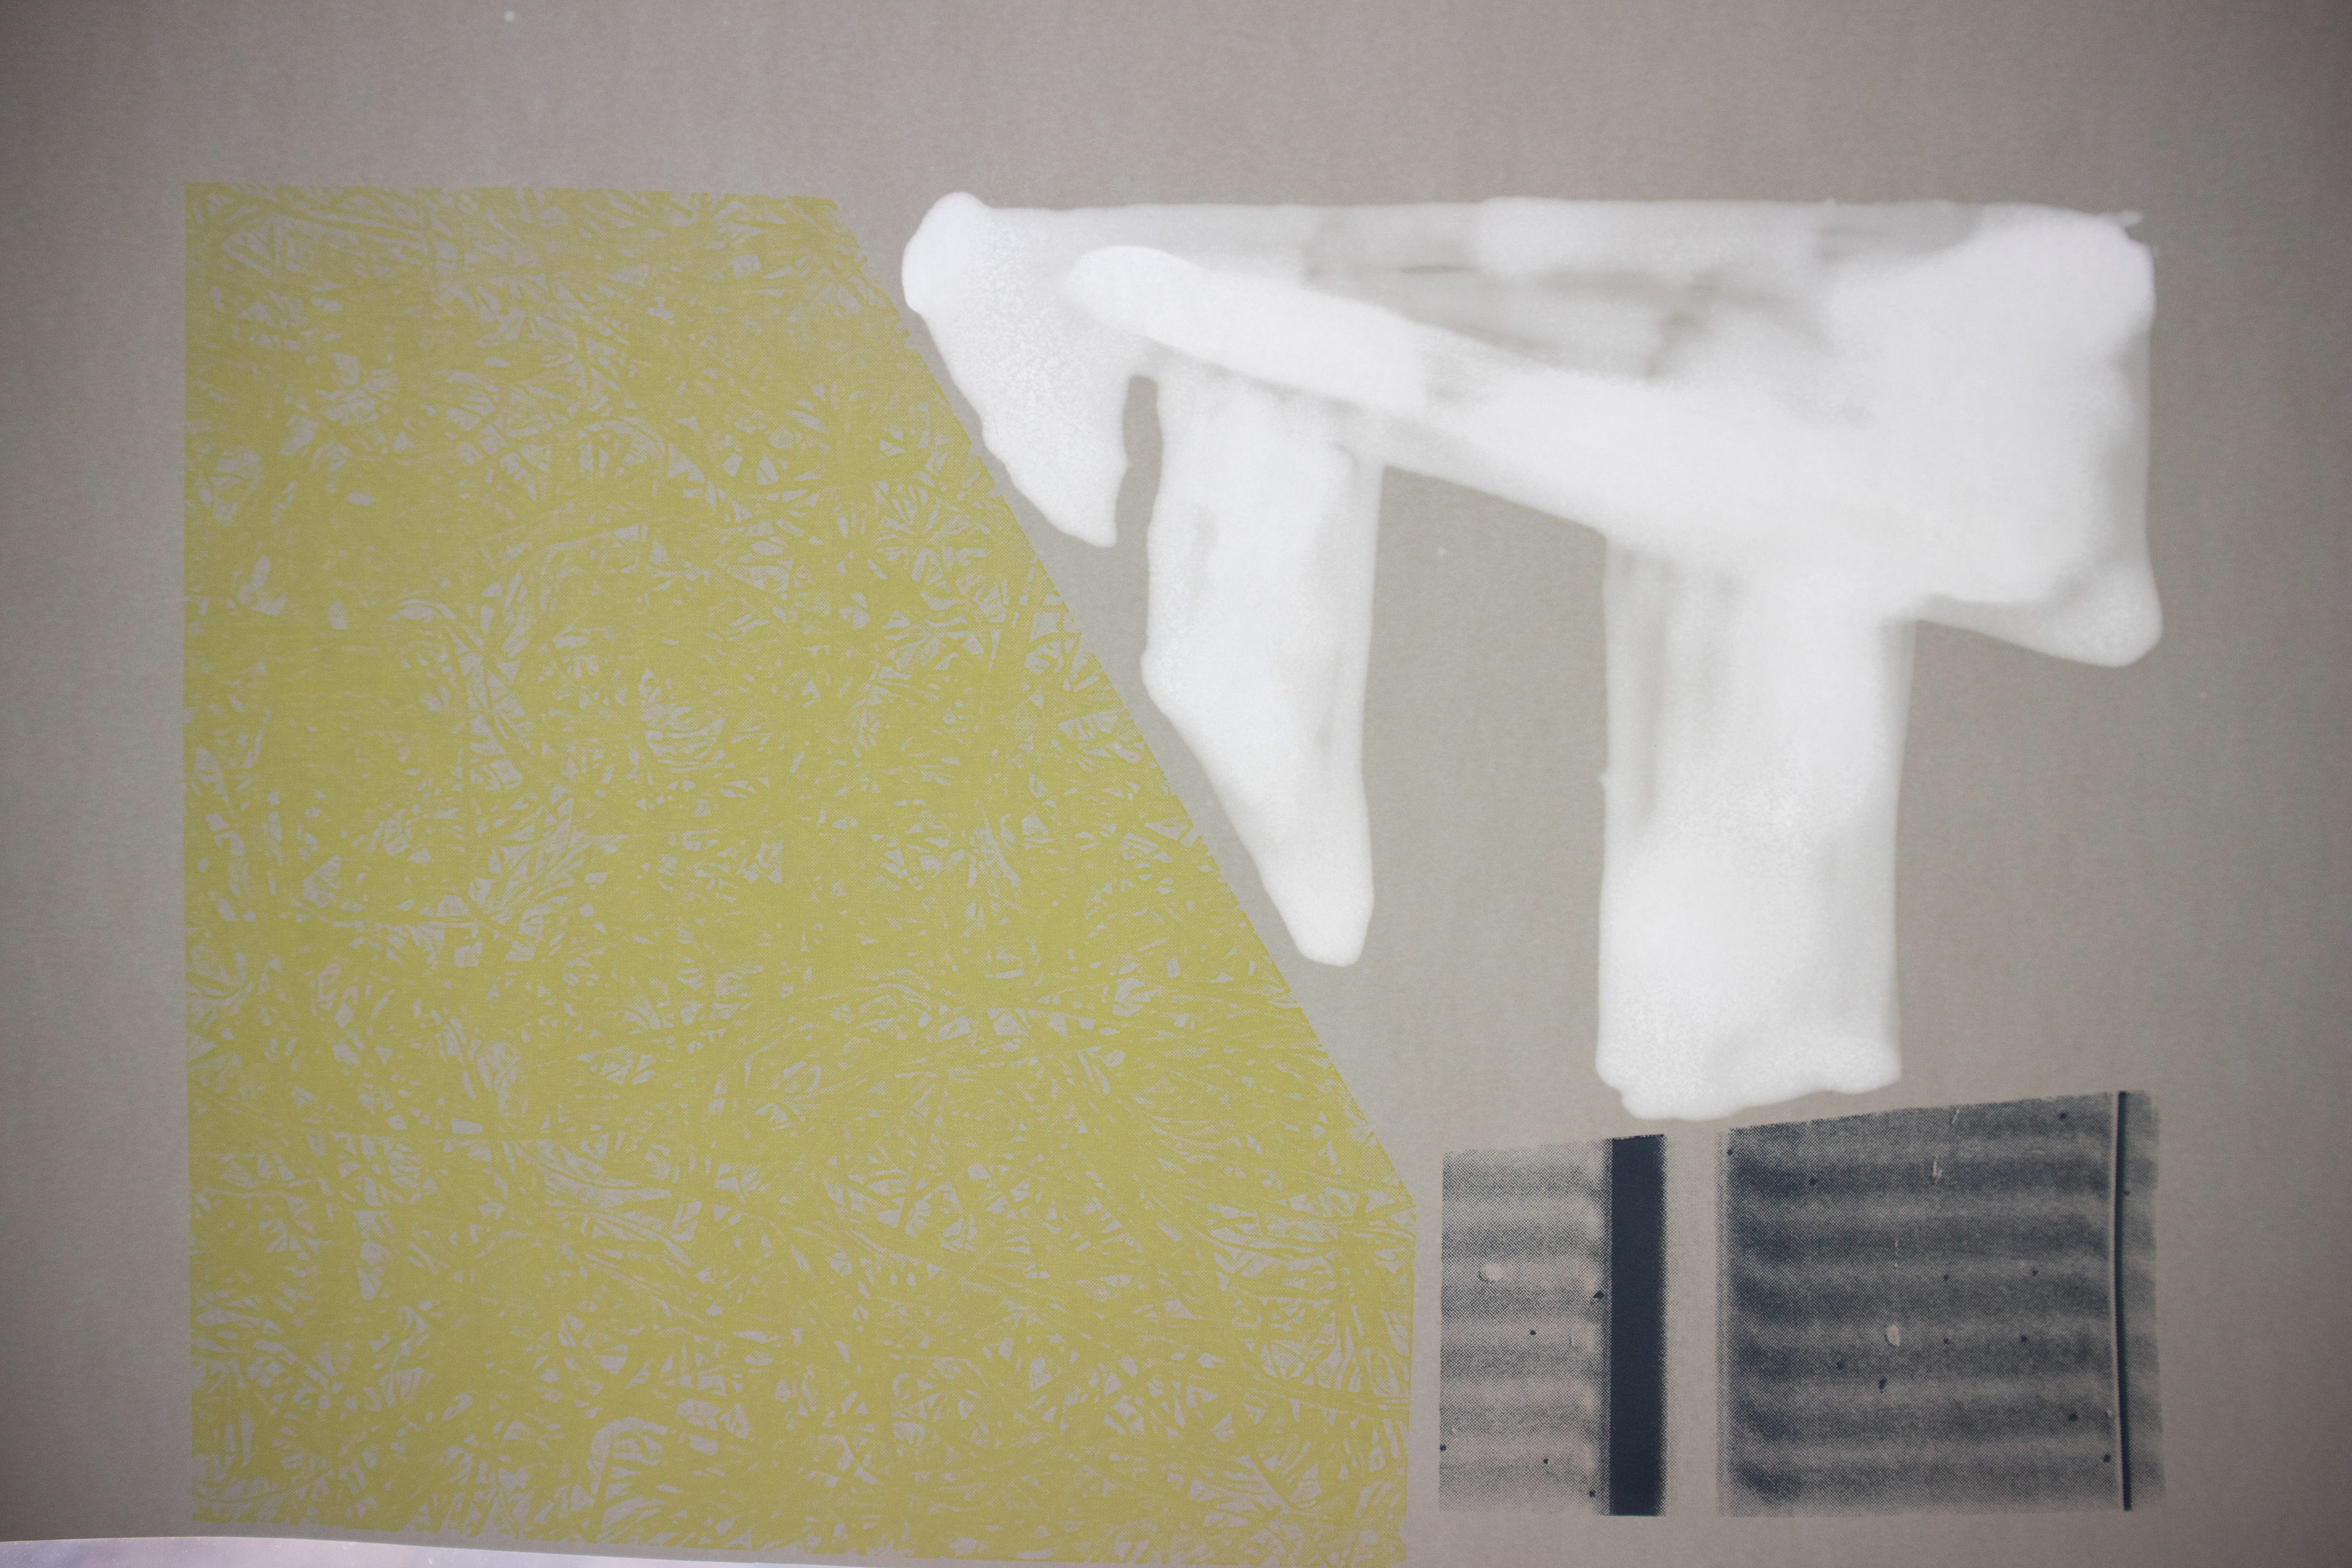
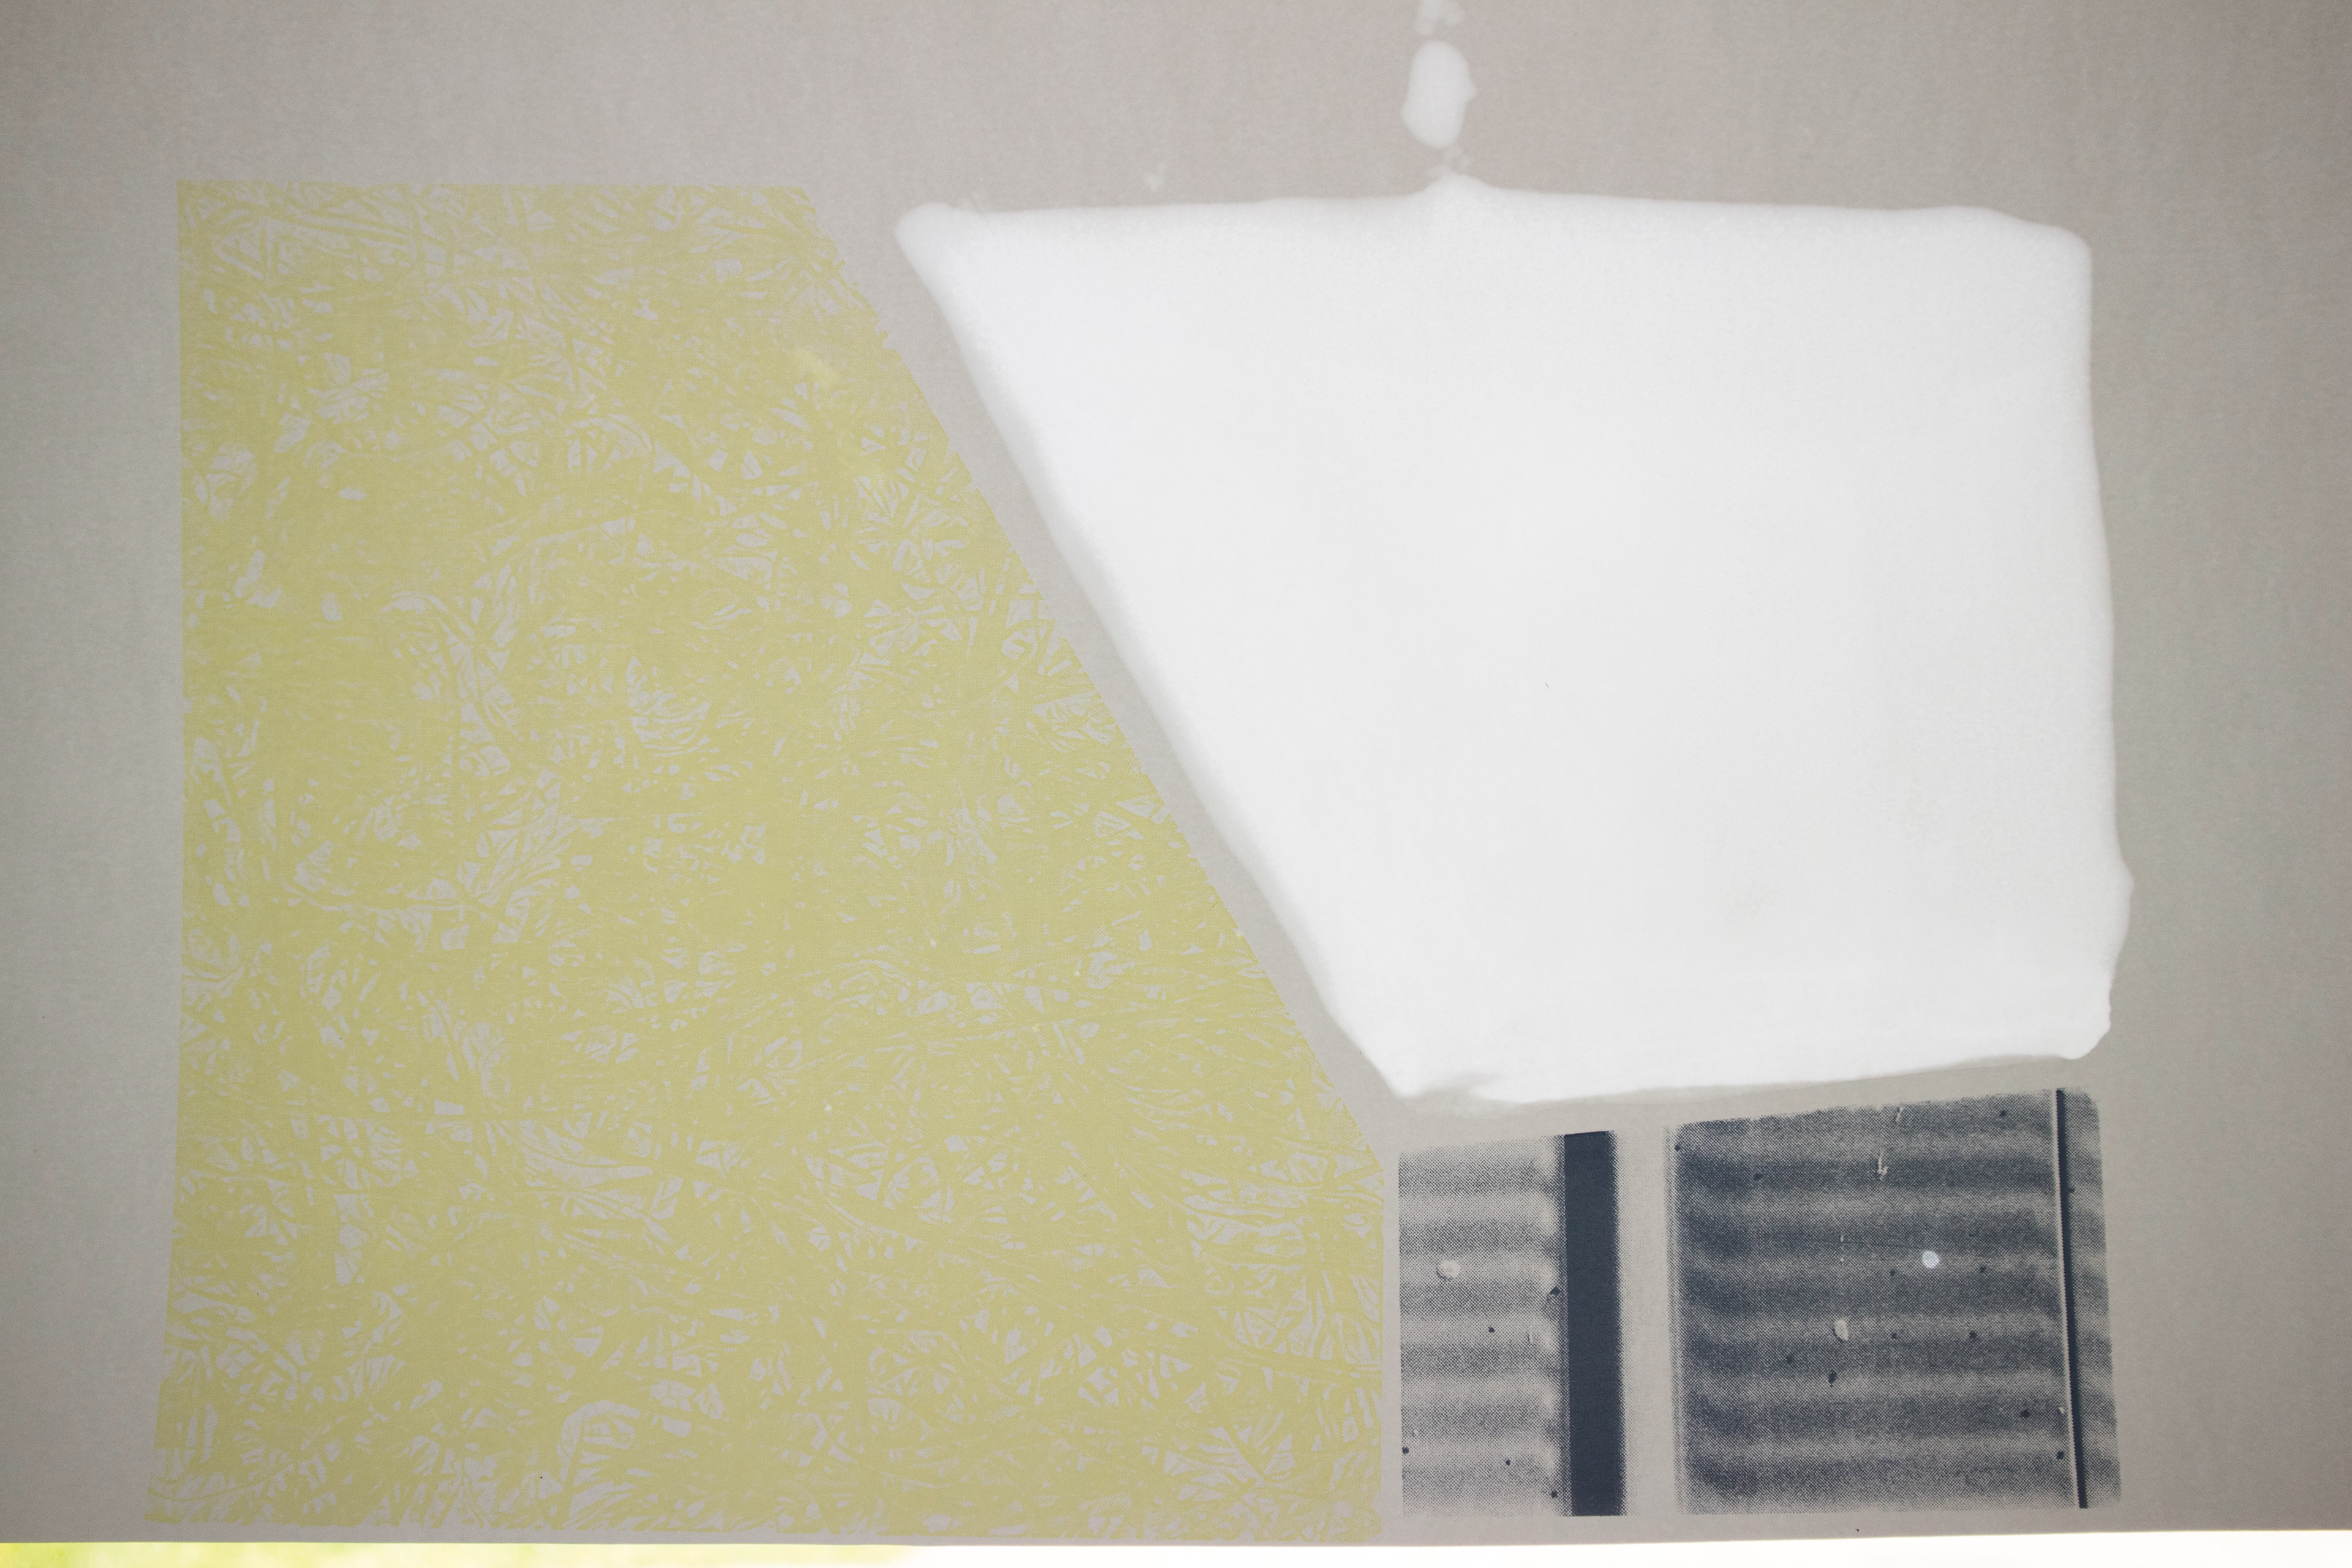
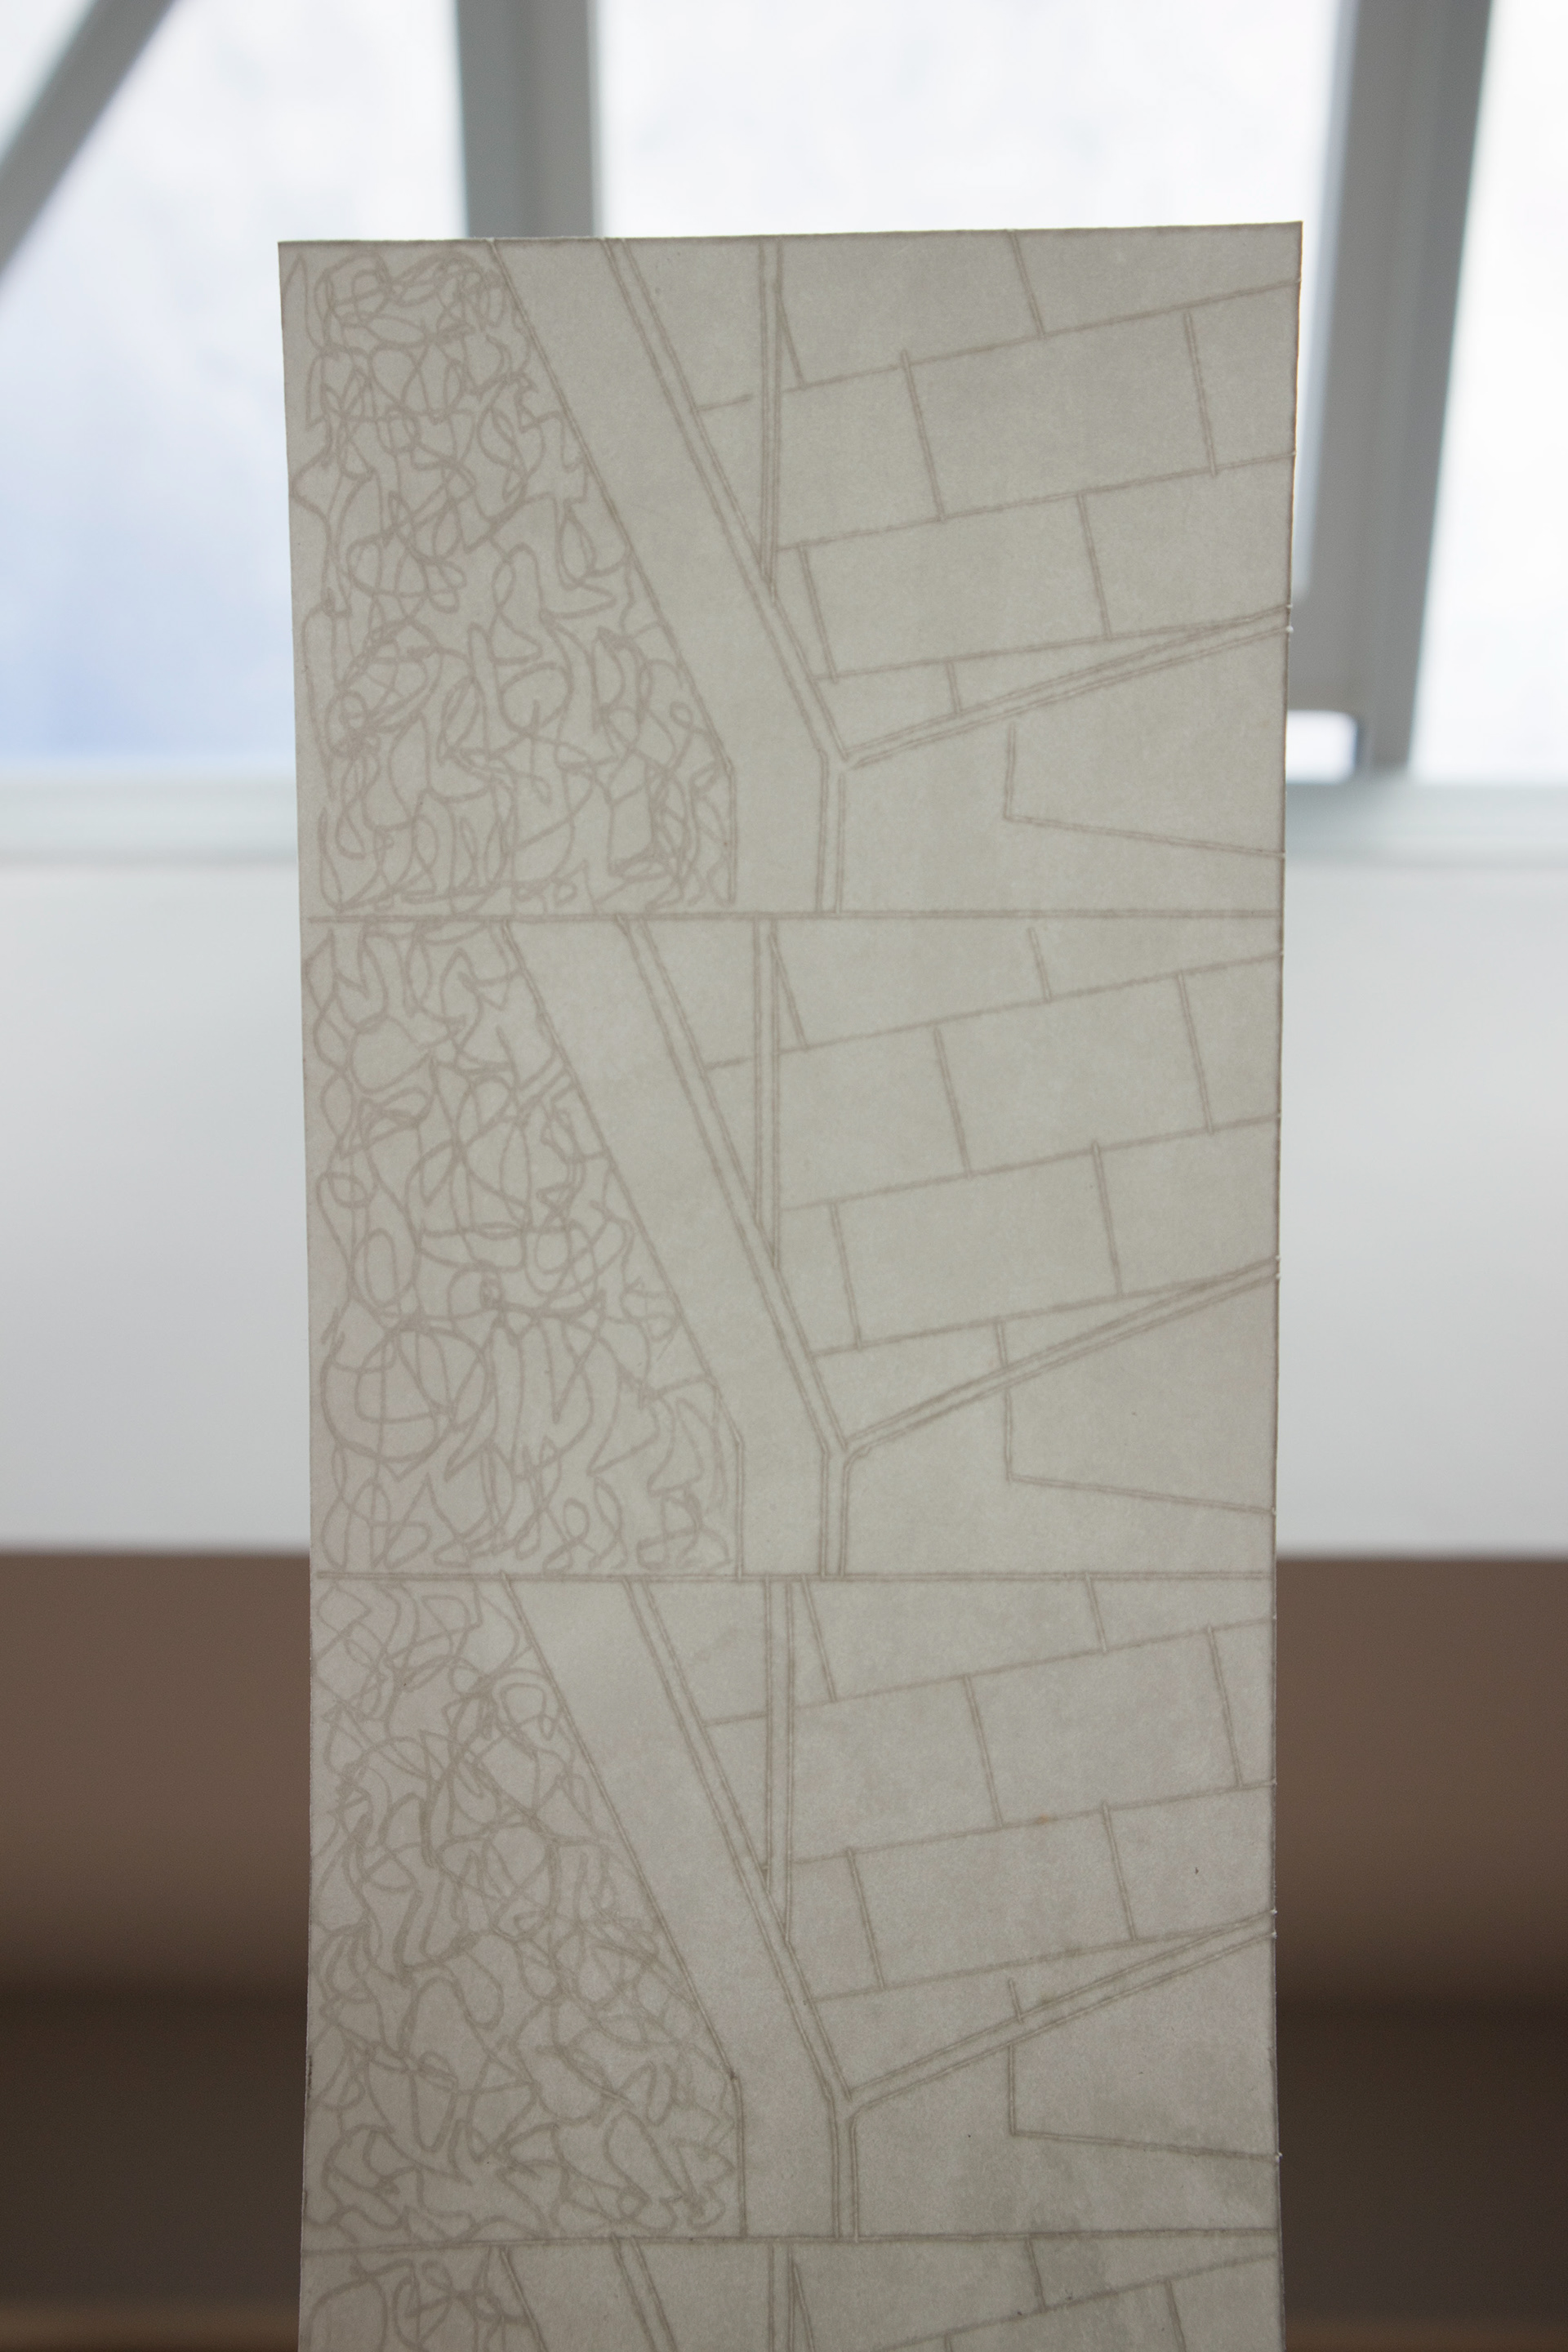
After these experiments, I marbled another piece but keeping it all solid with wax, just a subtle marbling from the layering. This worked better with the embossing, less information going on.
I like the quality of the paper, looking heavier that it is, and how if you put an object behind it, get a ghost like shadow.
DRAWING PRINTING SCULPTURE


Speaking to Katie Squires- said about it being a ghost image of the wall, twice removed, as the mdd wall is one removed then the embossing is twice removed. Be interesting to see this displayed outside it reference area as it far removed from it original source.
Thinking about the wax piece in the Herbert Gallery, I'm focusing on my pattern from my film of the light moving across the wall. (In section explore and respond)
I am trying to figure out exactly what colours or even if I want colours (print) with the embossing. Not sure if it all works together.
Testing out the luminous qualities of pastel on newsprint. Starting to be intrigued by using certain mediums on certain backgrounds, where it is up to the viewer to change there stance to get a different perspective.
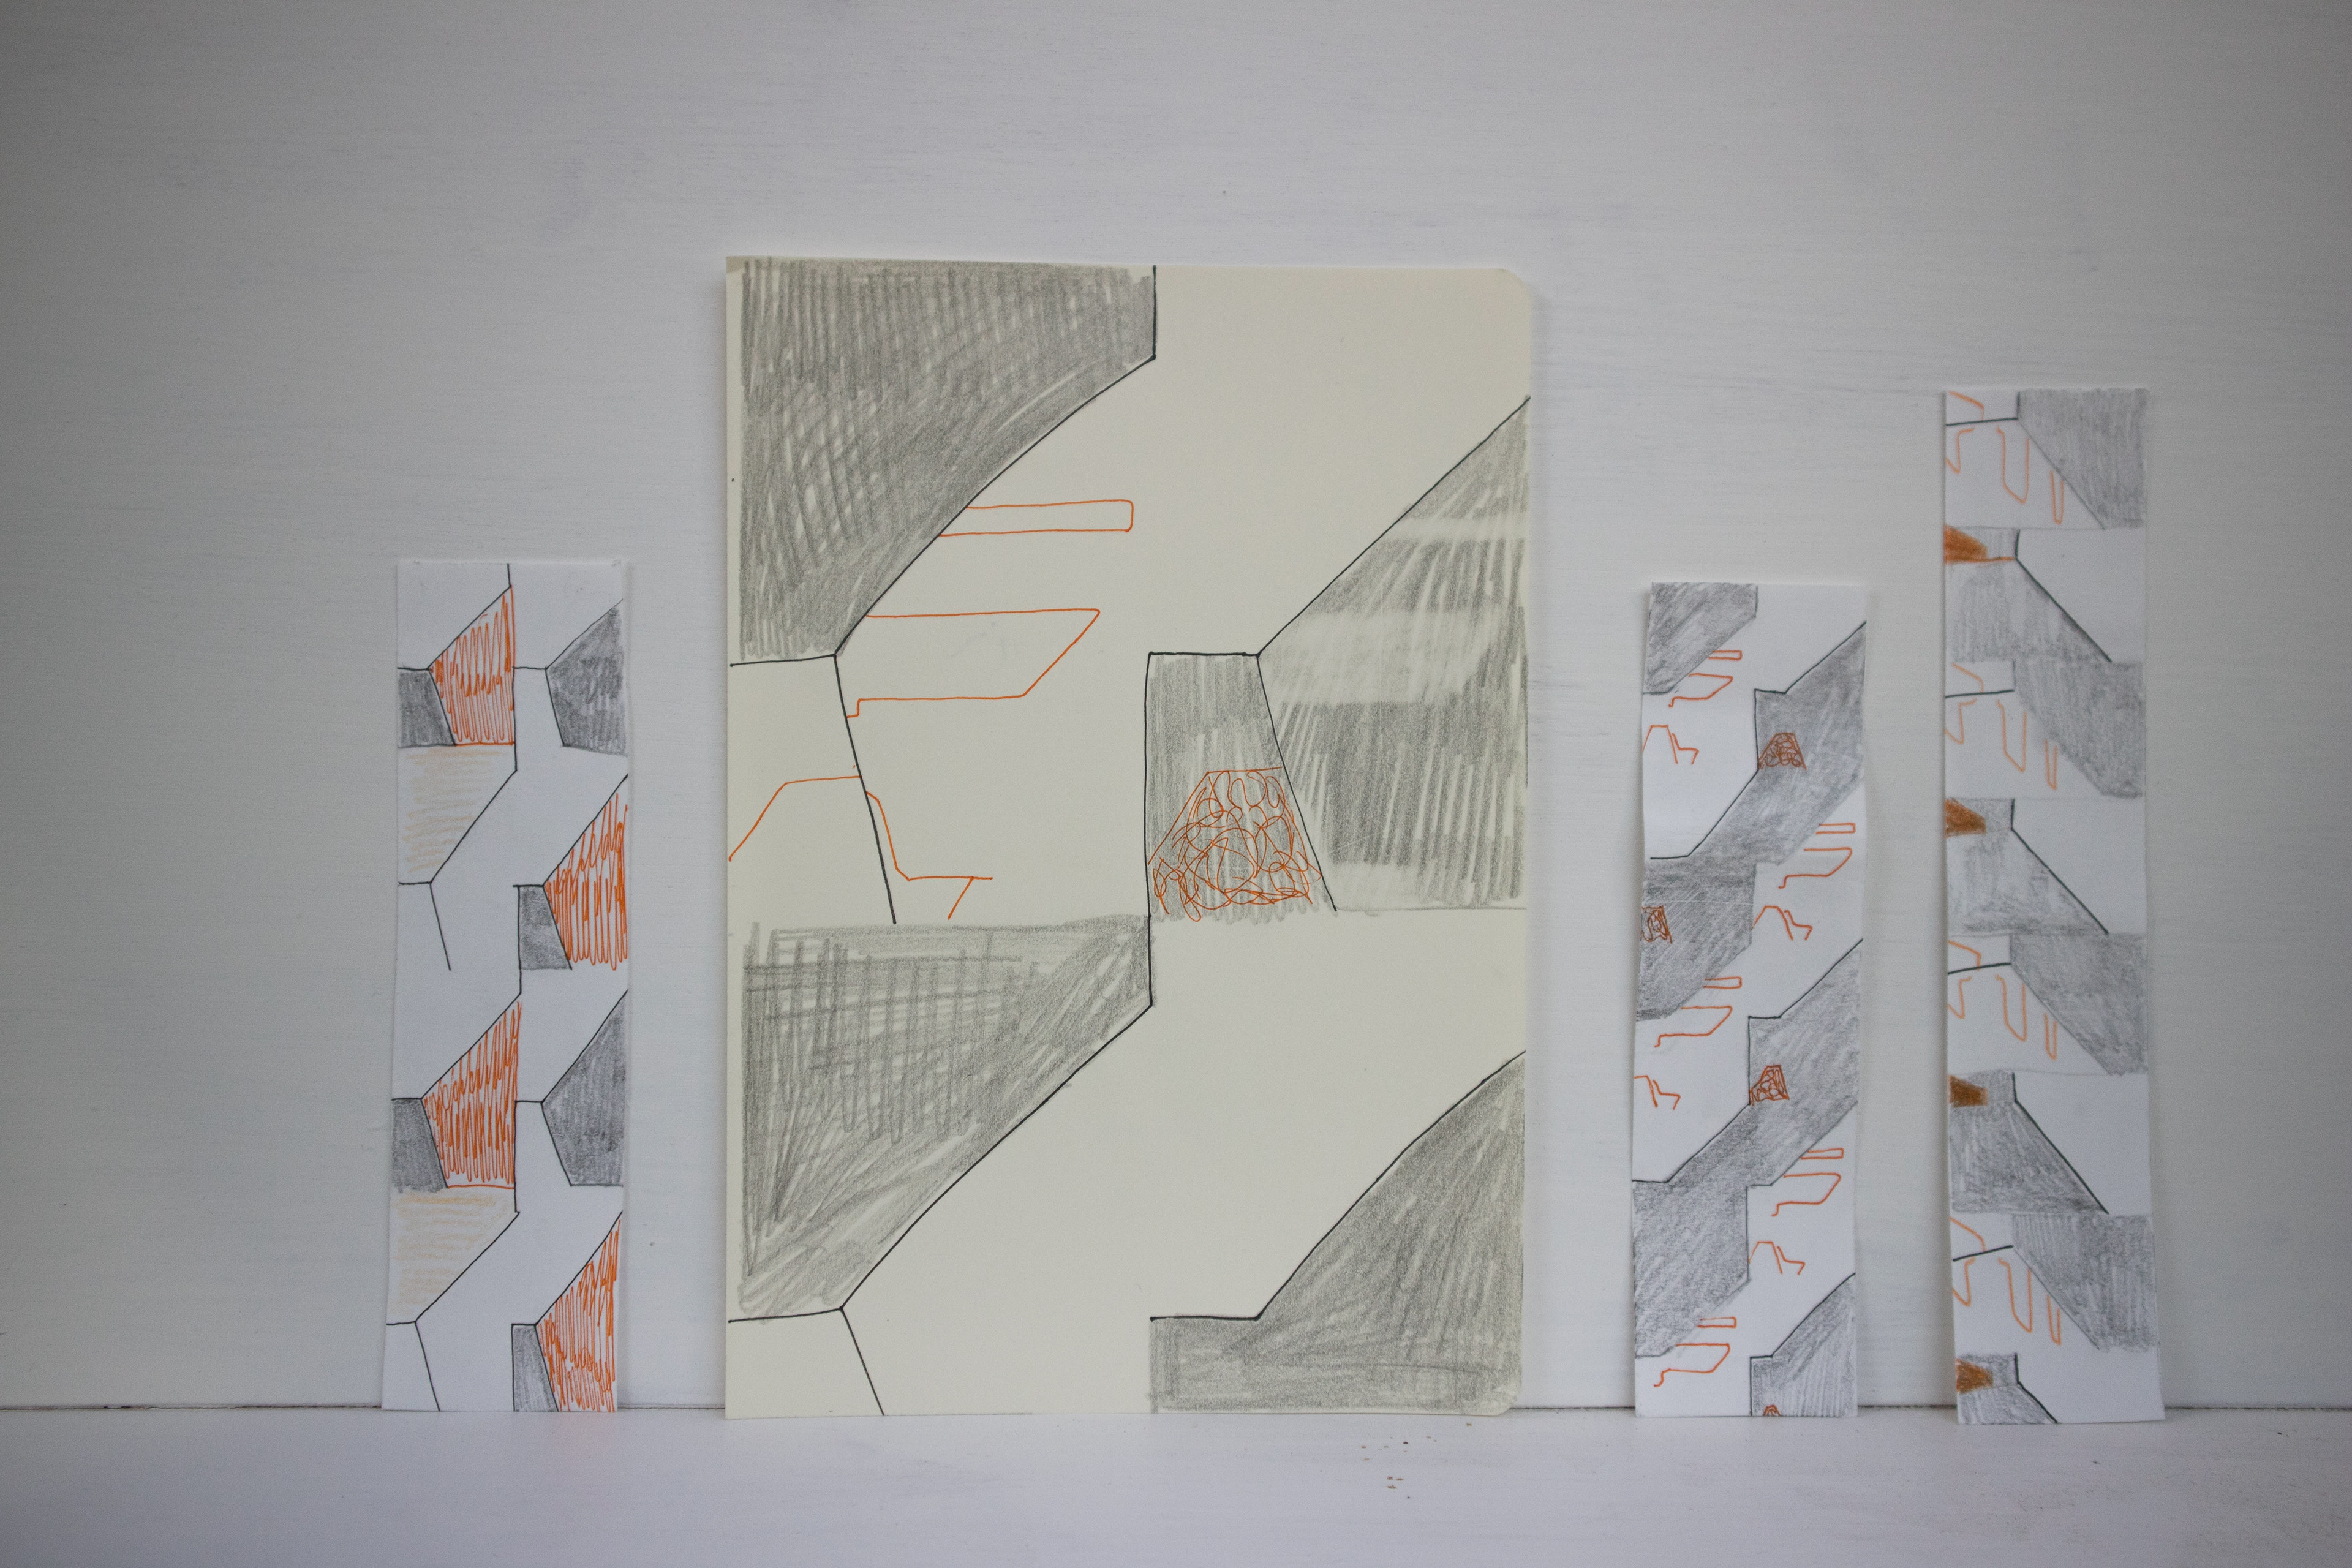

Testing out ideas.
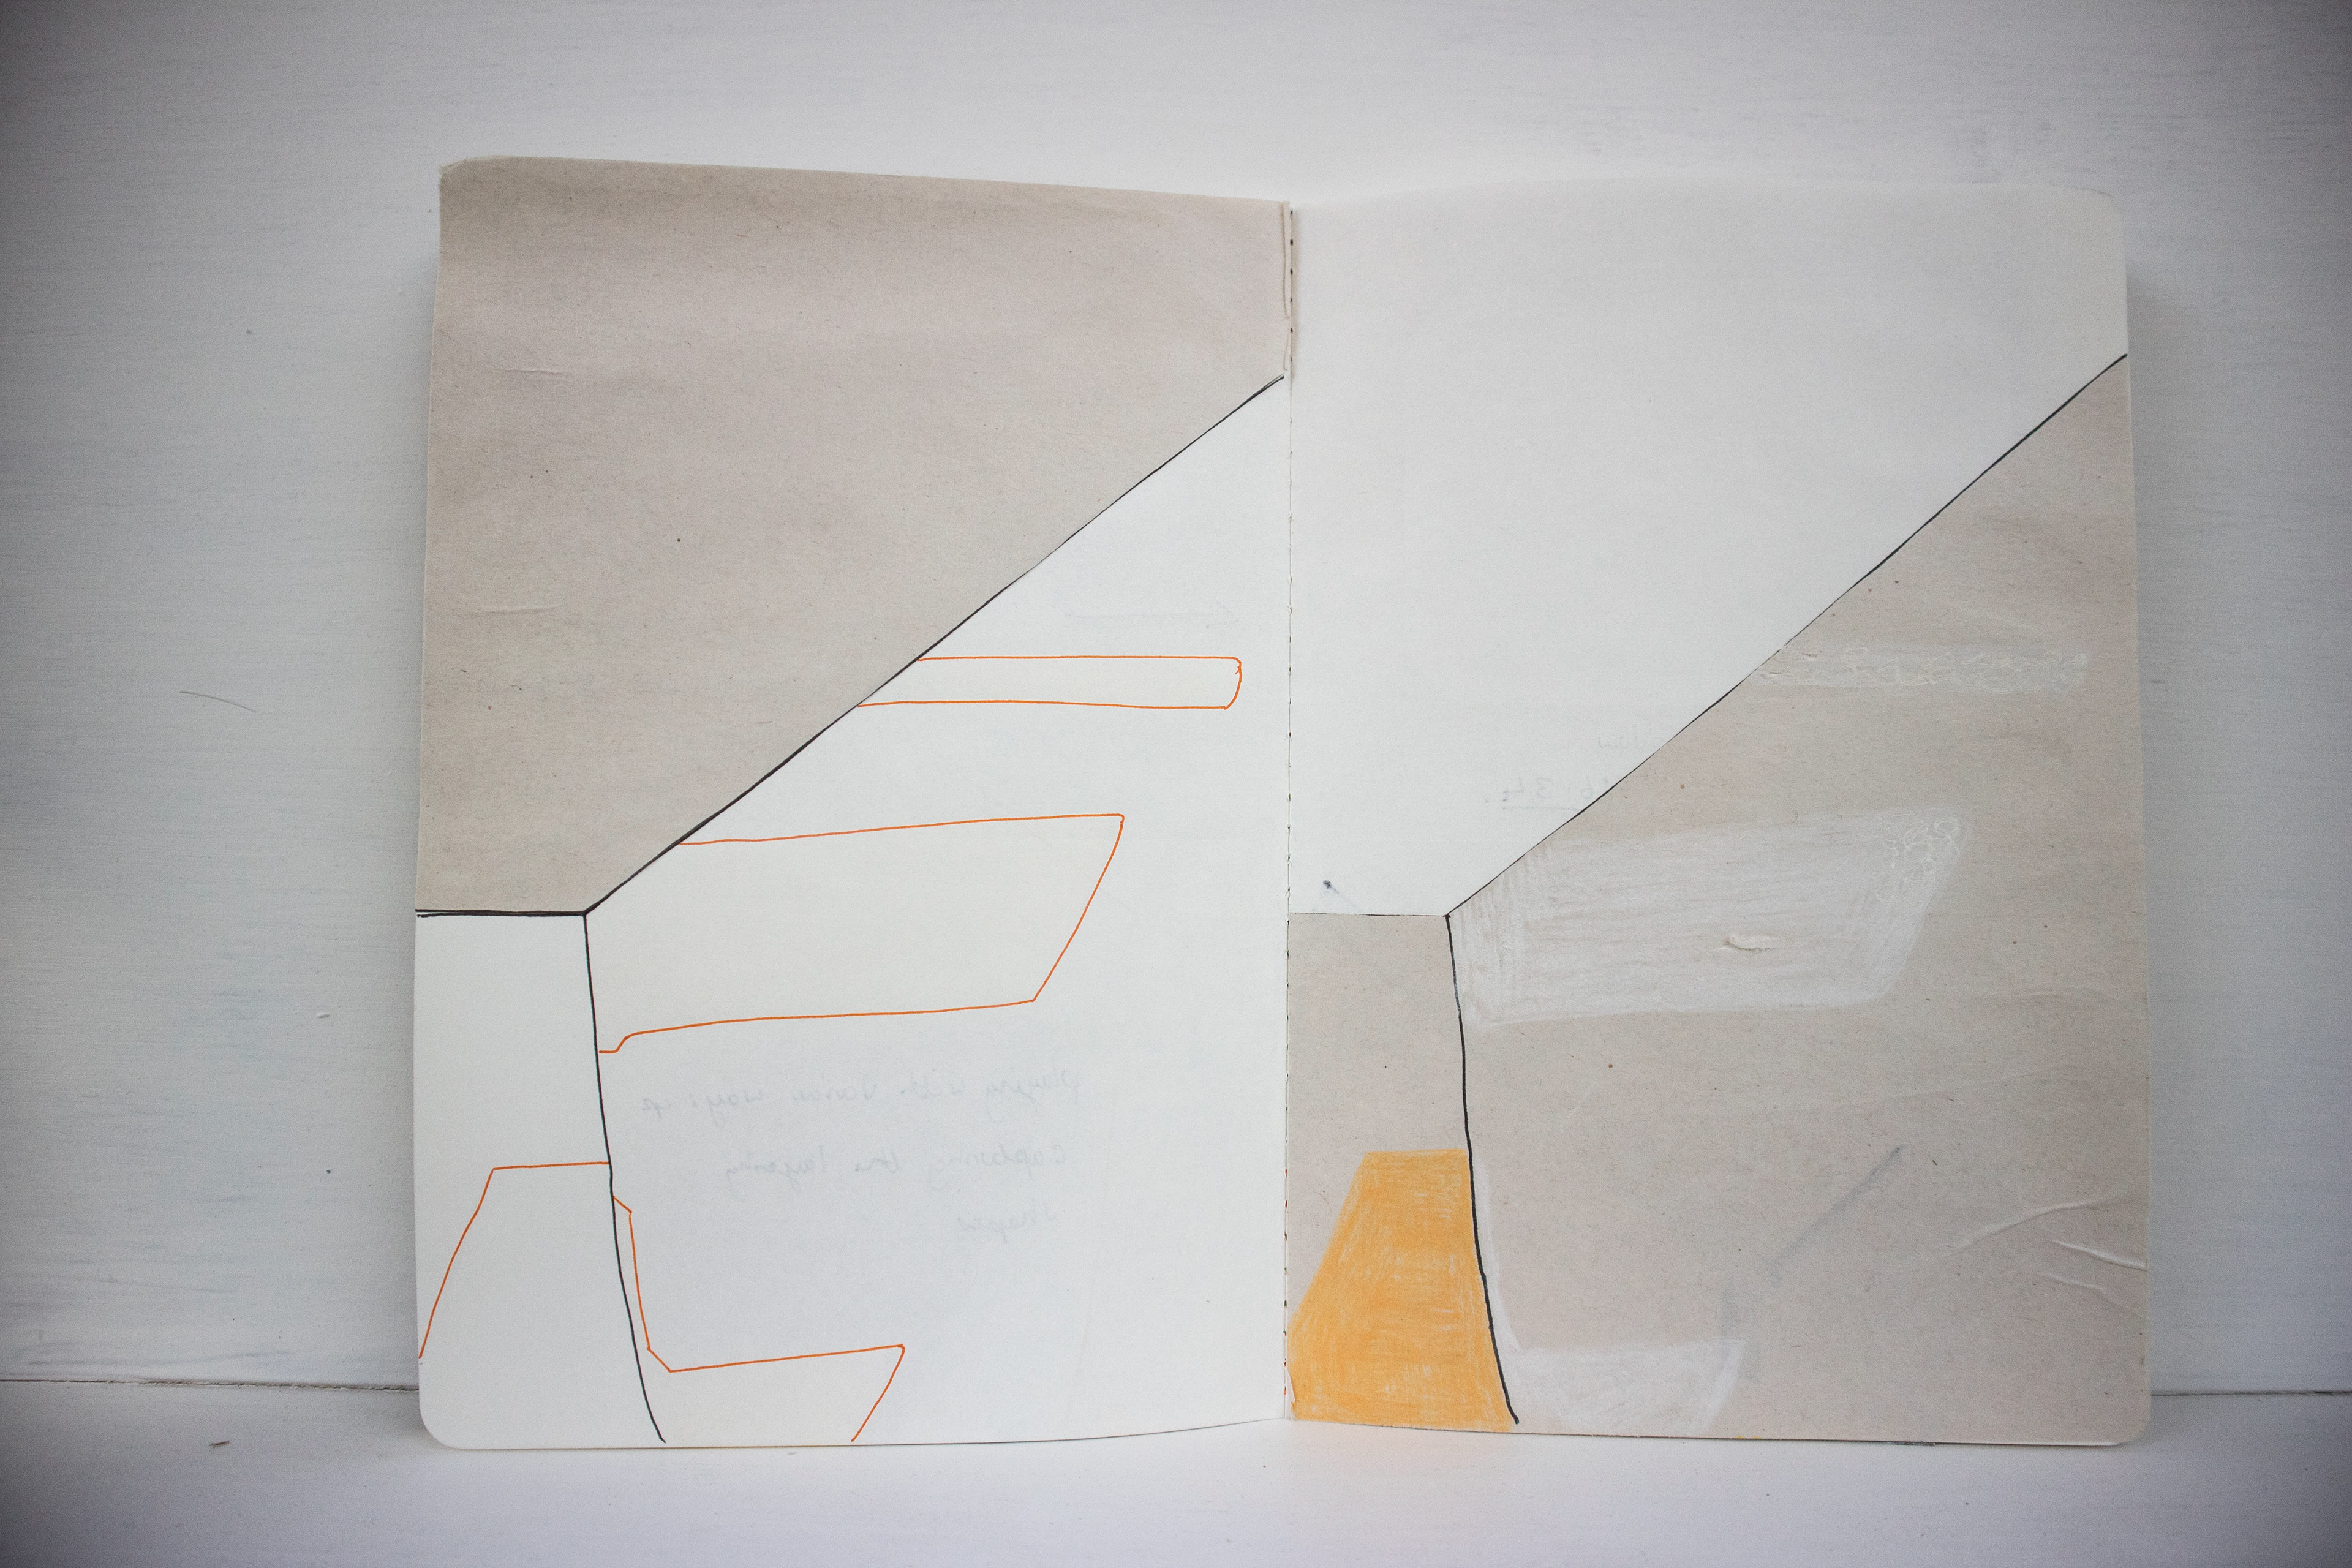
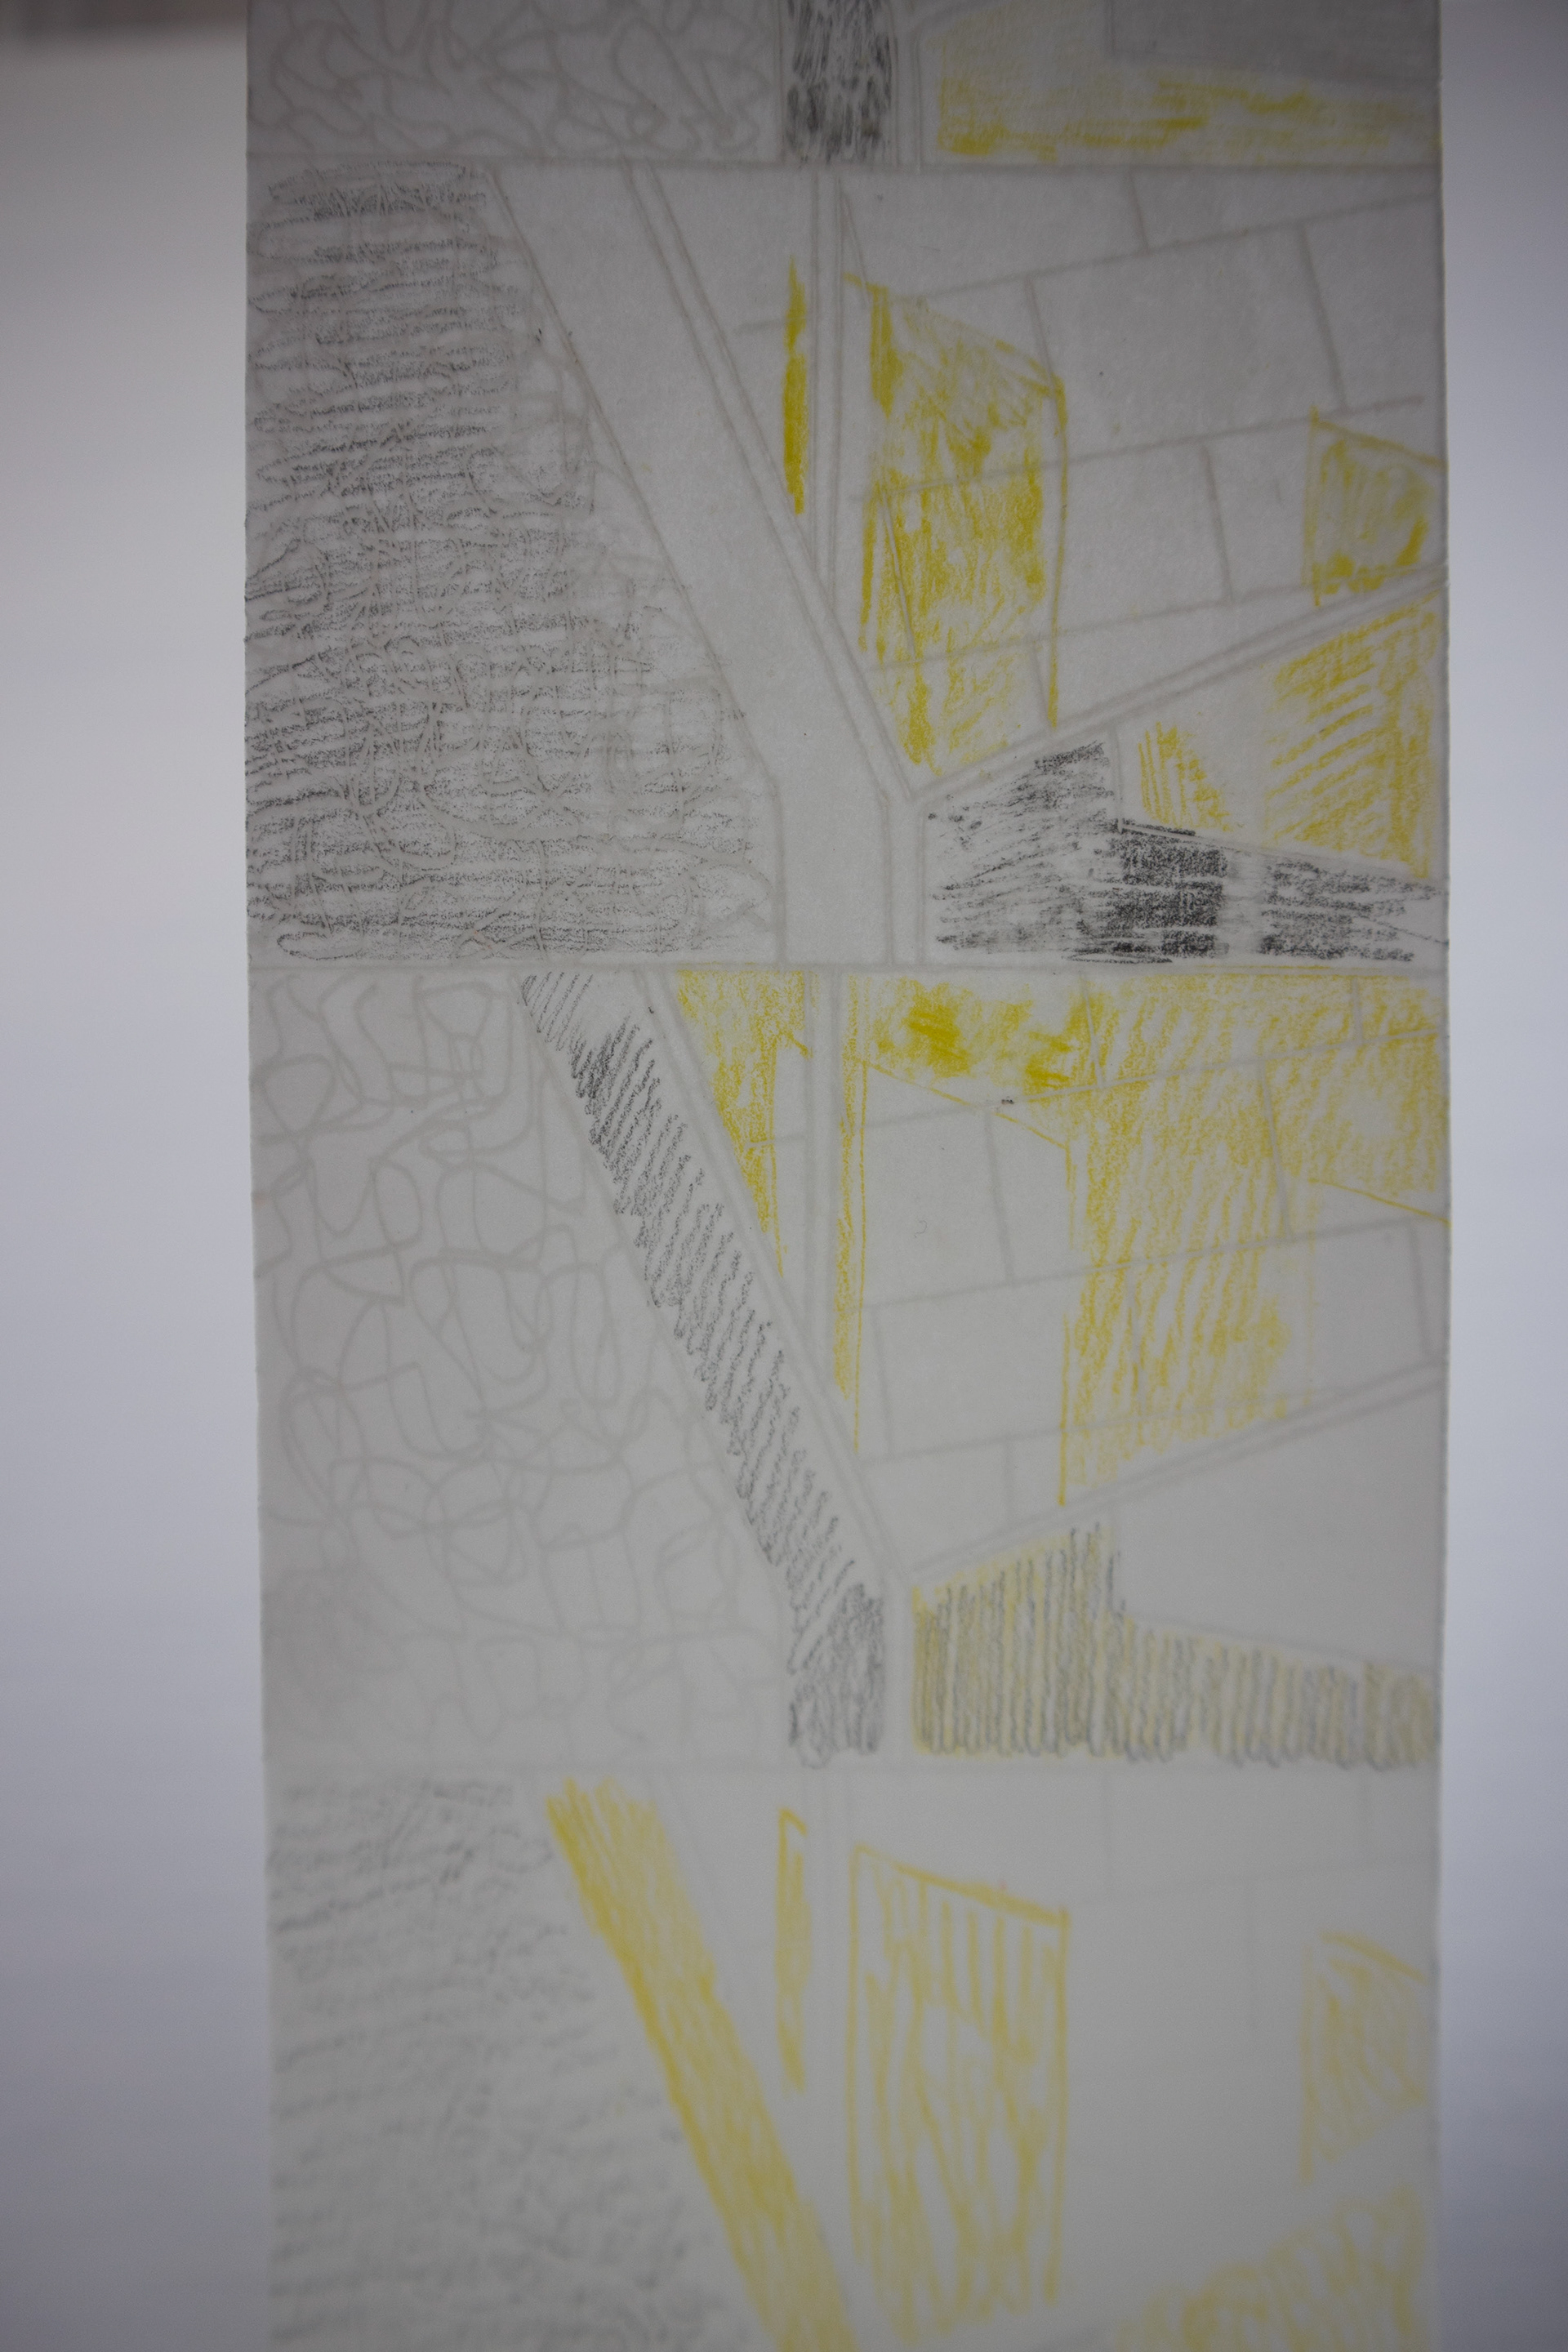
playing with print and wax
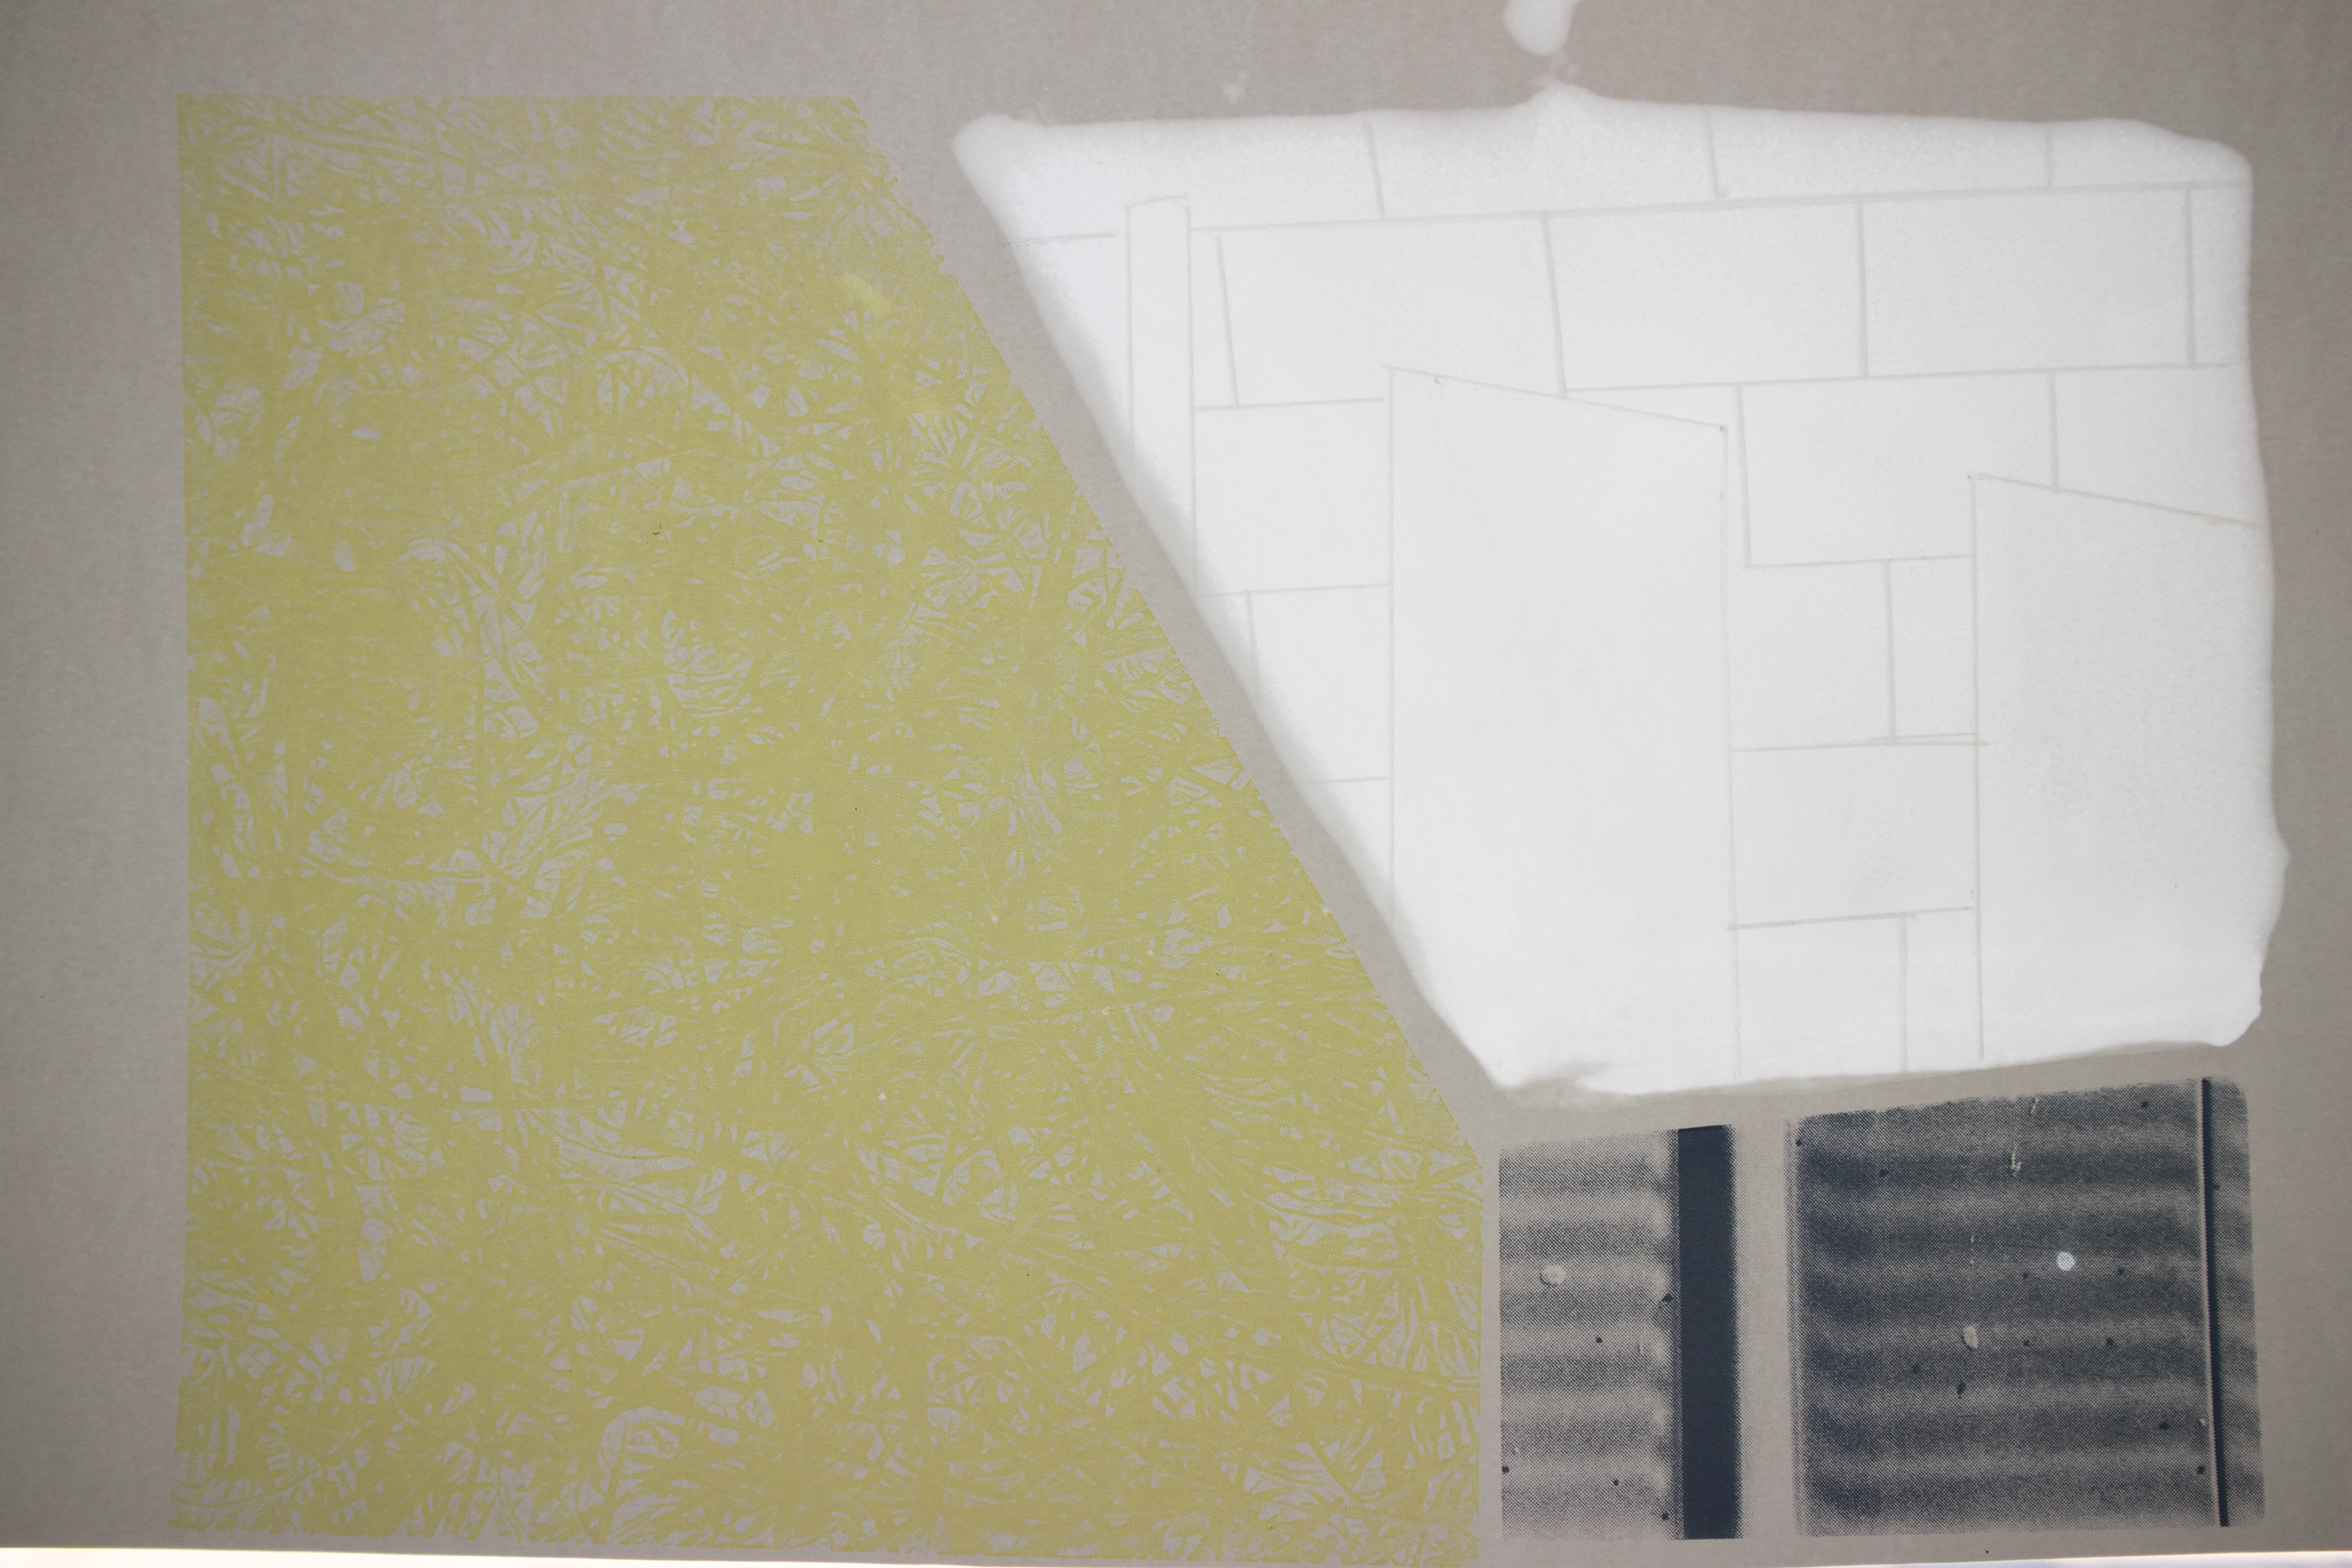
the first two show the print in wax and the light movements in wax (2nd photo has the brick worked etched on unwed paper, can't see in light).
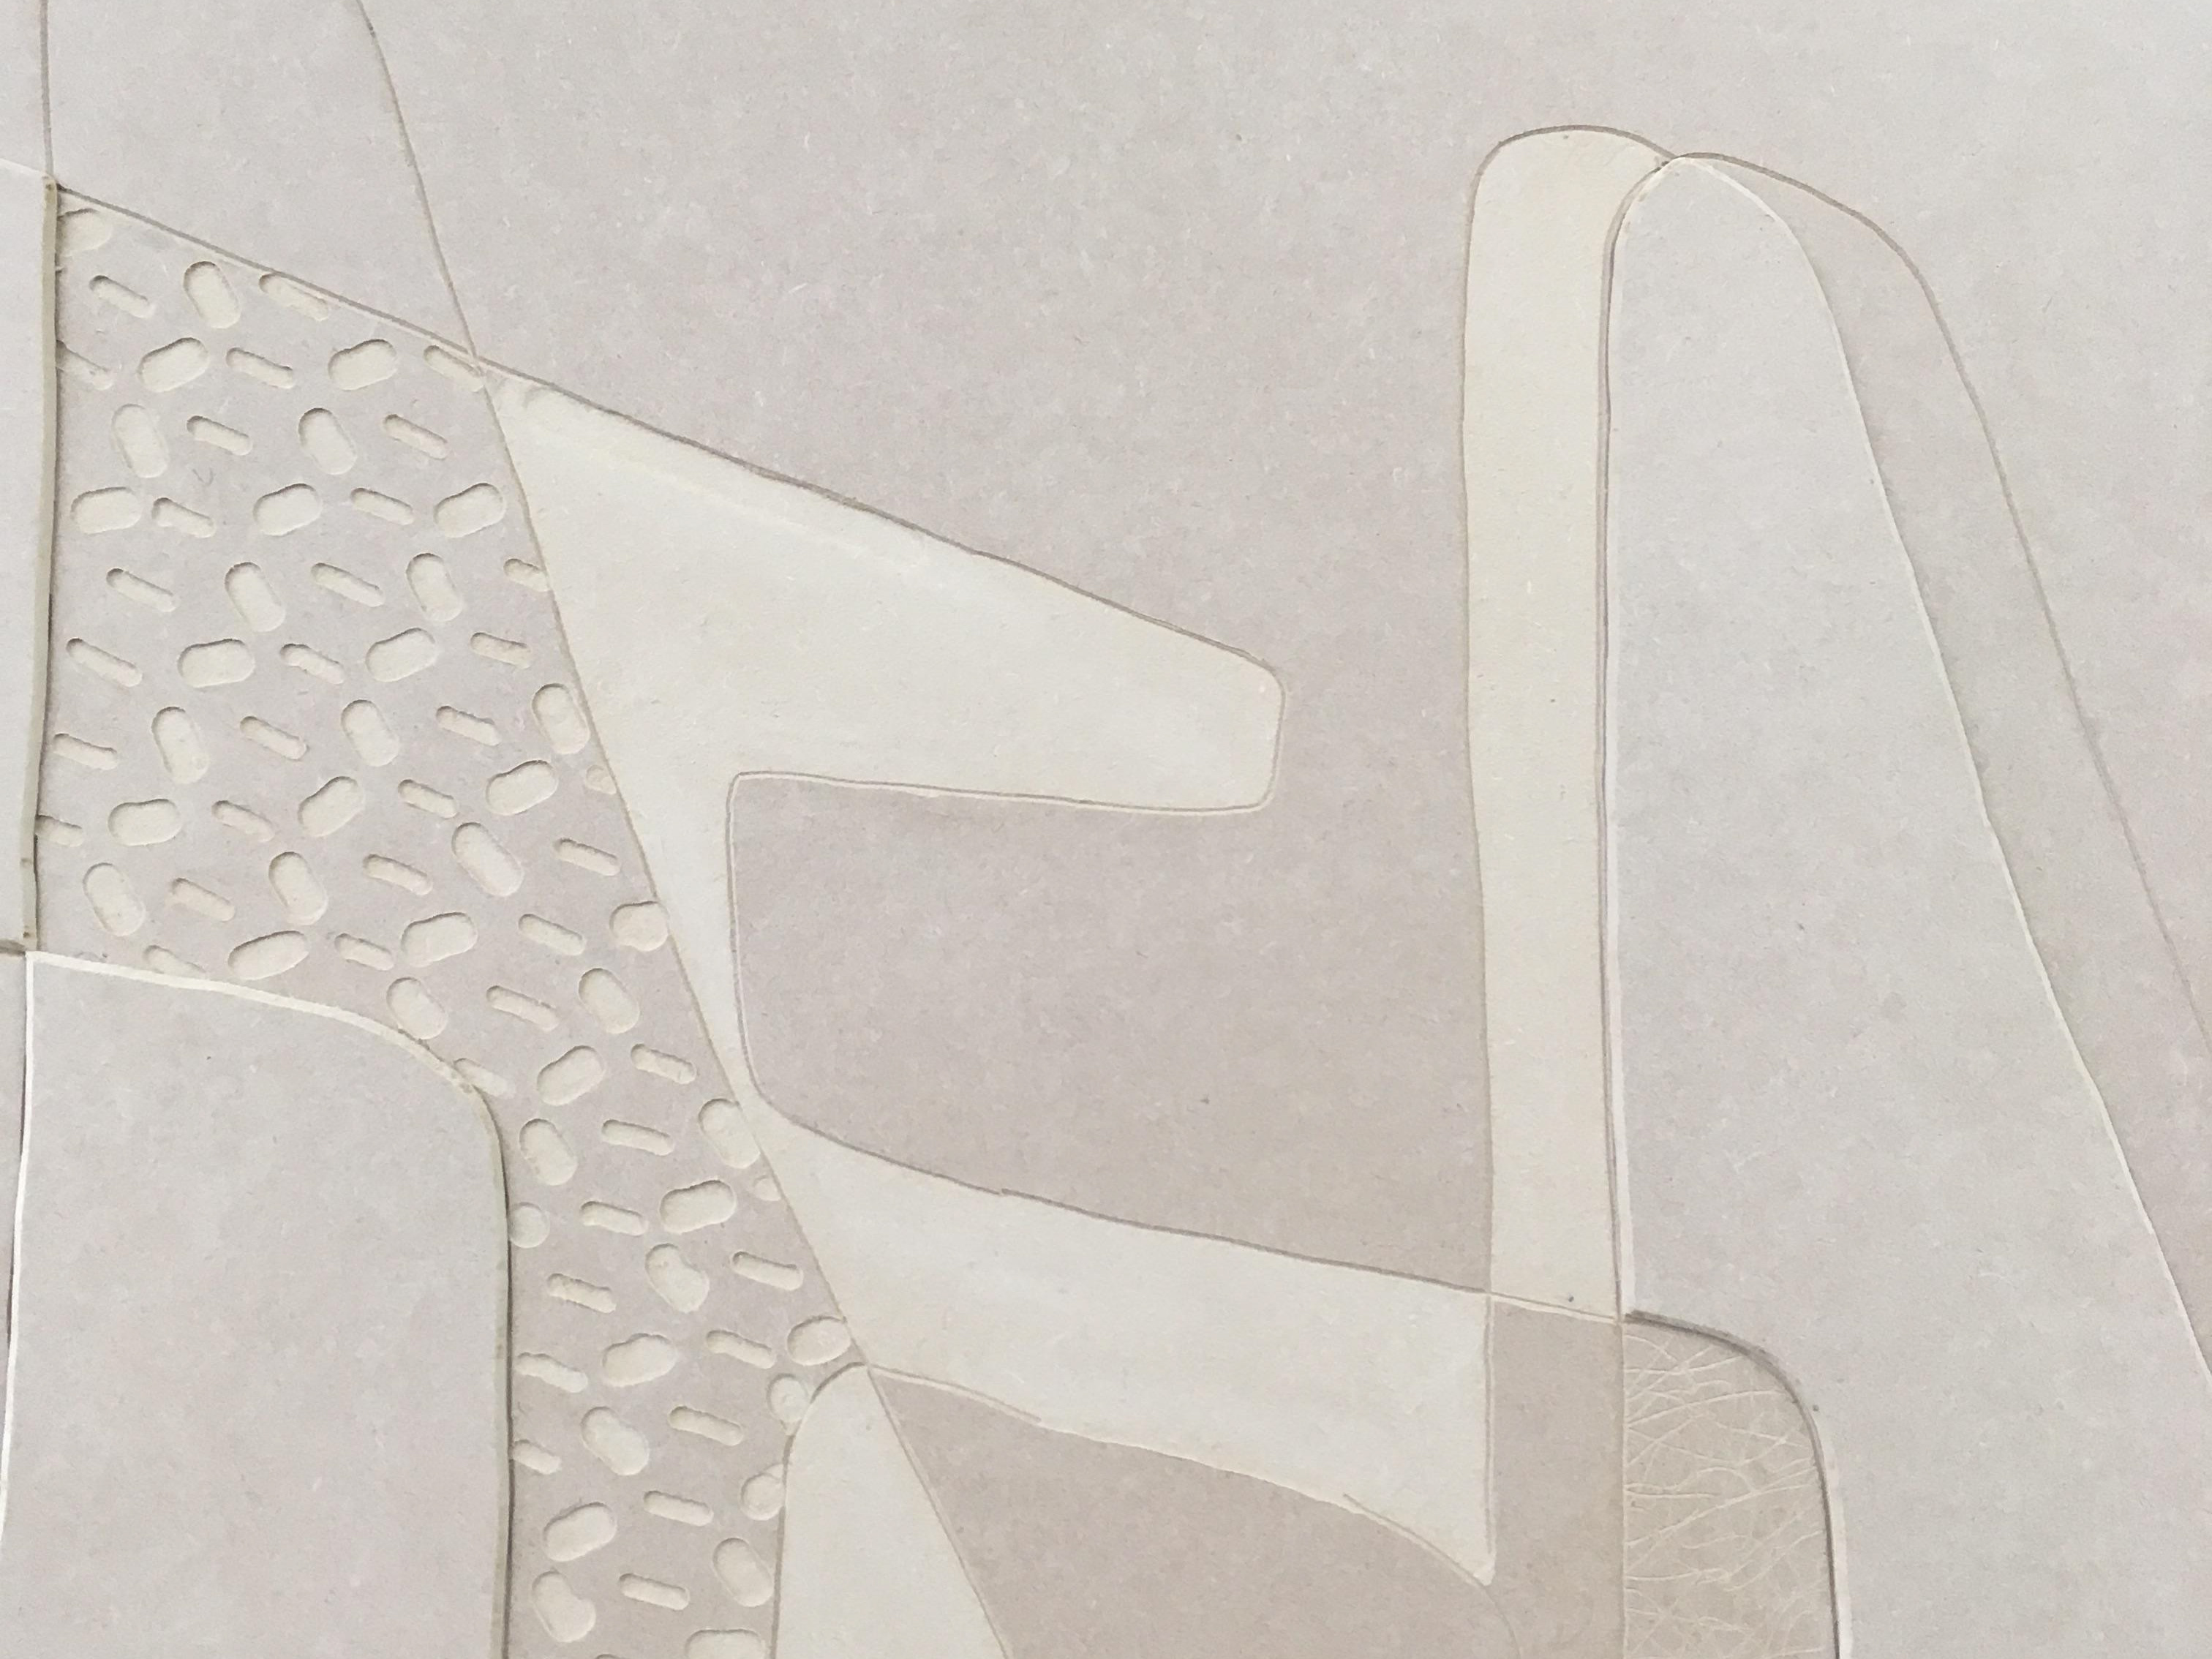
The next 3 first show the negative part of the wall painted in wax (I enjoy the painterly effect of wax), then I painted over the whole surface to unify it as one, then I etched into the wax surface the brick and light shards. I enjoy the drawn effect.
The last two images show the print left un waxed and the brick area waxed so i can etch the light and brick effect.

I enjoy the painterly quality of the wax


Changing light
looking back at the tests for marbling, the angle of light changed how the image was perceived (what was light and dark)

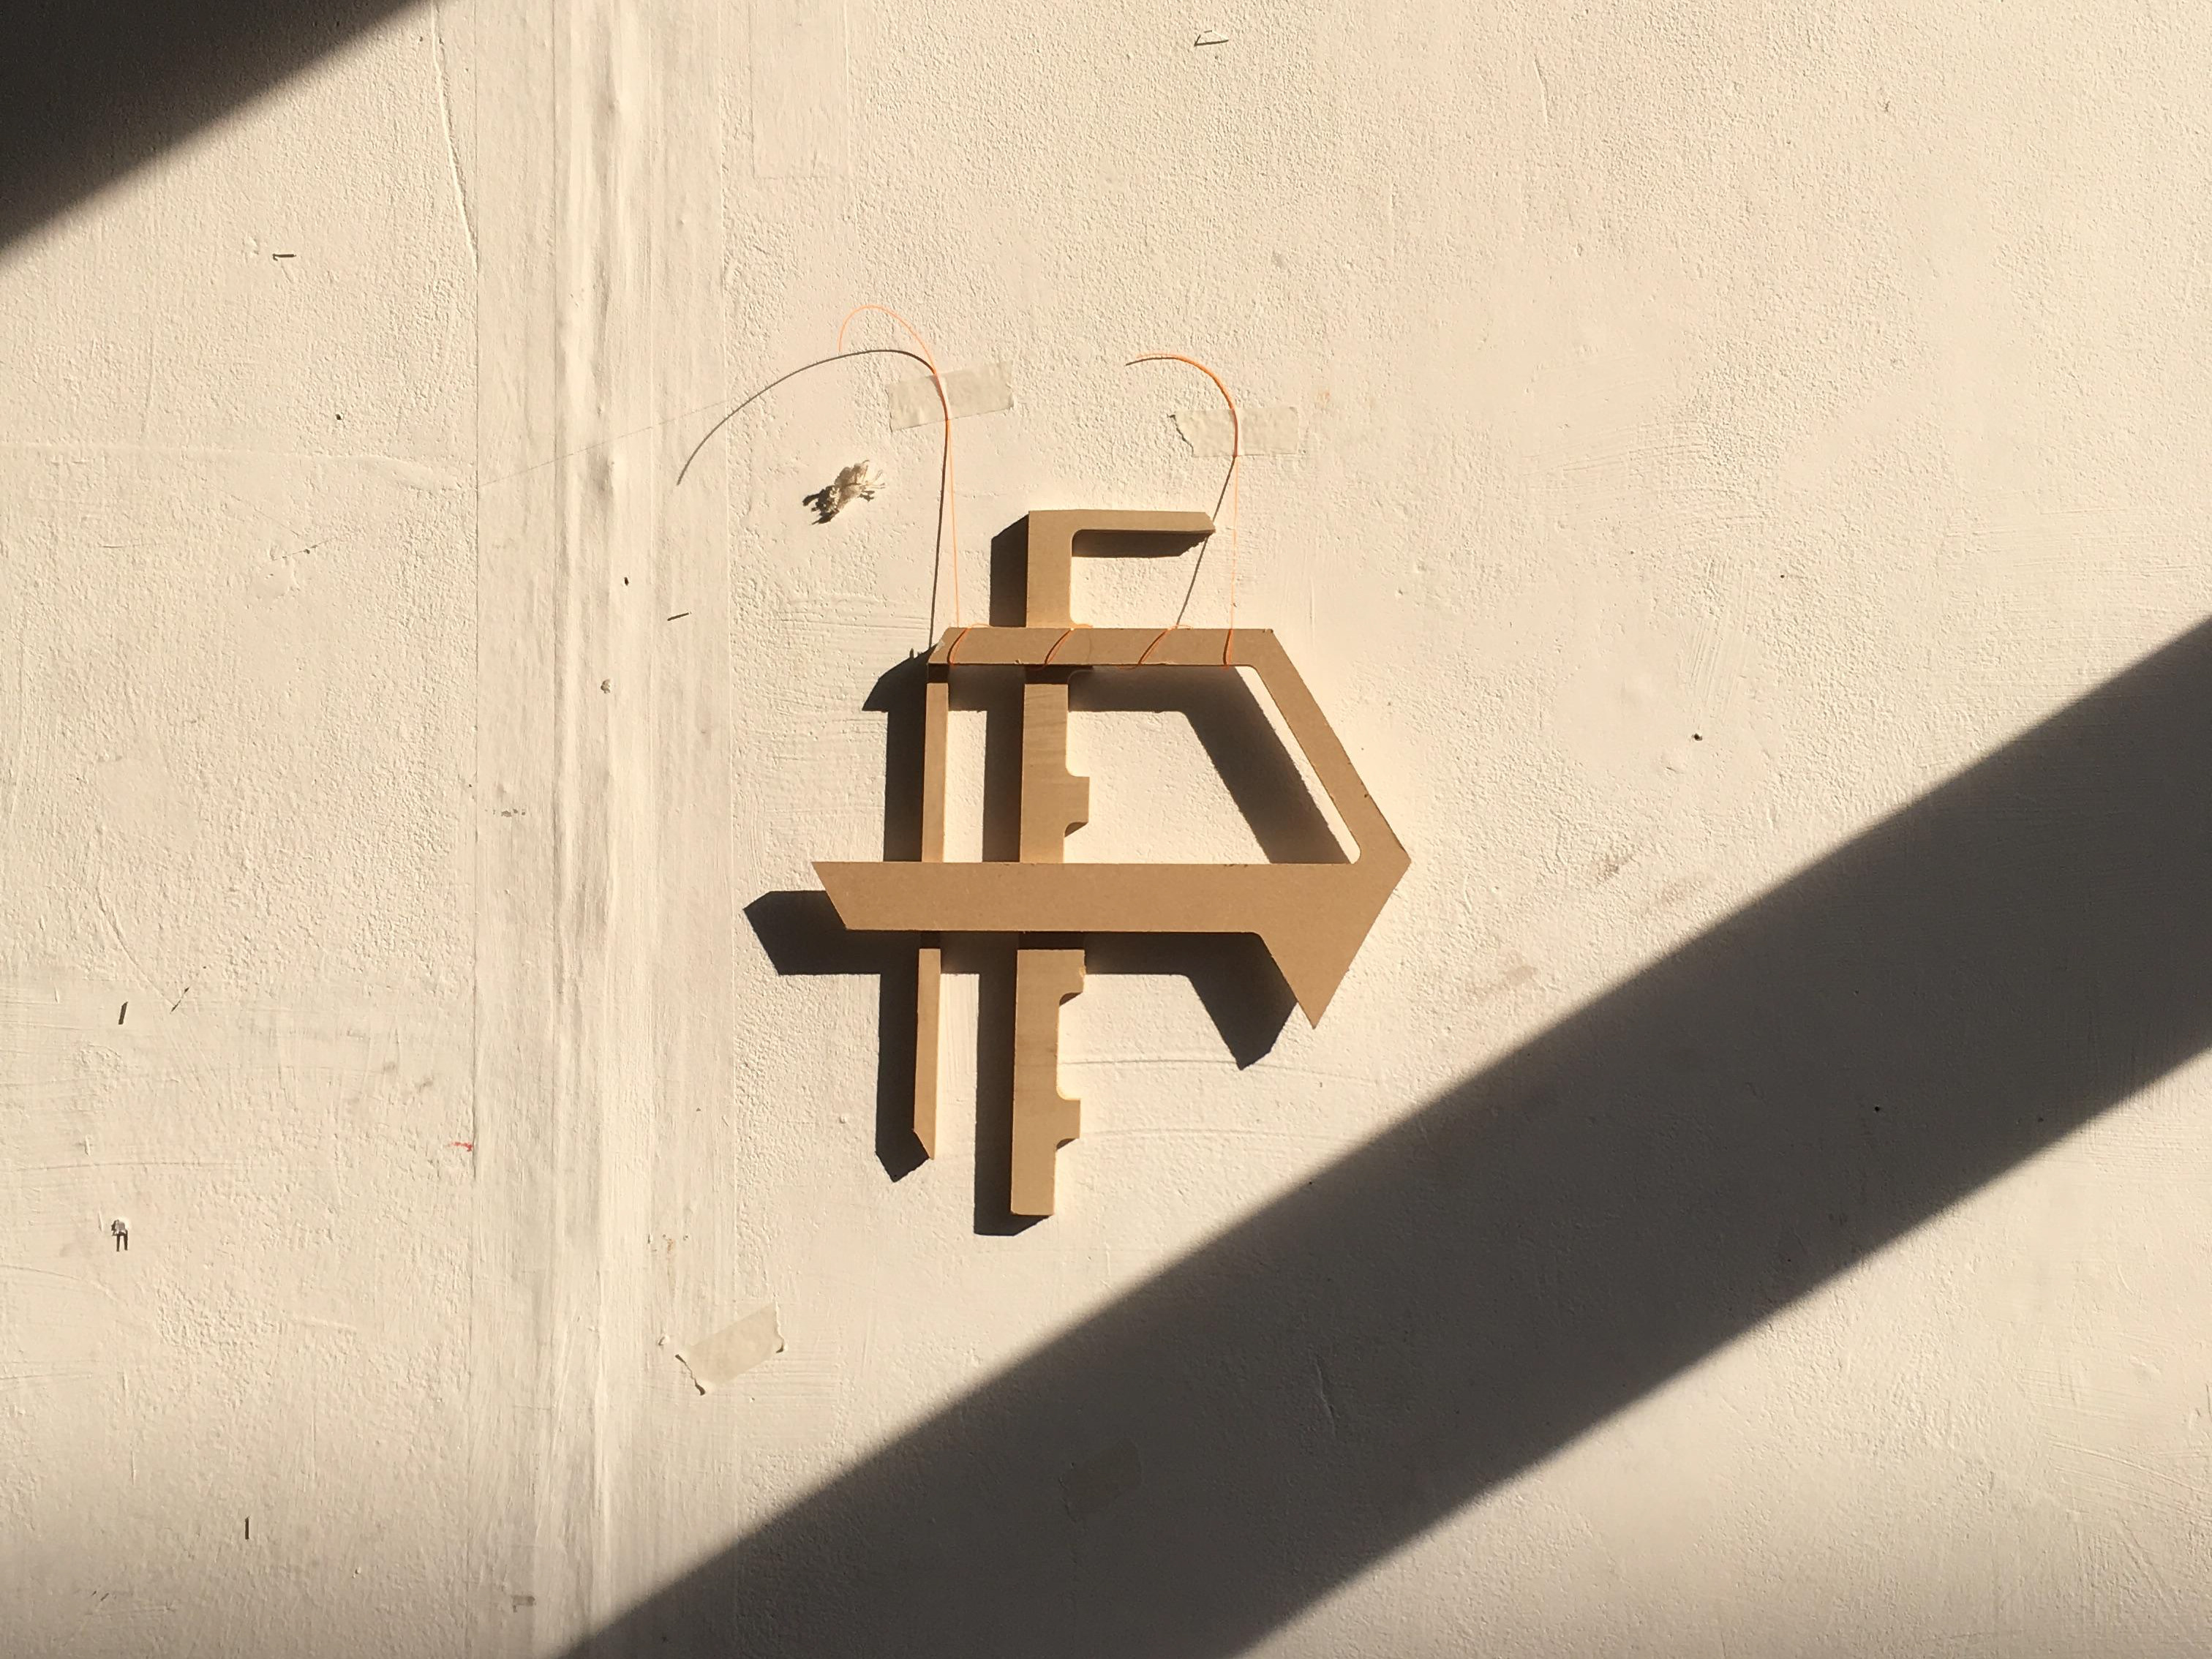
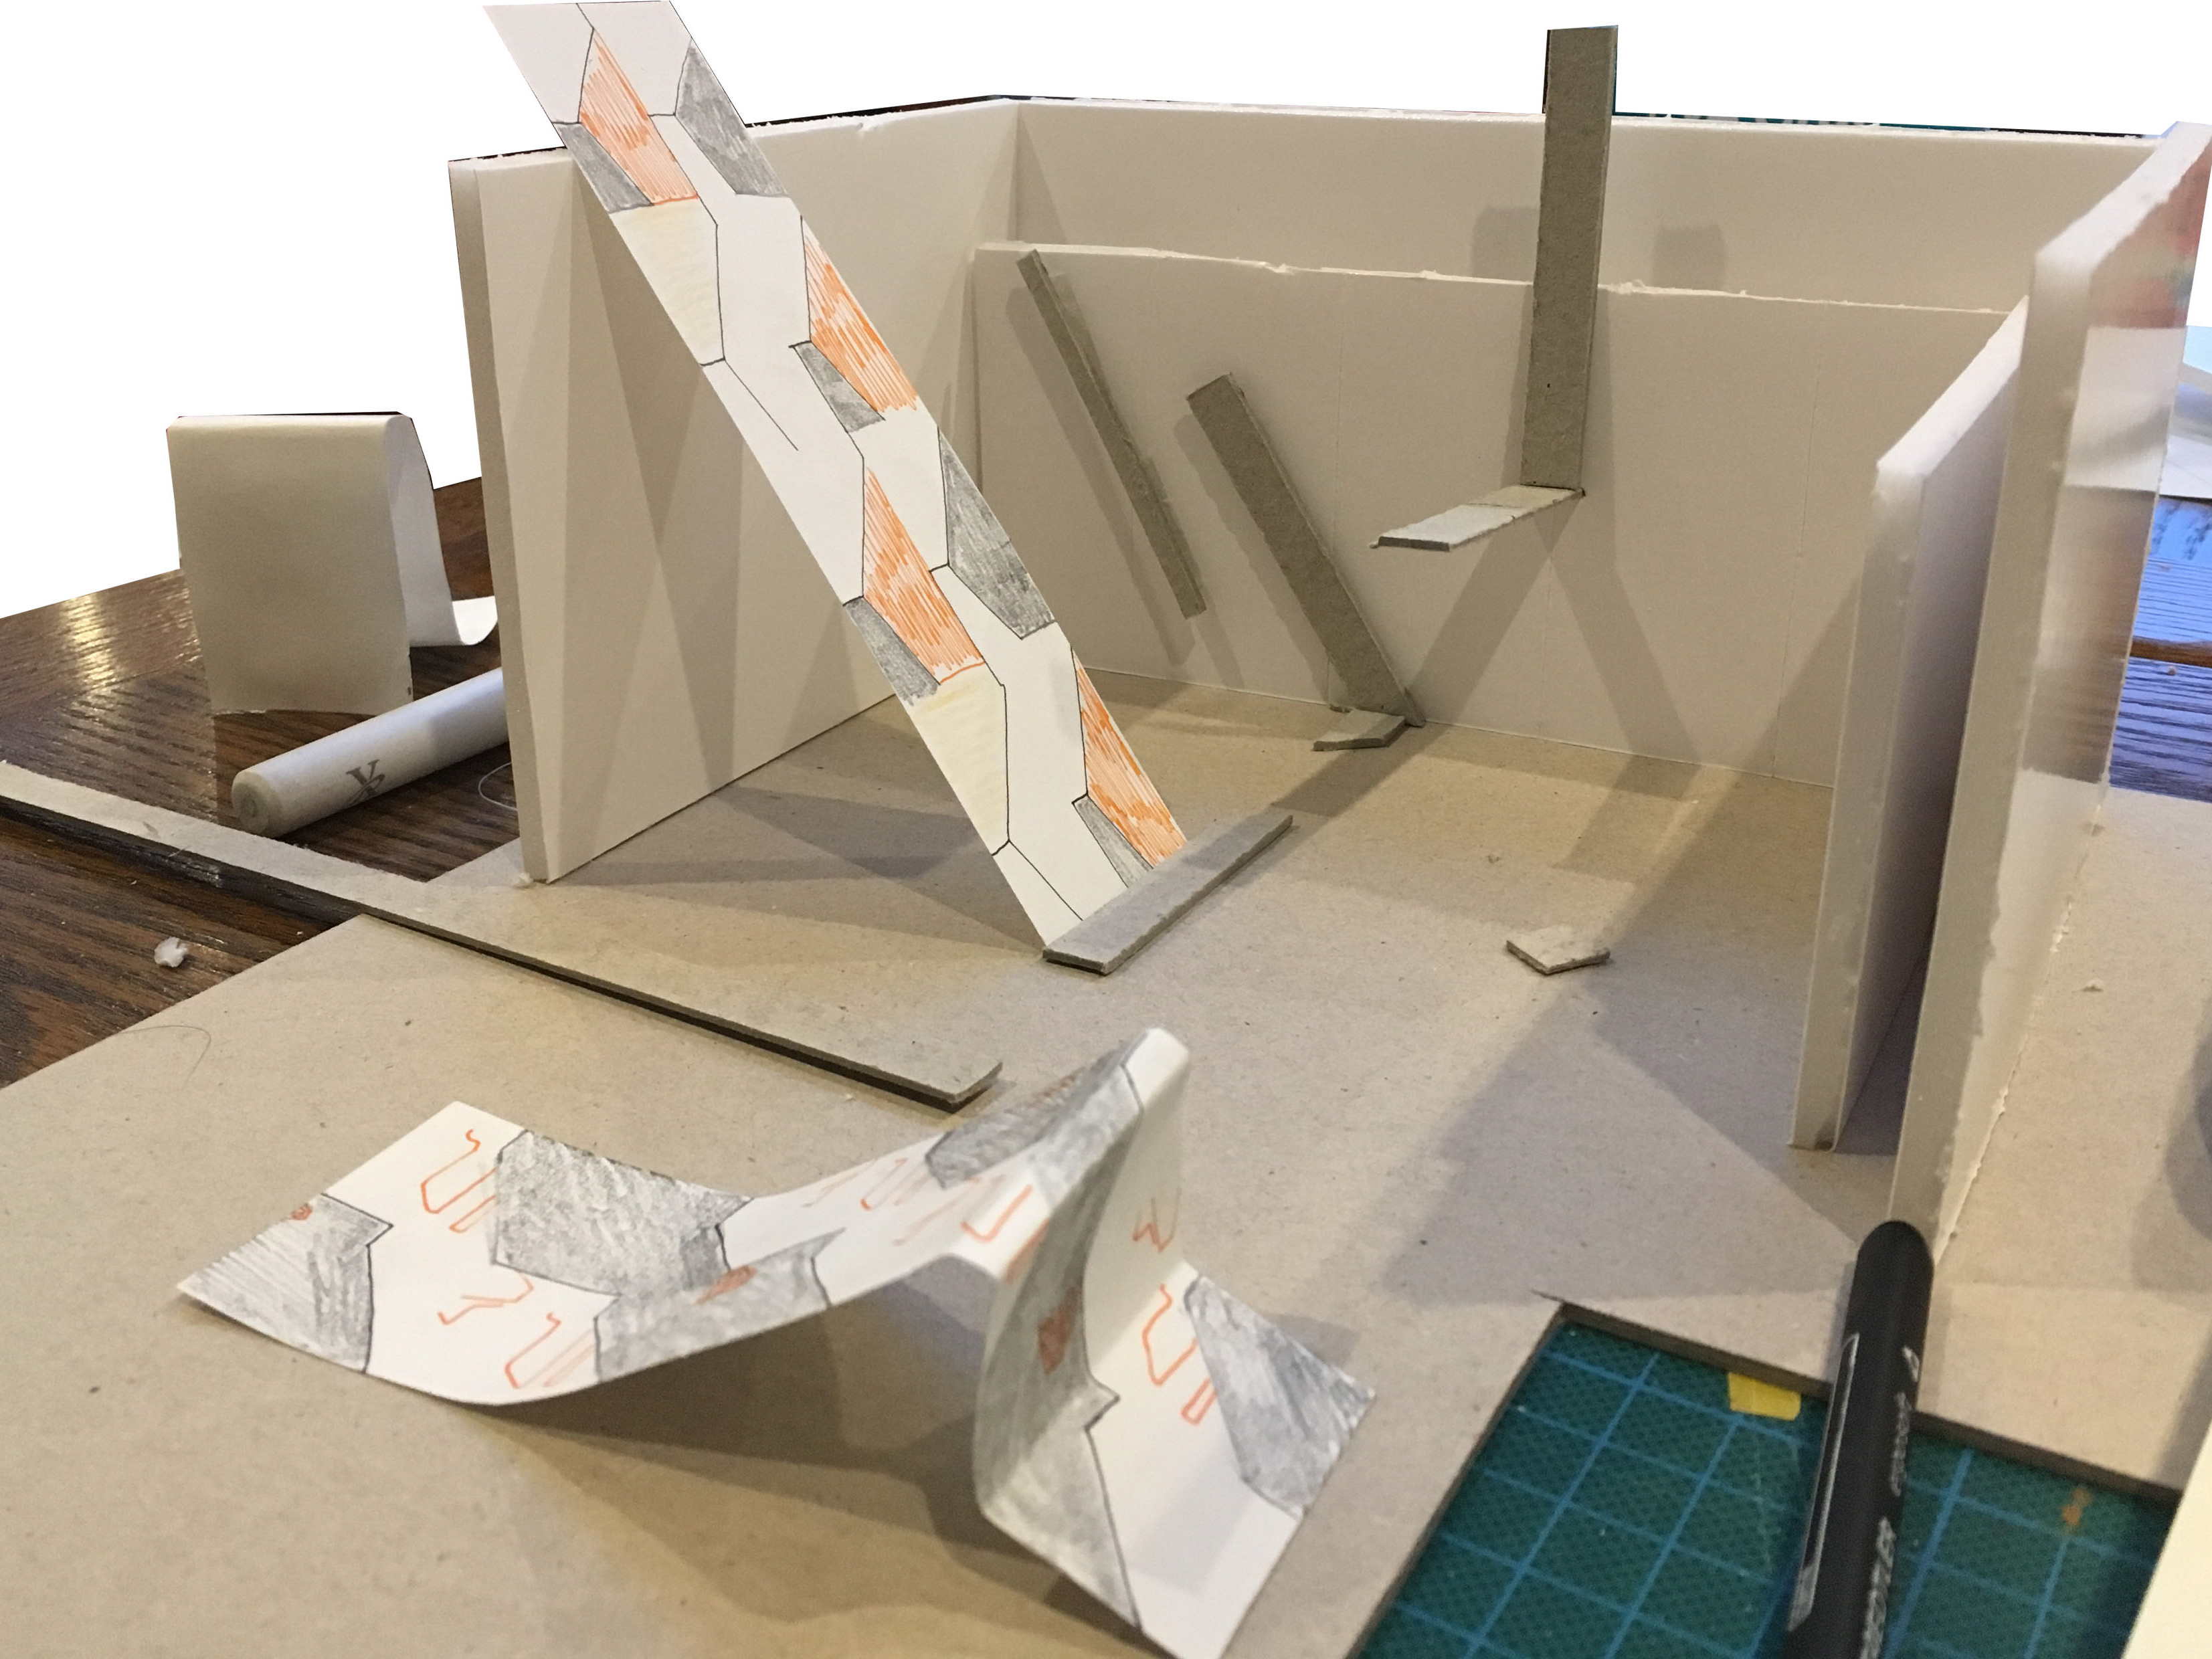
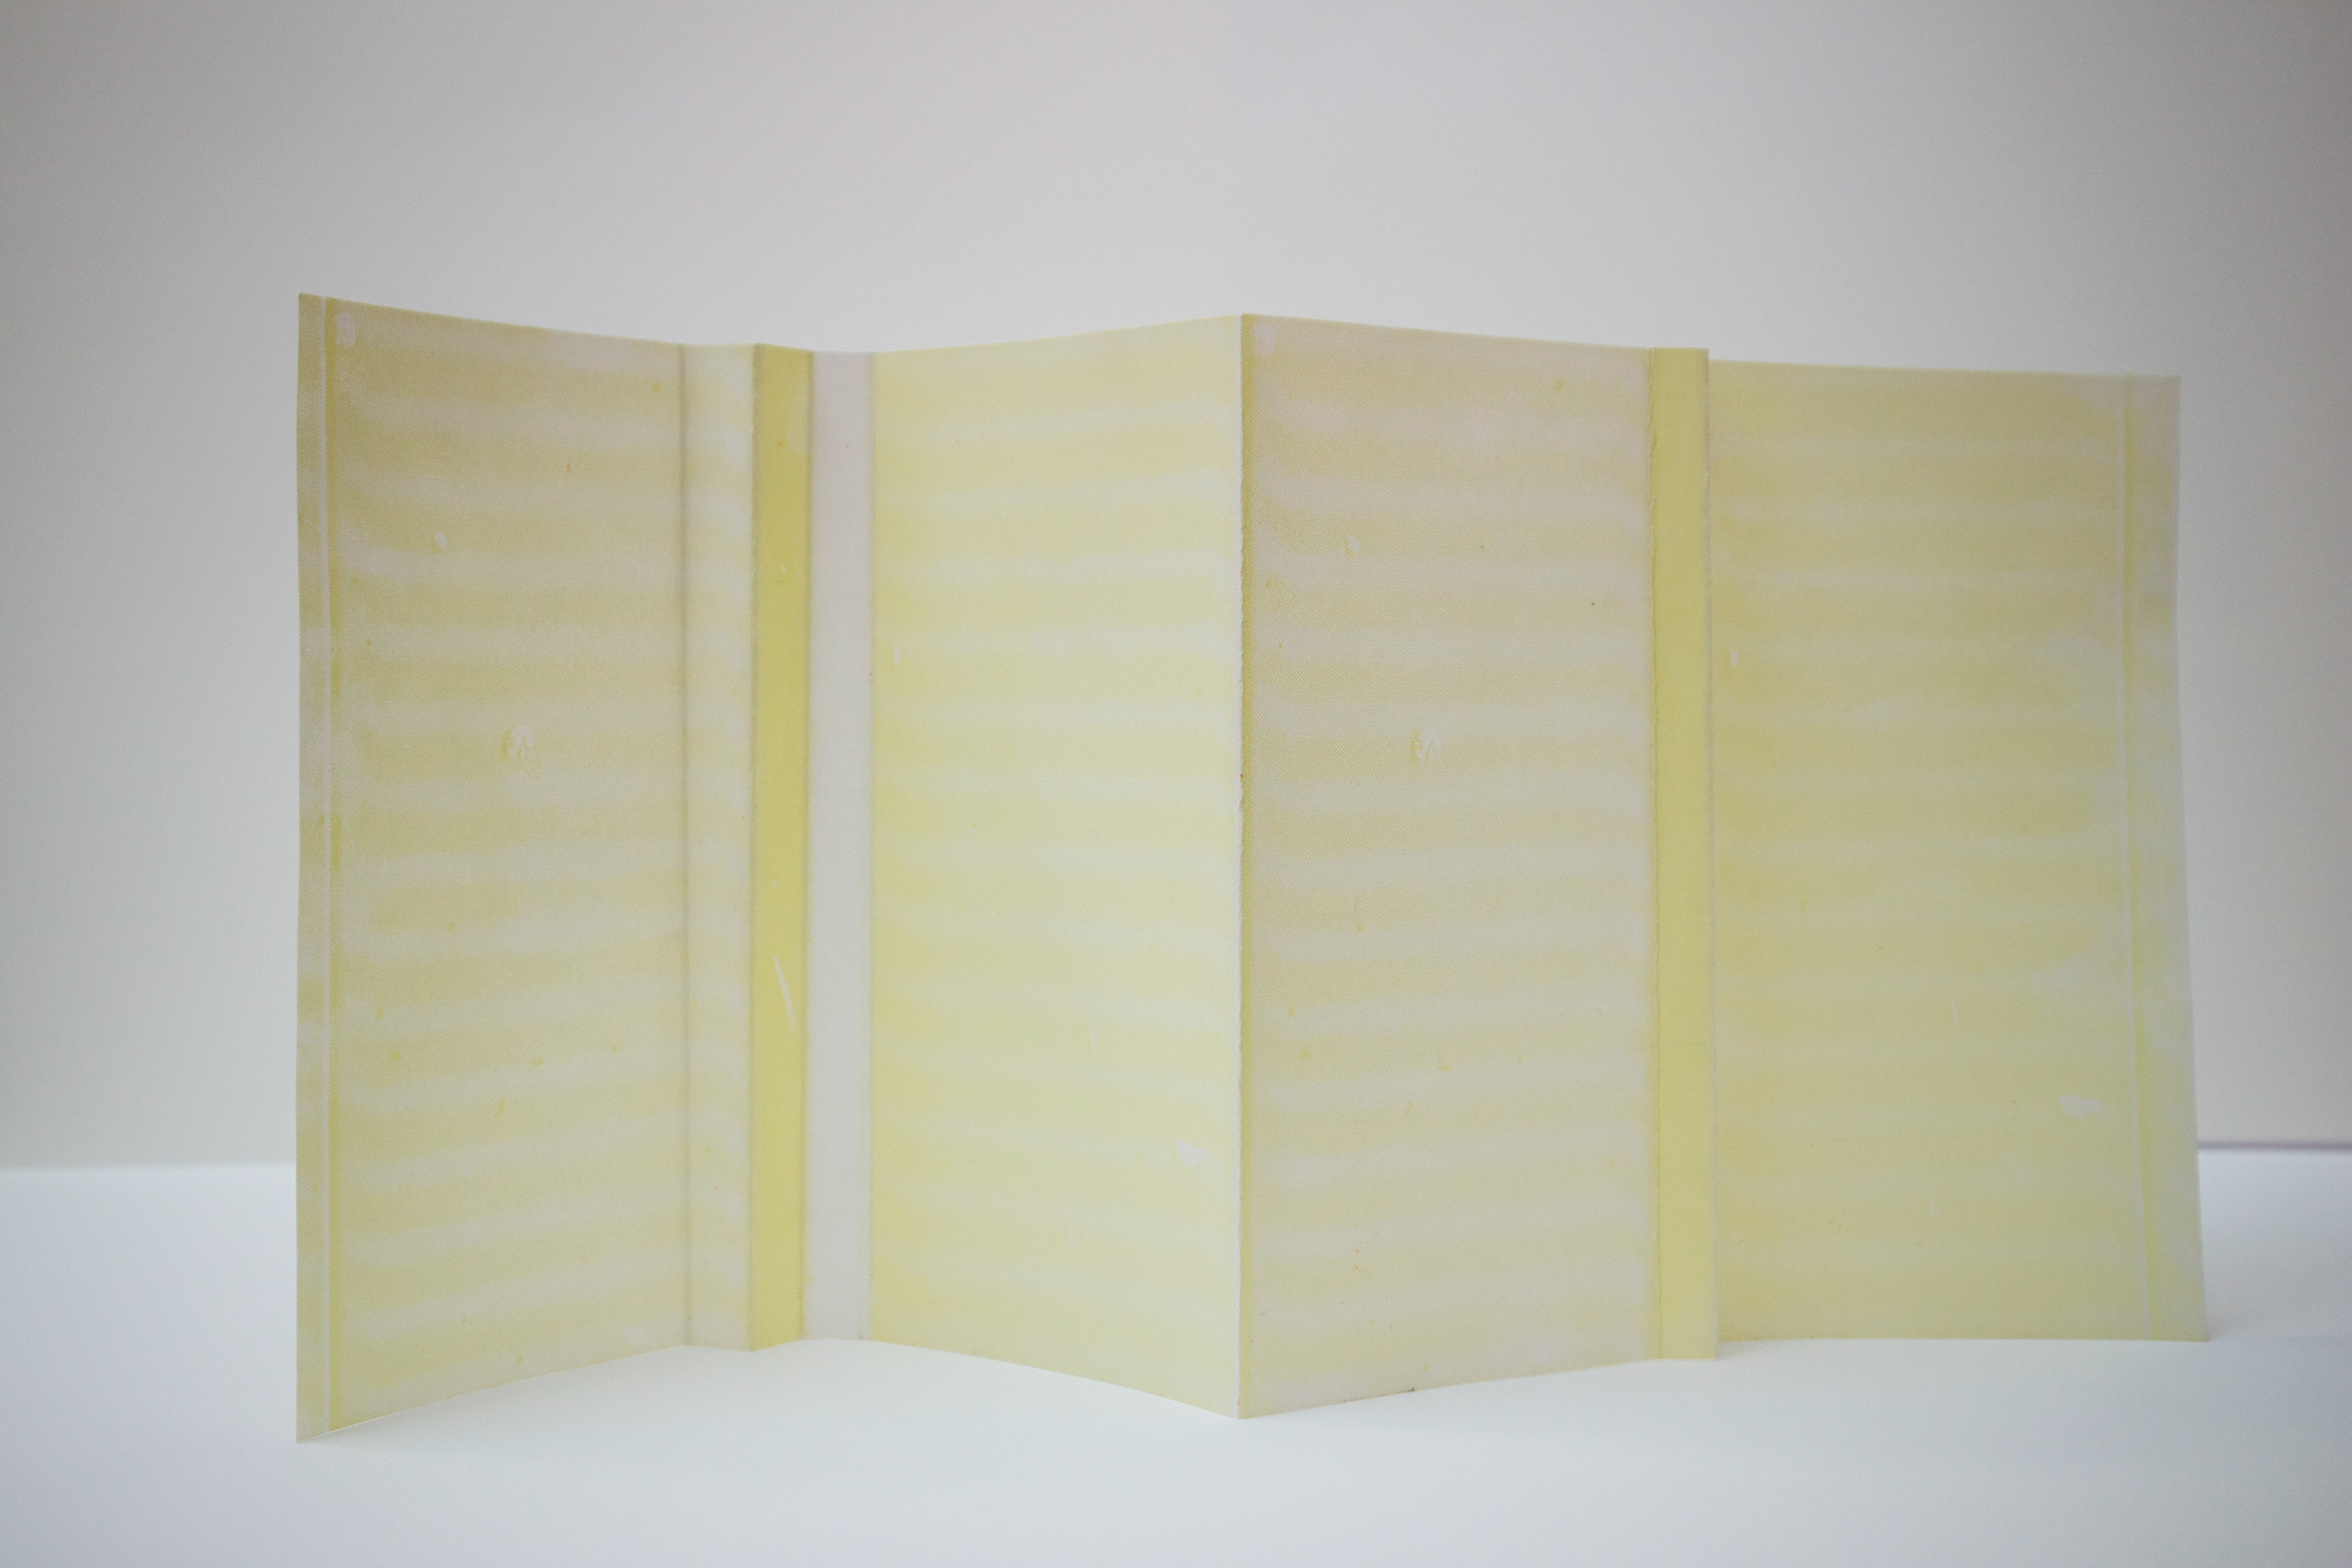
Creating structures from the print and wax paper. Responding to the surface, folding where the lines are - creating a triangular shape, representing the light vaults.
Thinking about creating this on a bigger scale.

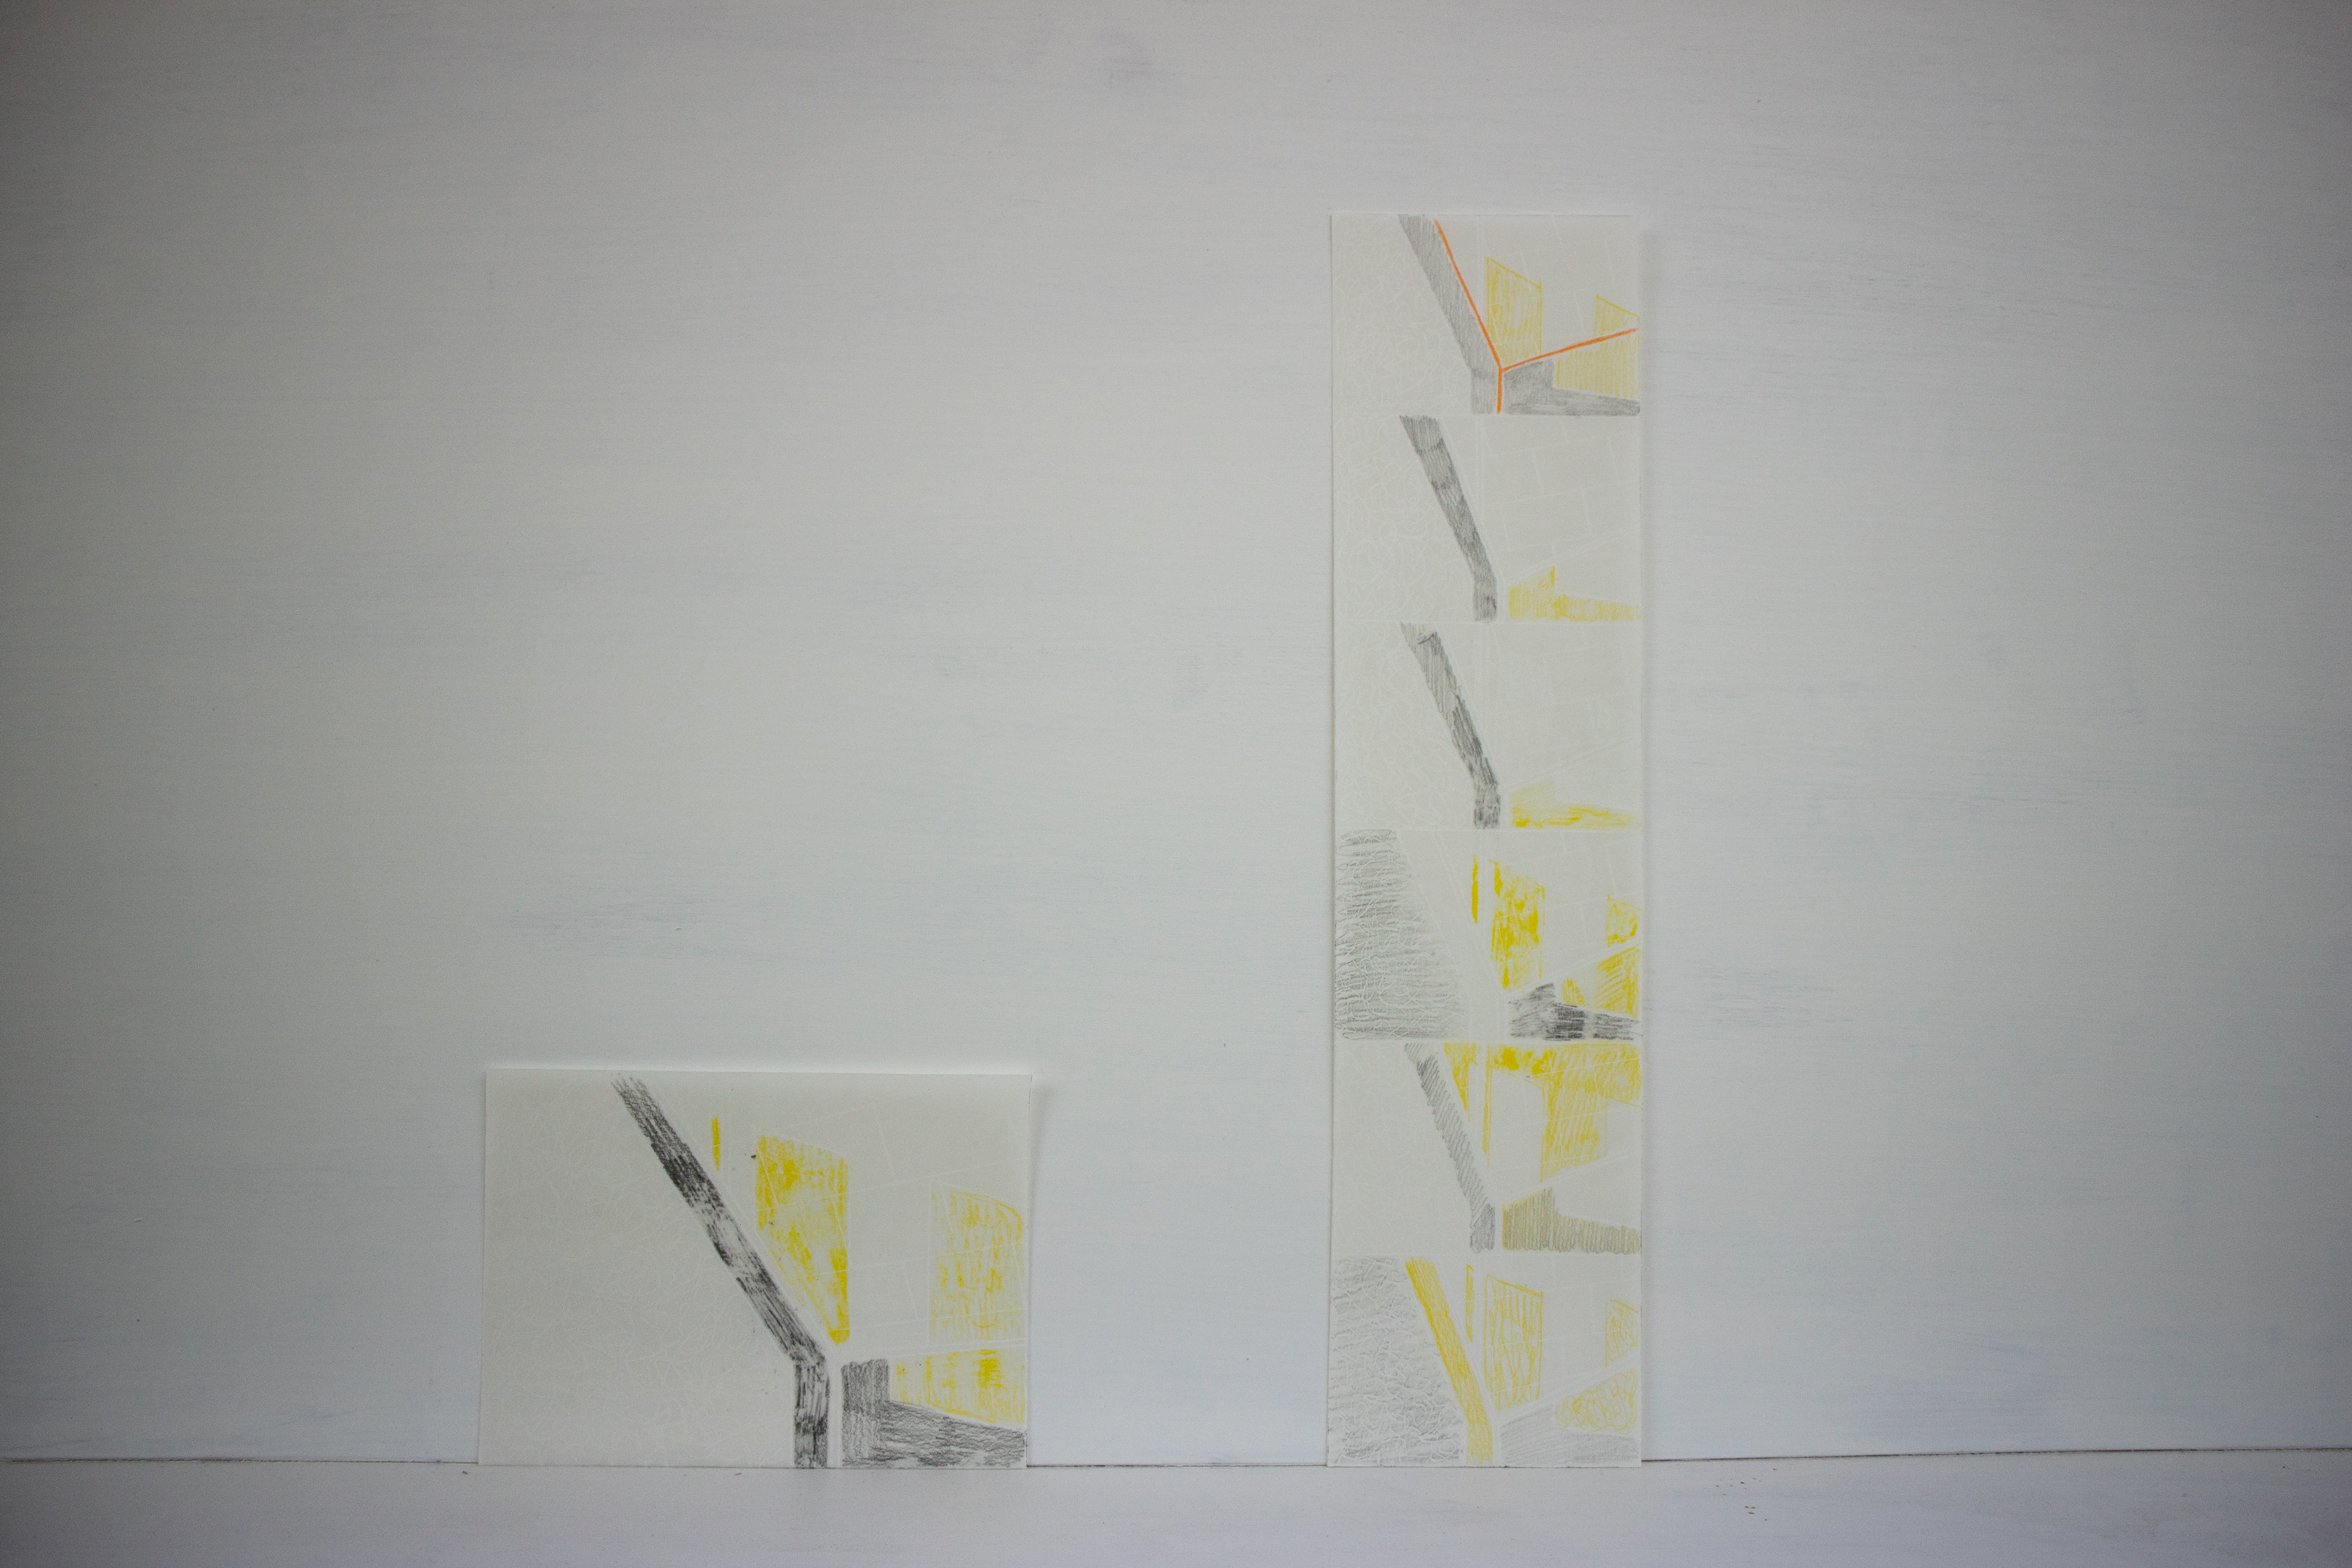
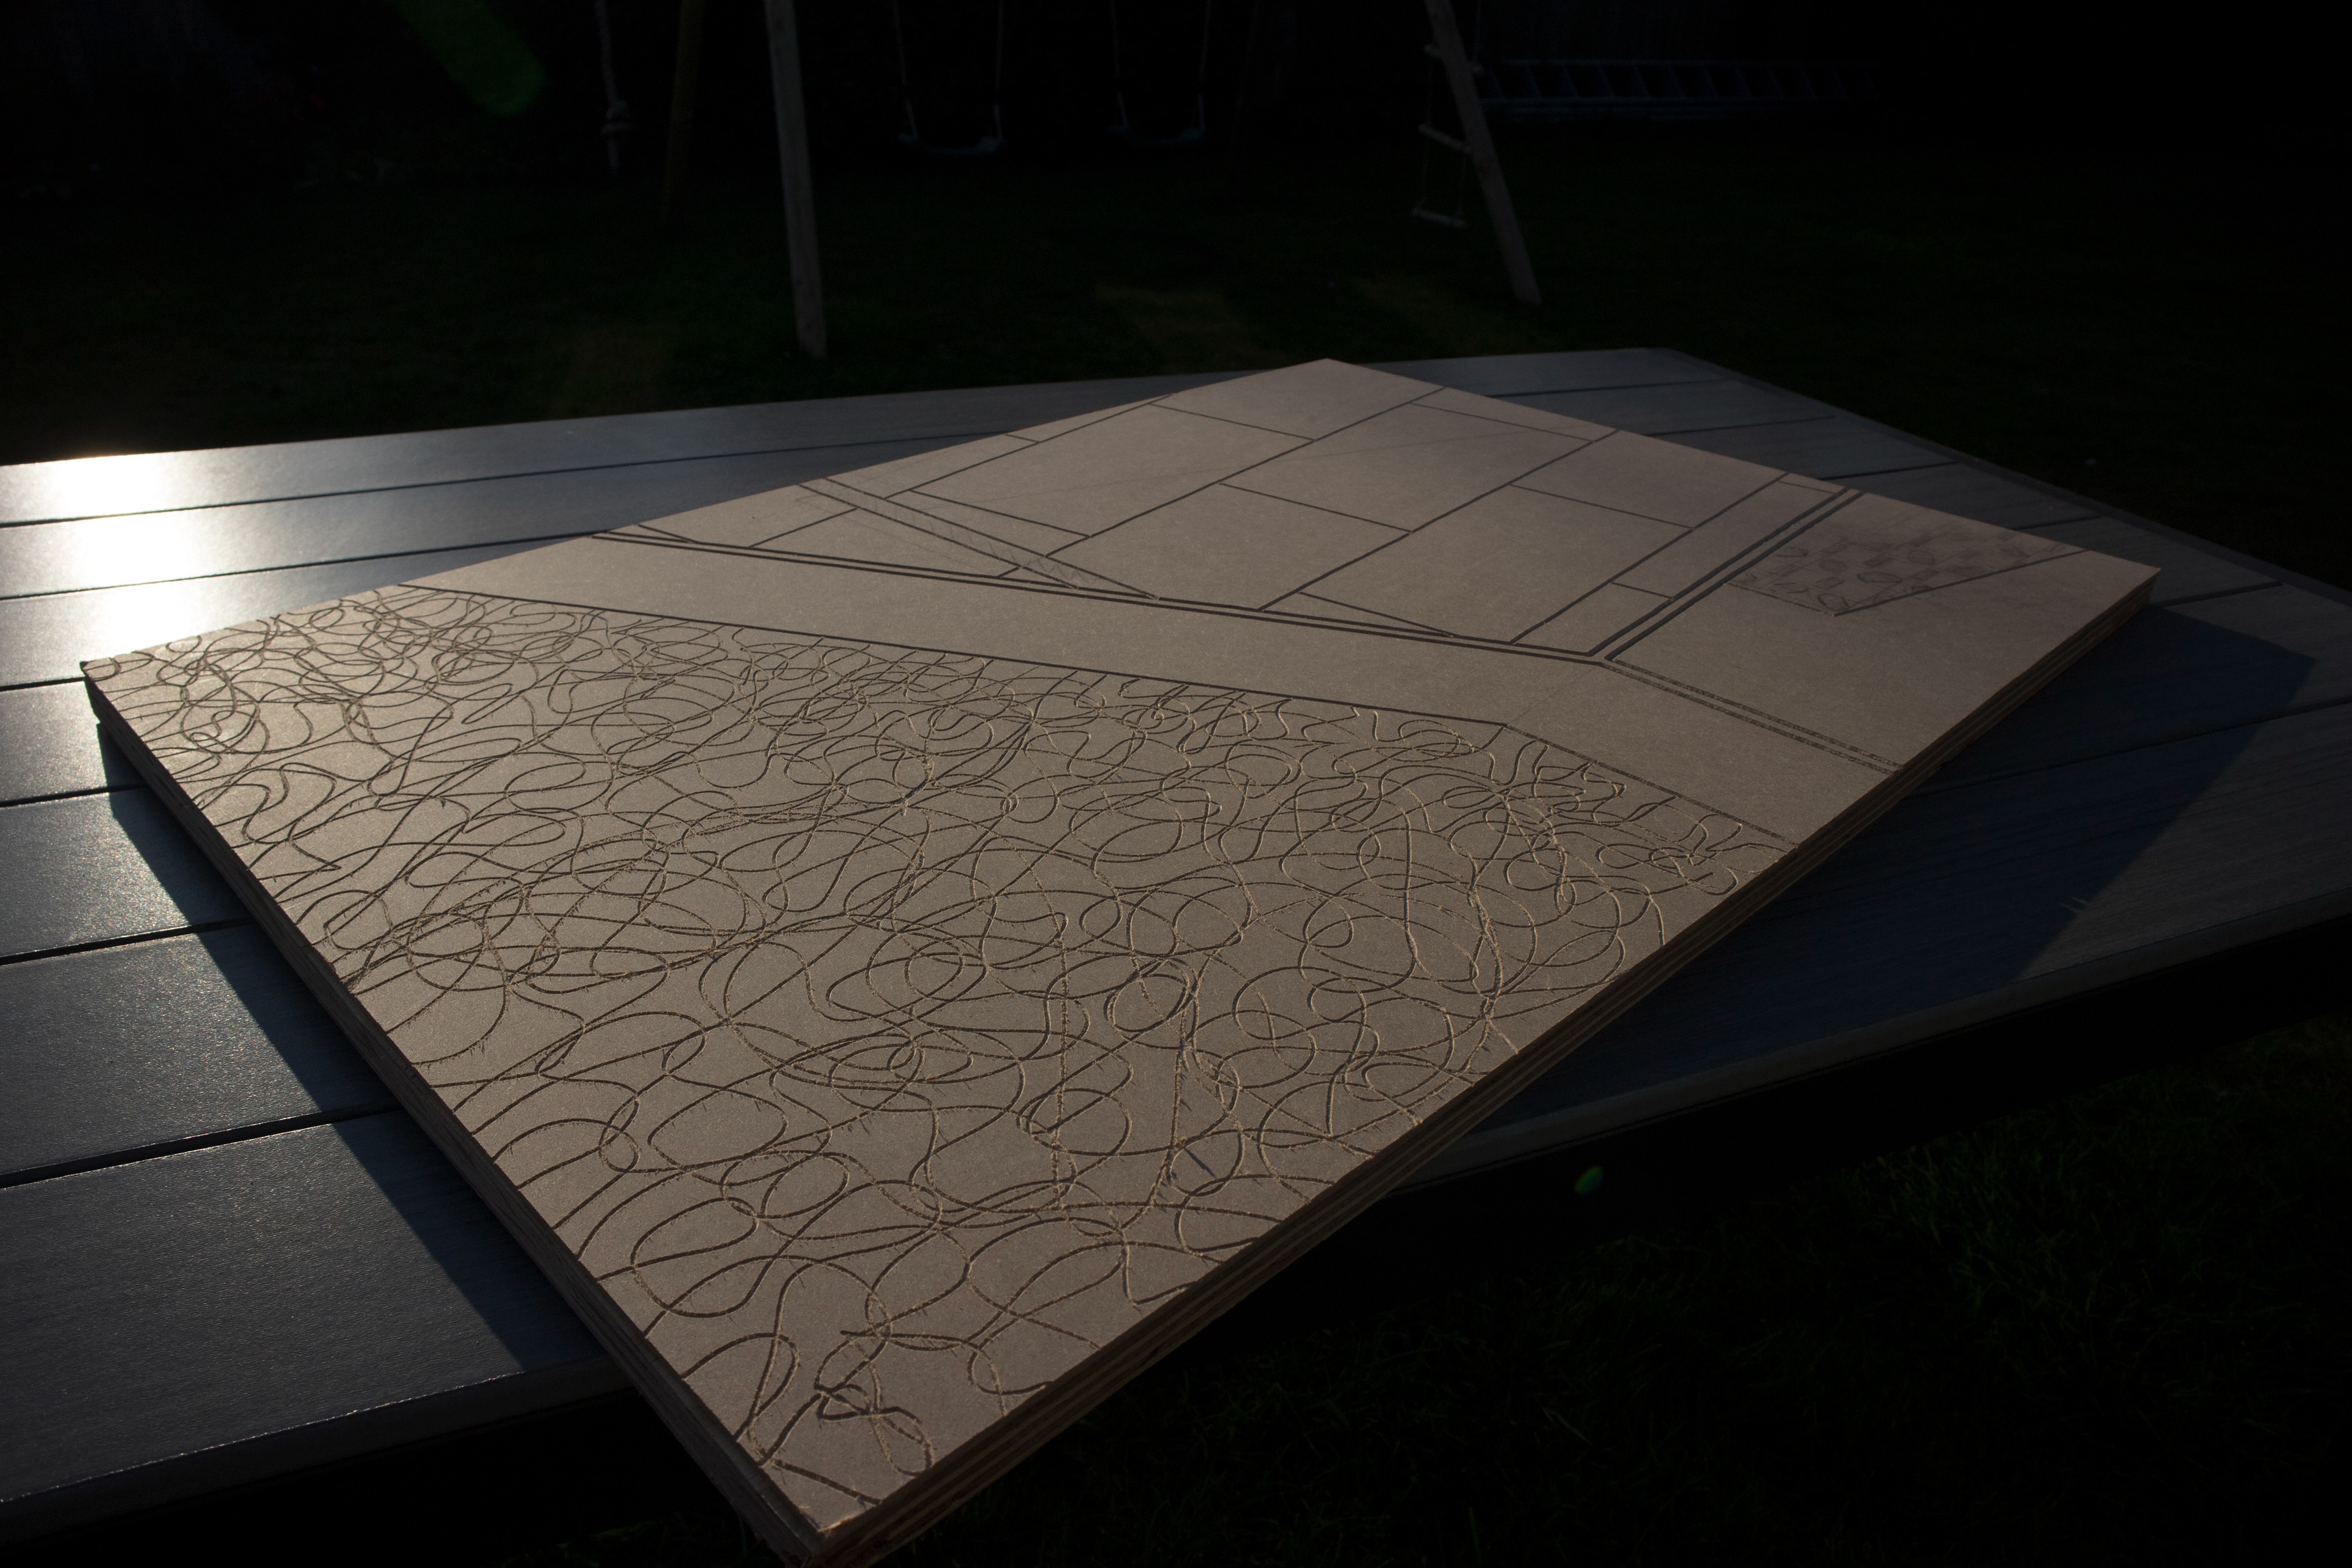
Base Plate for paper scroll in Hebert Read.
Based from my drawings on the film I captured from my studio space.


Adding details as i go. Chose to add or leave depending on the composition.


Angle of light- Depending on how it is angled to light source, highlight different etched details.


The Press
Me and Peter spent the day experimenting with how to keep a continuous flow of paper going through the press.
It was strenuous work and a lot of hassle, it was hard to keep the paper clean and in a straight line.
I'm happy with the results achieved for a first time experiment with using a continuous scroll on a press, but I'm not happy enough with the outcome to display it in the Herbert Read.


I laid out the scroll on a ladder to get a general idea of shape in the space. I like the lights effect to highlight the wax.
The use of a ladder keeps coming back.